
 |
 |
 |
 |
 |
 |
 |
 |
 |
|
|||||||
 |
|
|
Thread Tools | Display Modes |
|
|
#101 |
|
Ride Like an Asshole
Join Date: Feb 2008
Moto: nothing...
Posts: 11,254
|
Looks like shit GM. Awesome perfect shit, but shit. Can I move in?
|
|
|

|
|
|
#102 |
|
Bored
Join Date: Dec 2008
Location: Sumter, SC
Moto: '01 Spirit 750
Posts: 1,535
|
It turned out great. Looks bad ass when only the underlights are on too.
|
|
|

|
|
|
#103 |
|
Follower
Join Date: Nov 2008
Posts: 5,549
|
Good job all the way around.
The backsplash is amazing. I love it. |
|
|

|
|
|
#104 |
|
Trip's Assistant
 Join Date: Feb 2008
Location: Imported from Detroit
Moto: 2009 HD Street Classic
Posts: 12,149
|
Thanks Gents
OSP... welcome to come over anytime!! mike... allot of people weren't too sure about the backsplash till they saw it. |
|
|

|
|
|
#105 |
|
Pompous Prick
Join Date: Mar 2008
Location: MA
Moto: 06 R6 (race), 04 CRF Tard (race)
Posts: 3,040
|
The backsplash it tits.
Nice work GM, the only man who takes as many photos as I do.
__________________
LRRS/CCS #123 Boston Moto Dunlop Woodcraft 35 Motorsports Sidi Pit Bull K&N Filters |
|
|

|
|
|
#106 |
|
Trip's Assistant
 Join Date: Feb 2008
Location: Imported from Detroit
Moto: 2009 HD Street Classic
Posts: 12,149
|
thanks man... to put into perspective... maybe just so I can see it so easily..
The old 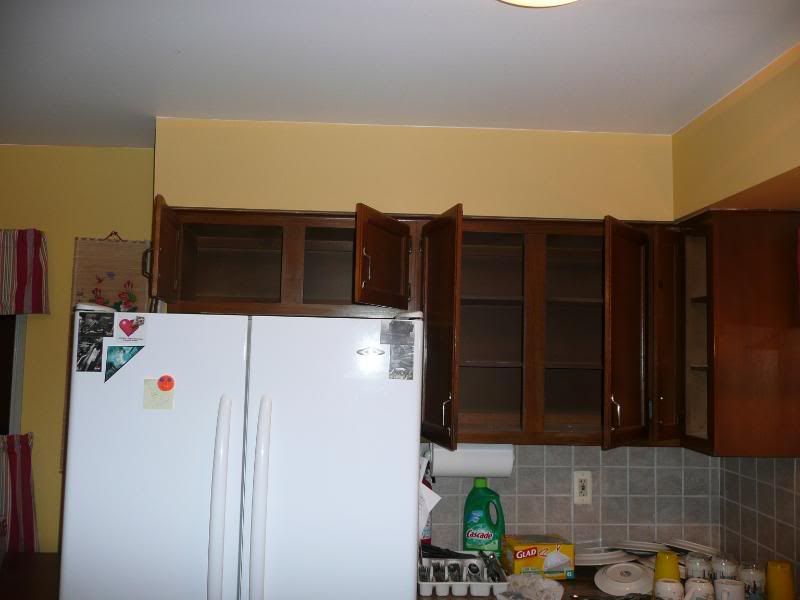 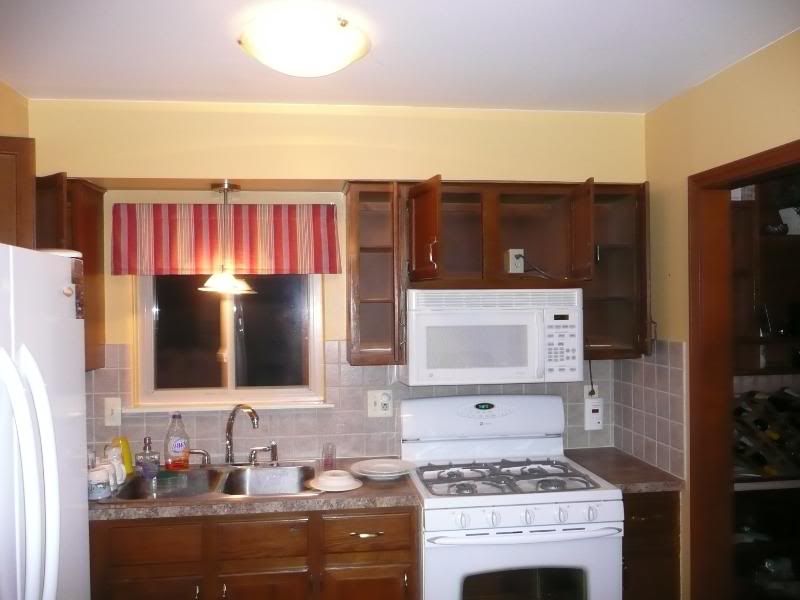 The new 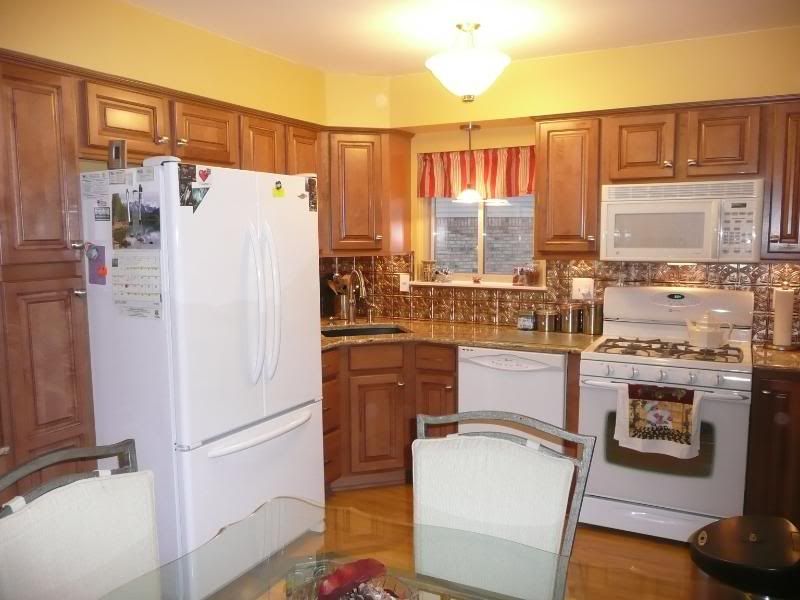 The completely added cause it wasn't there 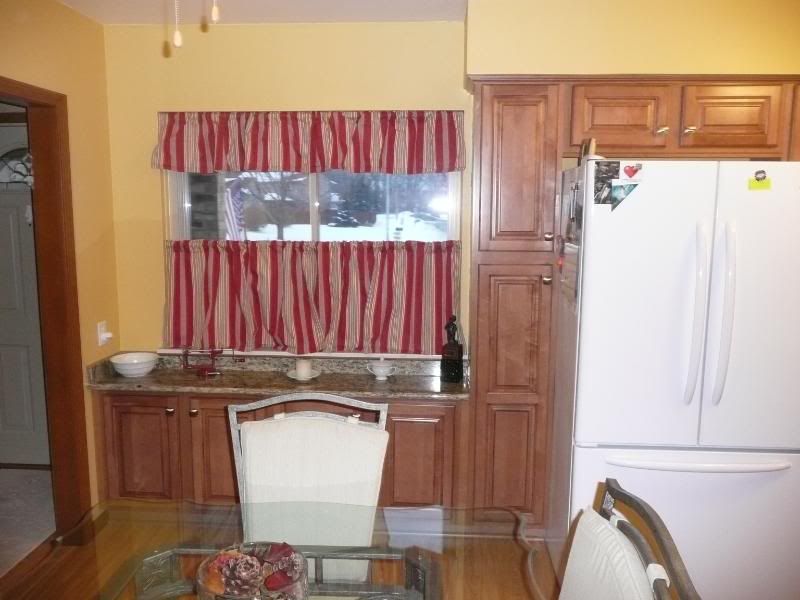
|
|
|

|
|
|
#107 |
|
Trip's Assistant
 Join Date: Feb 2008
Location: Imported from Detroit
Moto: 2009 HD Street Classic
Posts: 12,149
|
I finally got my last molding in and installed it. The scribe molding for any cabinet to wall meet. Something to finish it off.
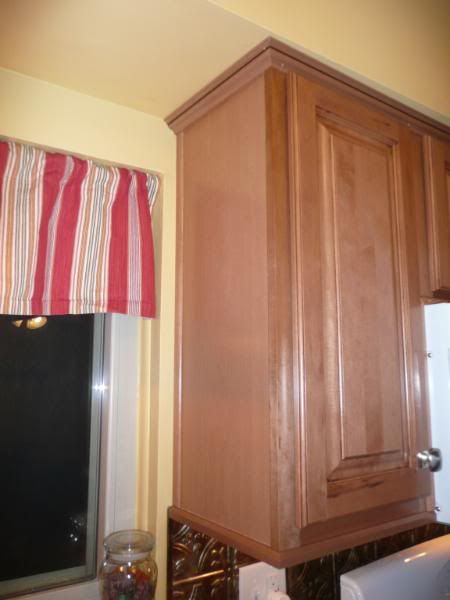 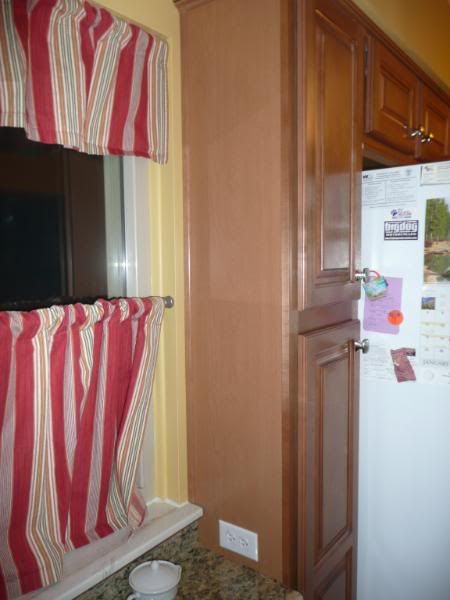 Then I also put some around the microwave to make it a slightly nicer install 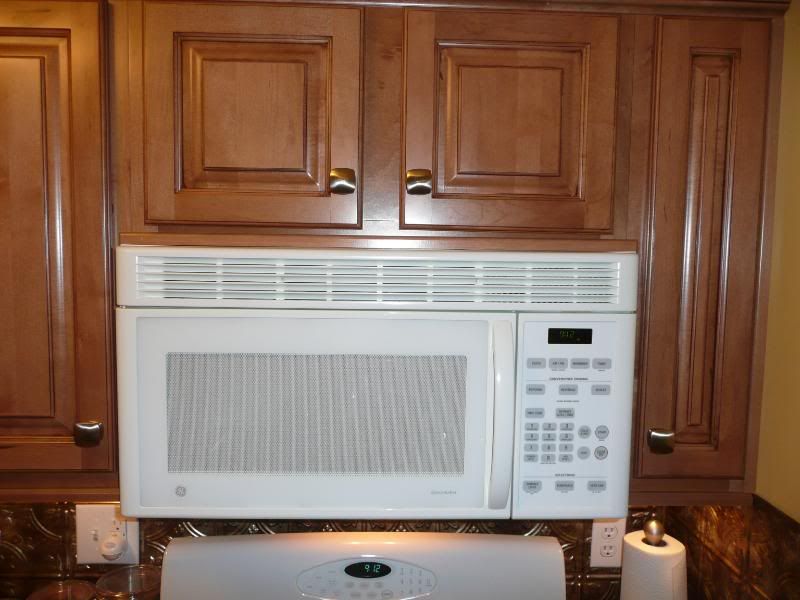 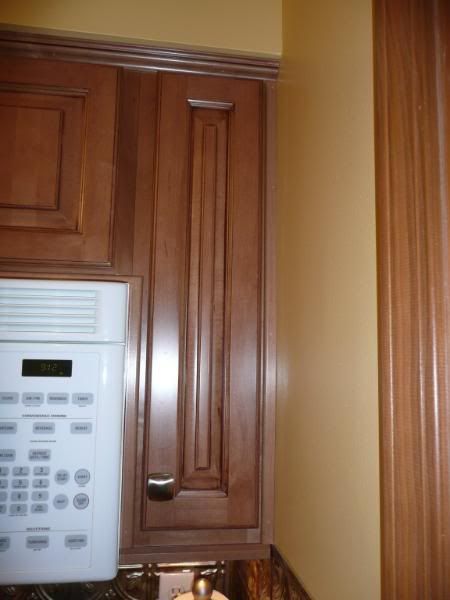 Then I started into the hallway, bedroom, and 2 bathroom projects. These got delayed a bit this week but I'm starting back into these now. First I started by removing all the BS from the rooms by putting them into the catch all room for these projects... 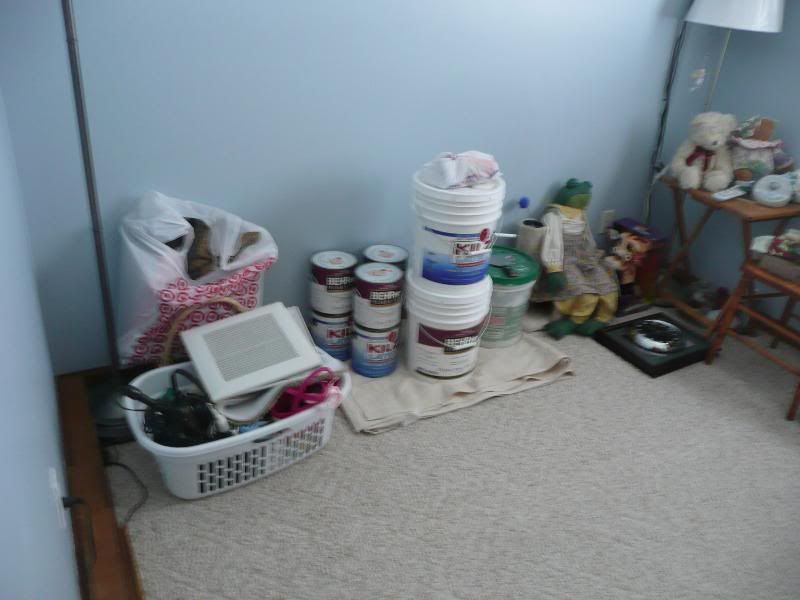 Pulled the old towel racks 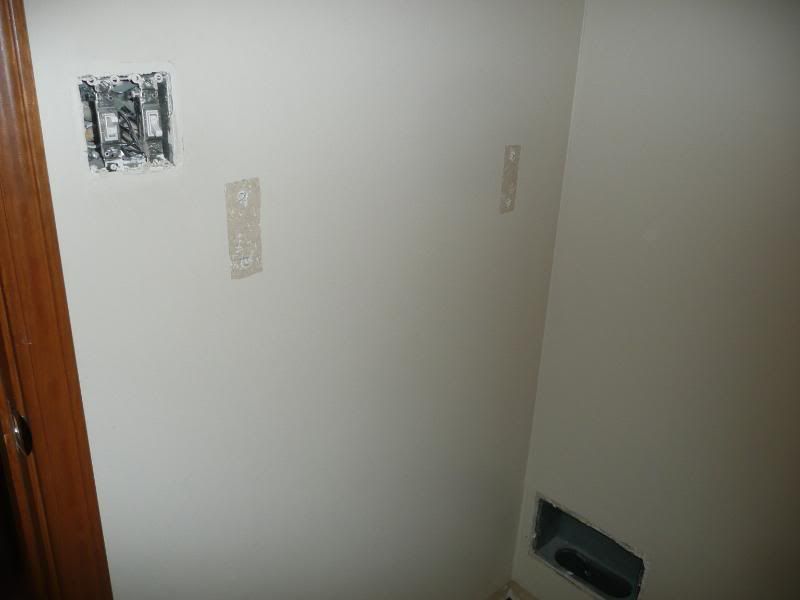 Pulled the toilet cabinet and mirror 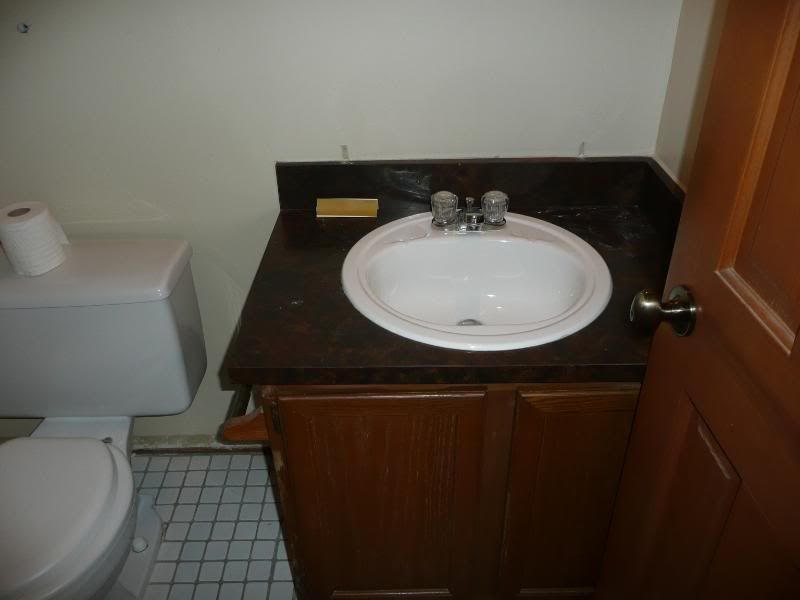 Some pics of the main bath's irritating wallpaper border... 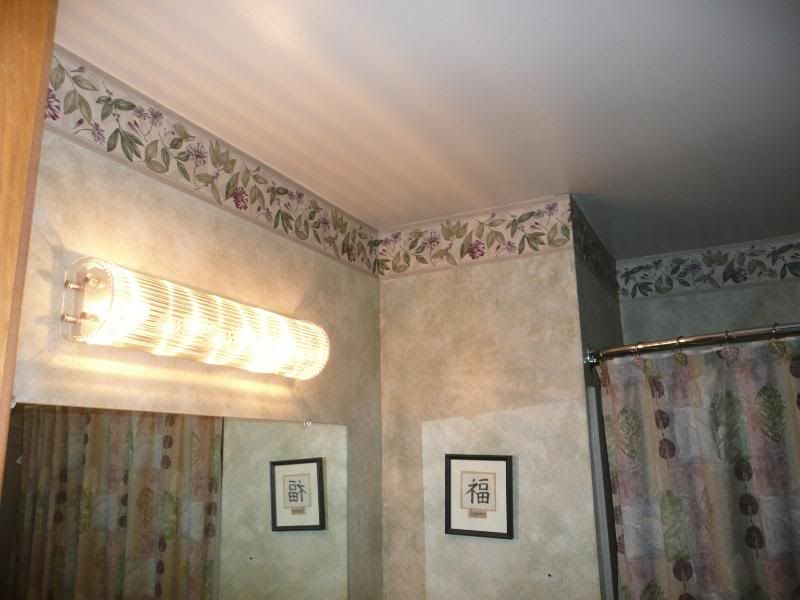 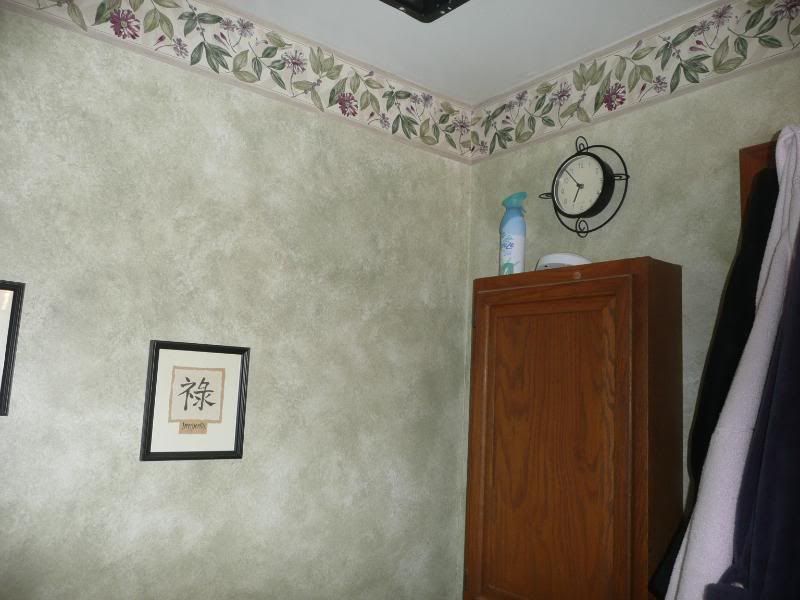
|
|
|

|
|
|
#108 |
|
Trip's Assistant
 Join Date: Feb 2008
Location: Imported from Detroit
Moto: 2009 HD Street Classic
Posts: 12,149
|
In the master half bath
this vanity will go 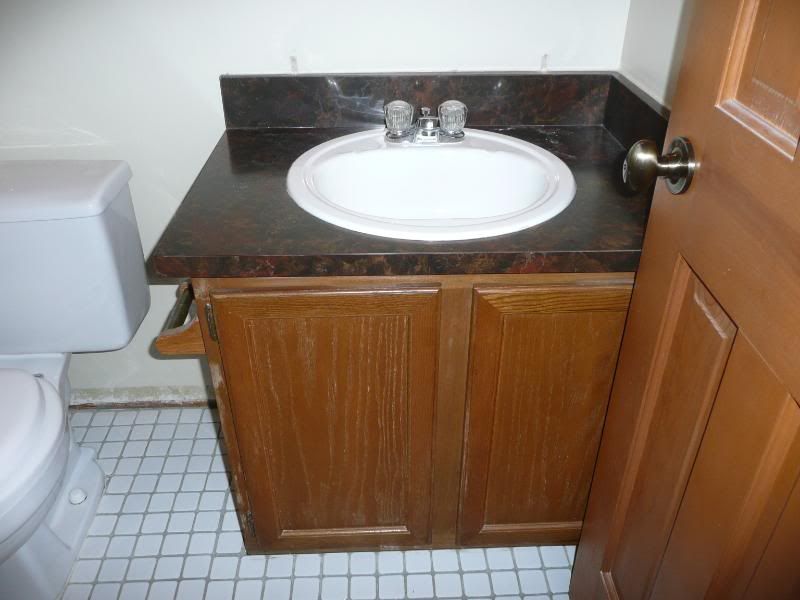 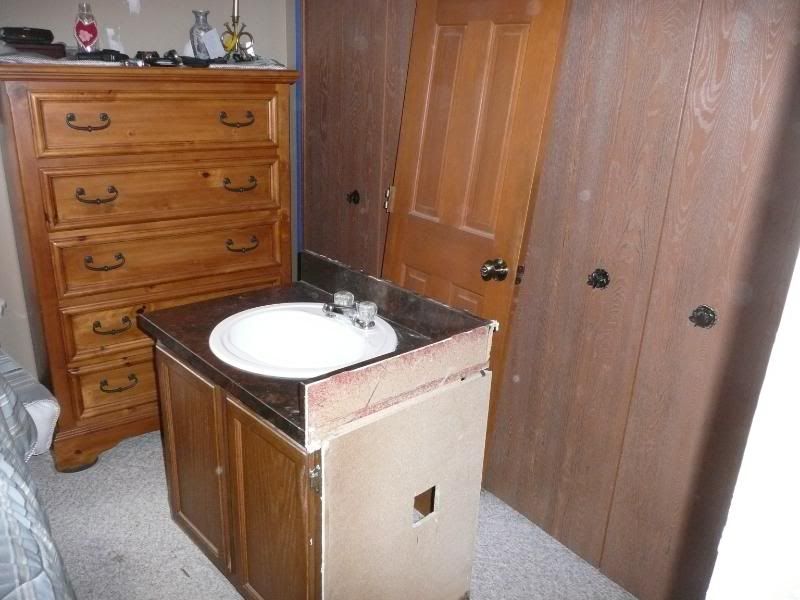 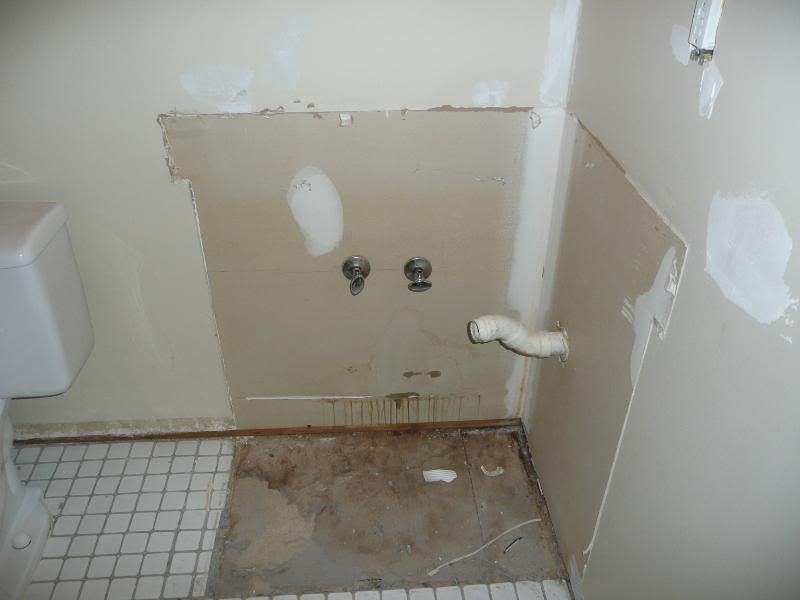 This original toilet that flushes 45 gals each hit on the handle... gone 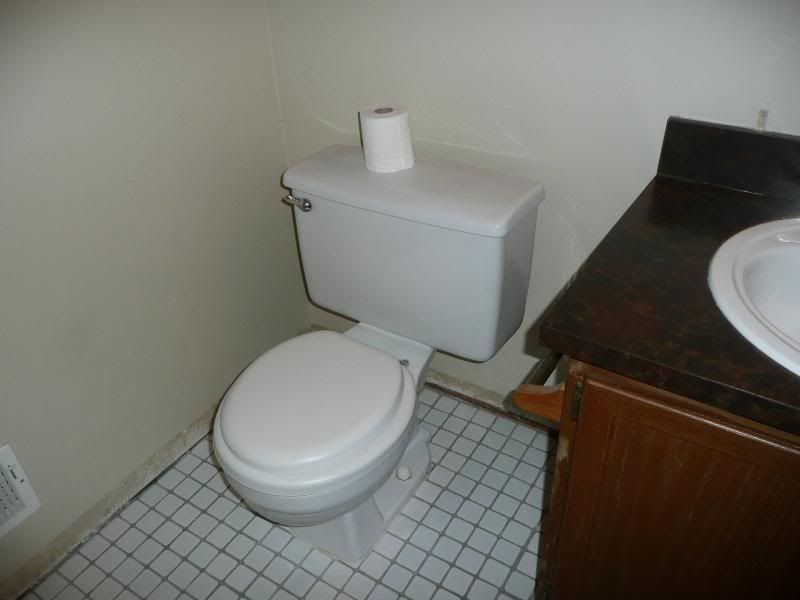 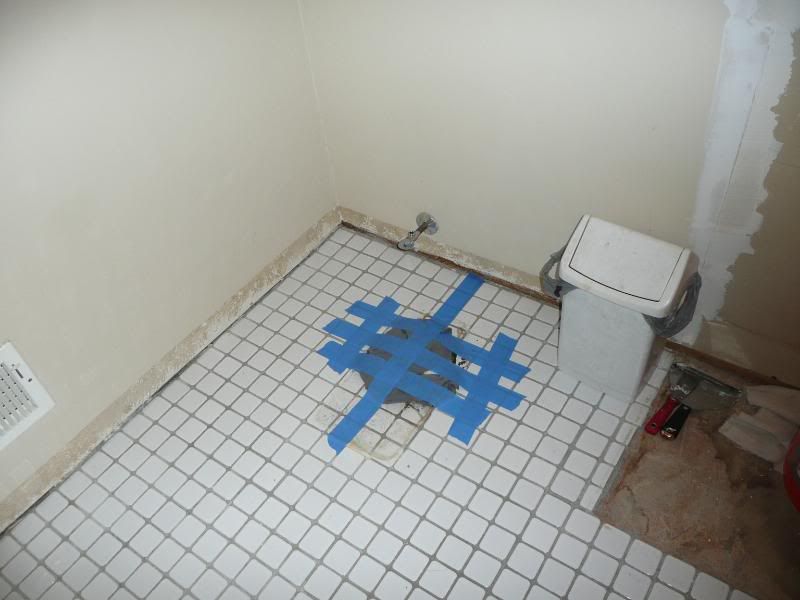 The main bath vanity for future reference 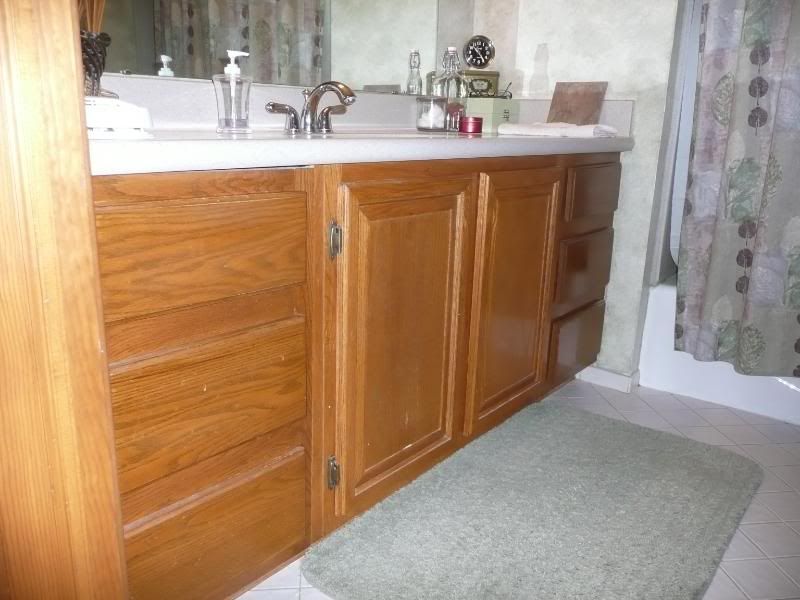 Will re-use the corian counter/sink... with new faucet though 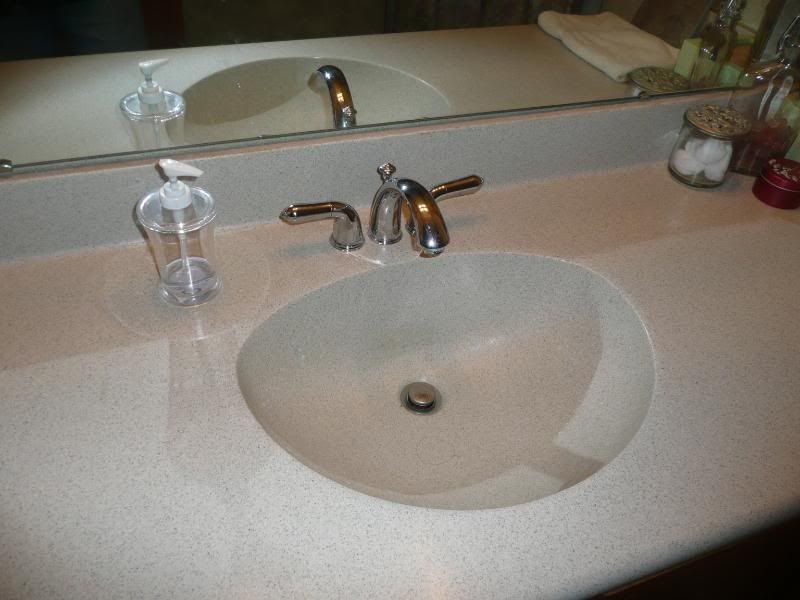 Also enlarged this 2 switch box 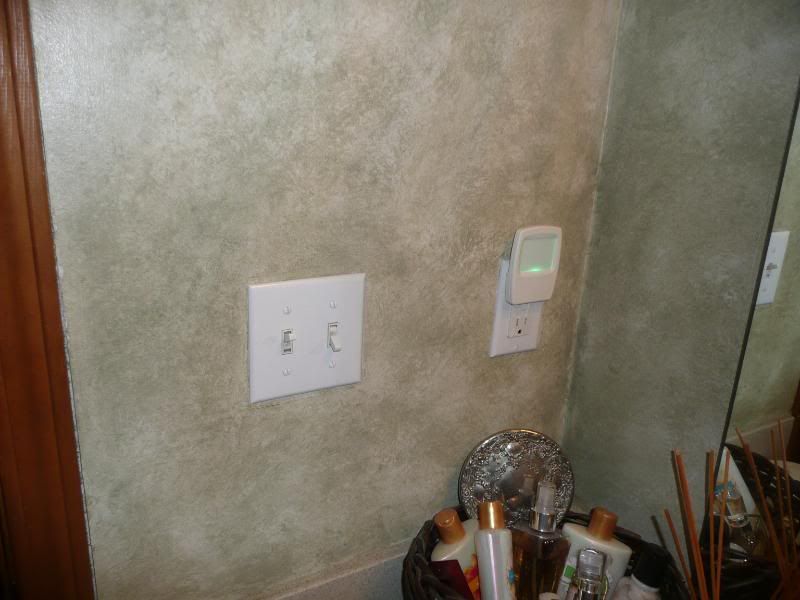 And the wiring nightmares that I always find in this house 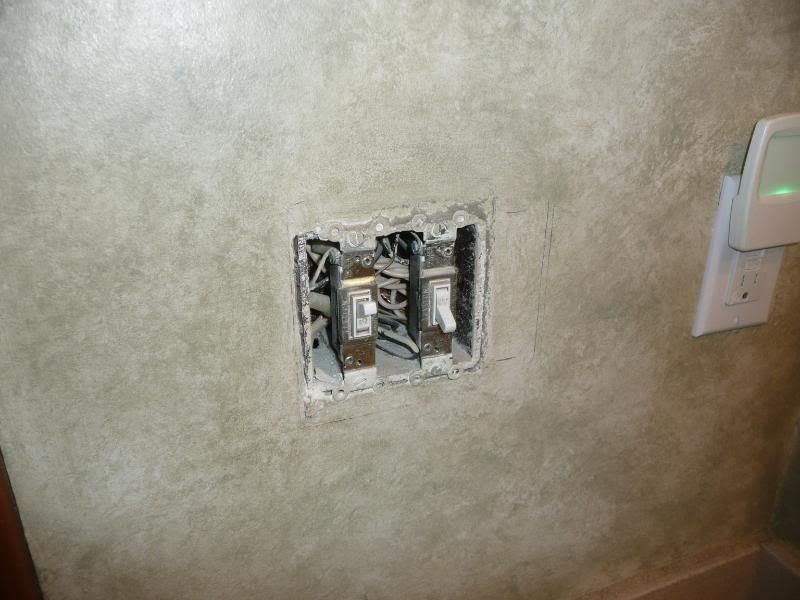 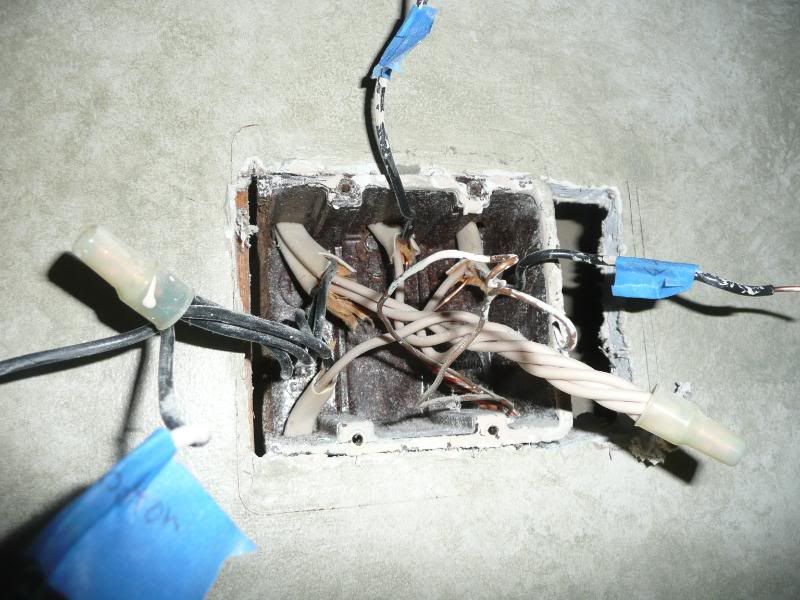 To this 3 gang box to include the dimmer for the rope light plug 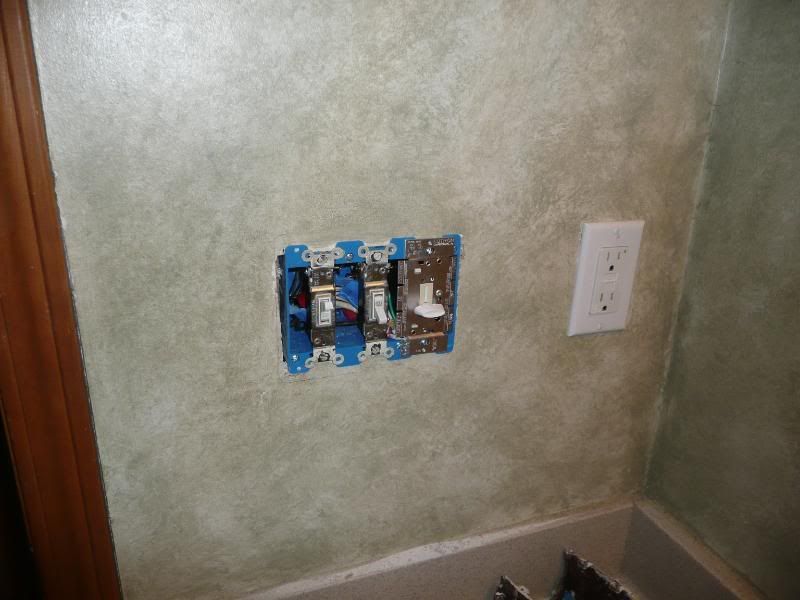 This plug 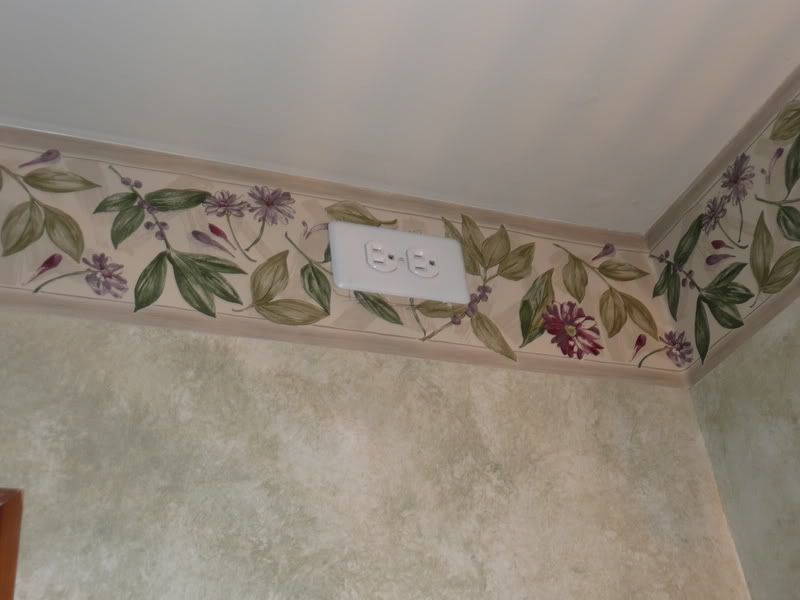 Of coarse lots of mud work to repair the drywall...  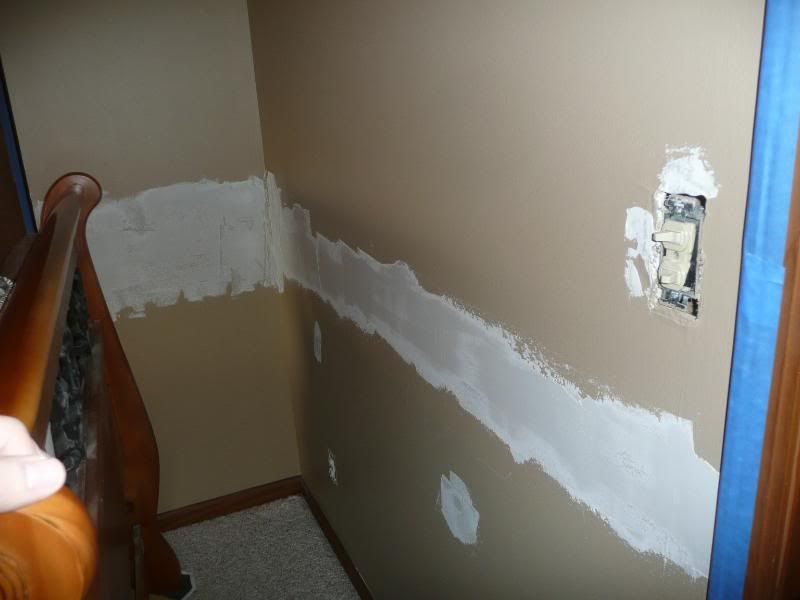 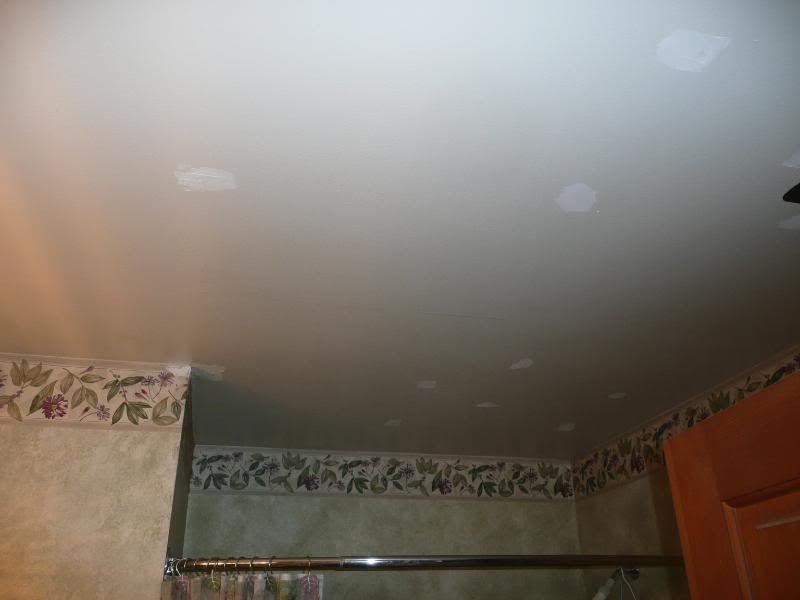 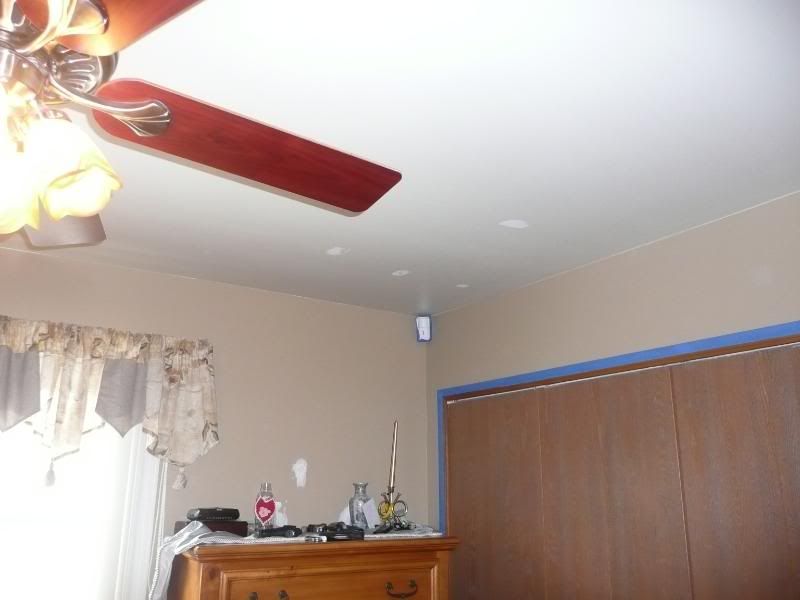 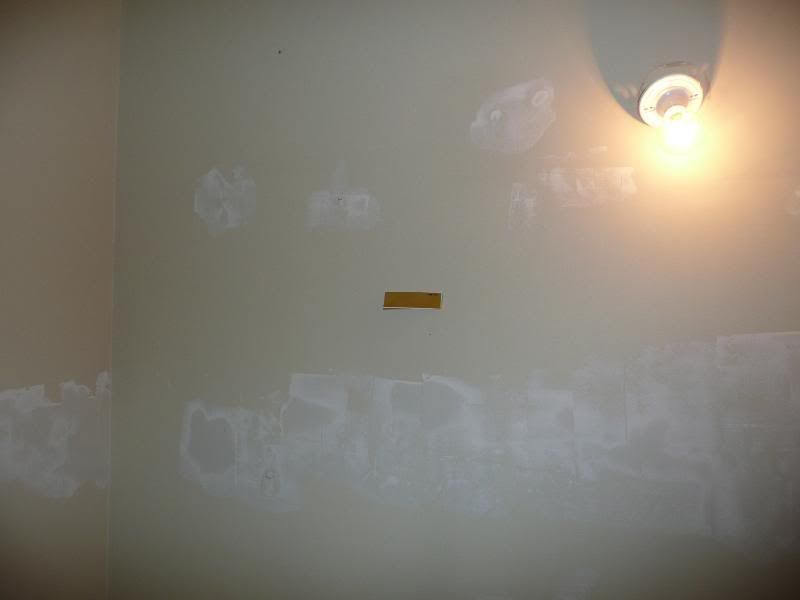 Also due to the new vanity being smaller. I want to center it with the door. Meaning it needs to be off the right wall. This means moving the pvc drain. Cut and plug this 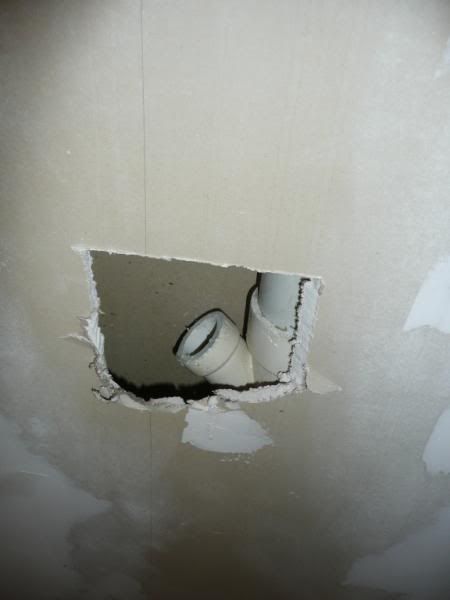 Then cover the hole and mud 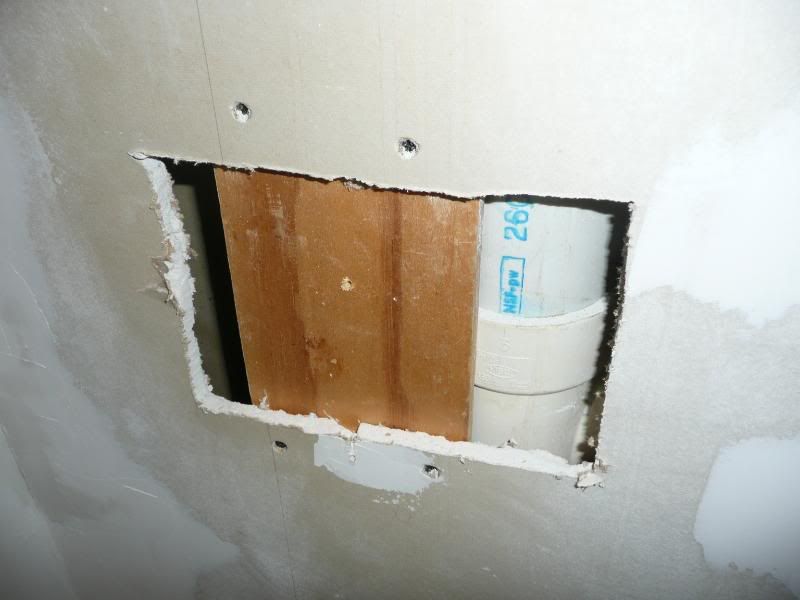 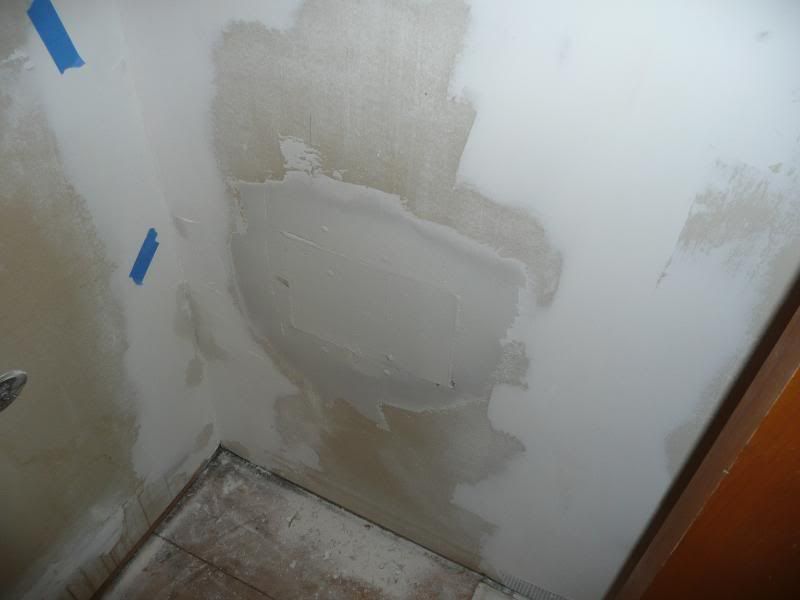 Tomorrow I'm going to work on more mud, maybe some ceiling paint, lowe's trip, and getting started on the rope light/crown molding project in the main bath. |
|
|

|
|
|
#109 |
|
Trip's Assistant
 Join Date: Feb 2008
Location: Imported from Detroit
Moto: 2009 HD Street Classic
Posts: 12,149
|
Well been workin on these bathrooms over the past few weeks... been going slow at it unlike how I did the kitchen...
Did lots more mud work... Did I ever tell ya how much I hate mud work? 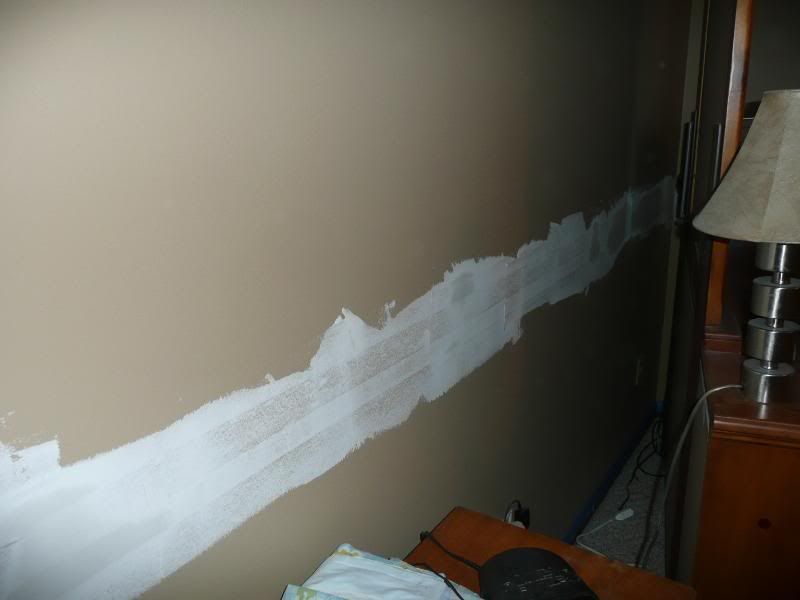 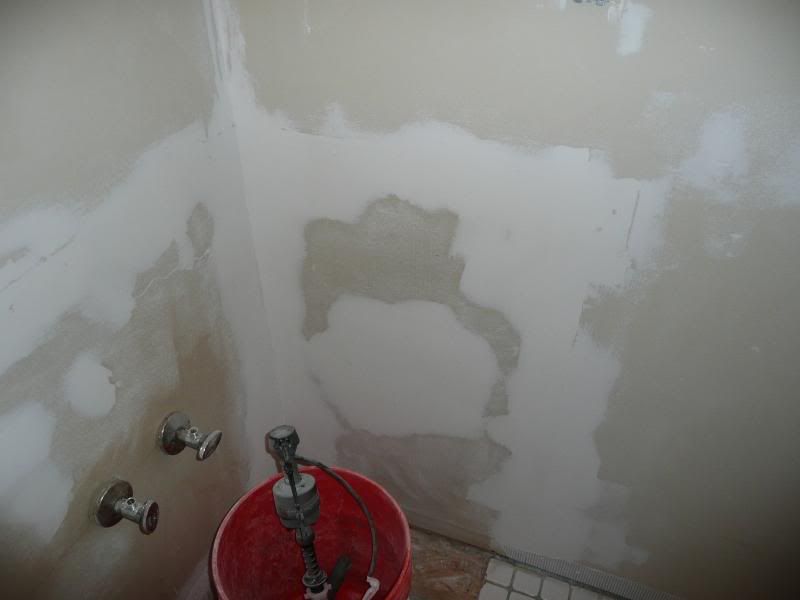 Picked up some new nickle switch covers 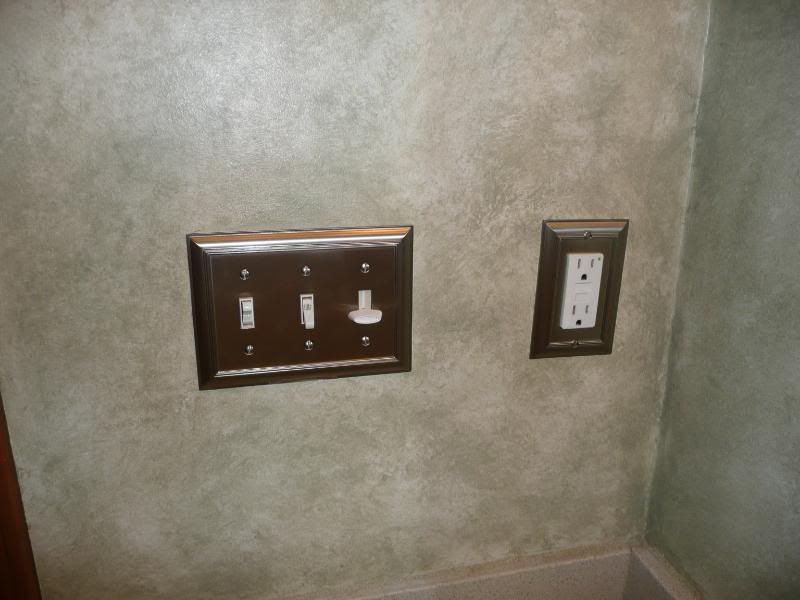 Tore the old floor out of the half bath... found some old moisture damage... probably a leaky wax seal at one time... all dry now and wood was still solid... 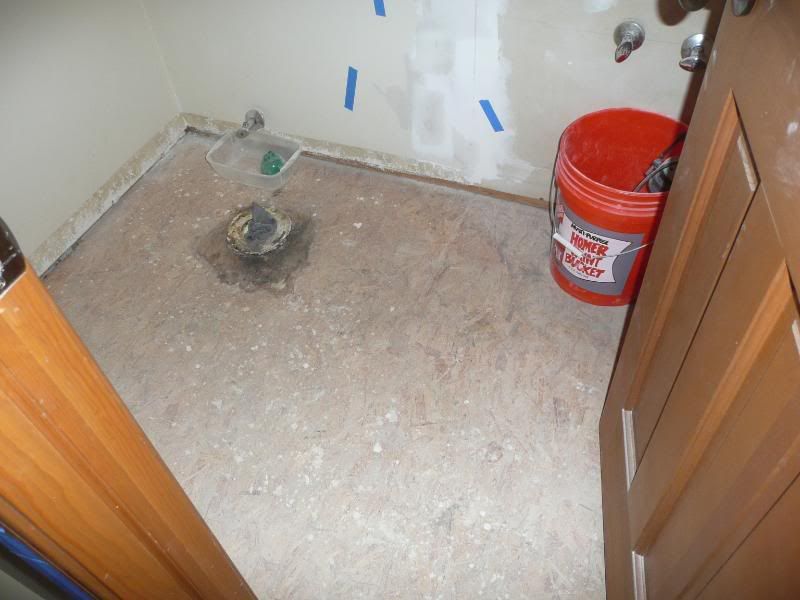 After I cleaned it with bleach water and let it air out for a couple days I painted it with some killz primer to be sure to seal it up 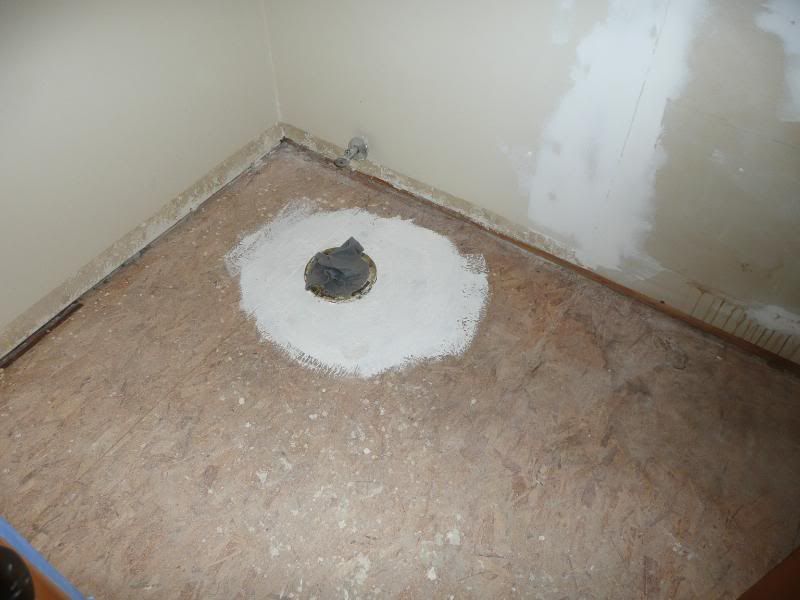 Painted the cielings... ultra pure white eggshelf finish 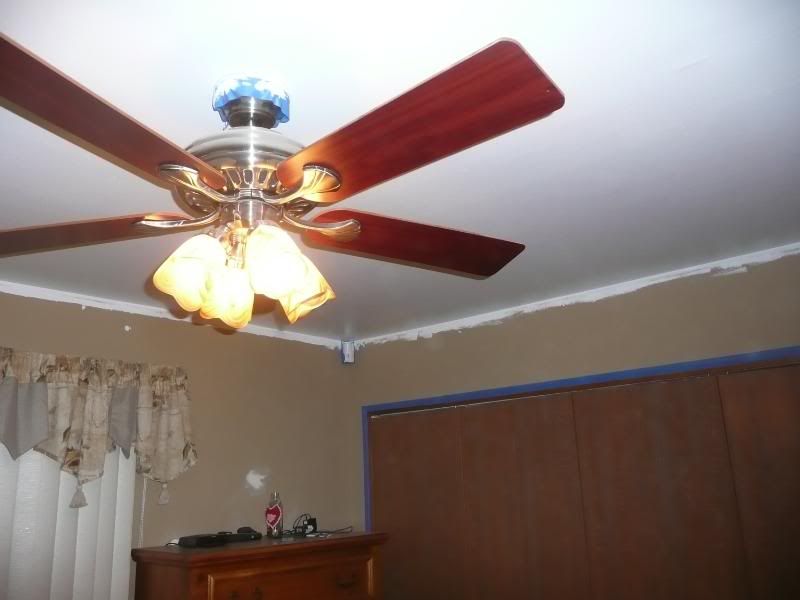 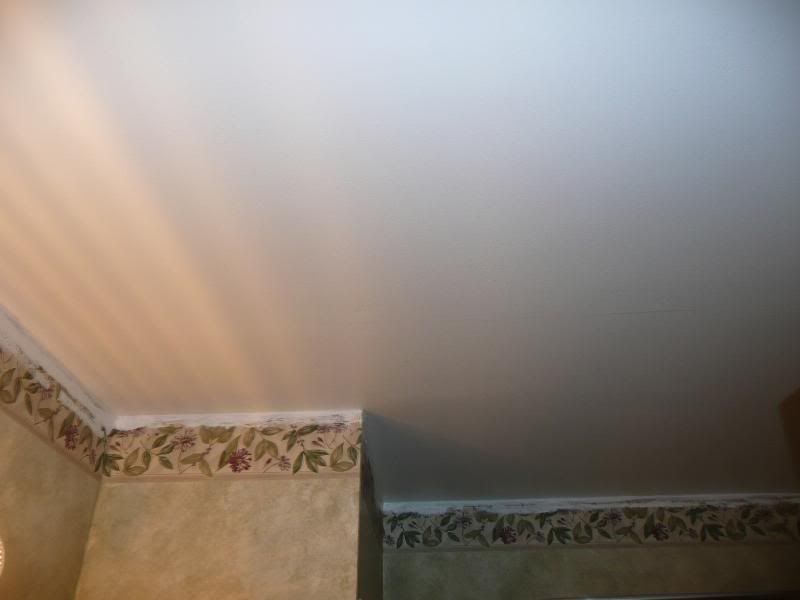 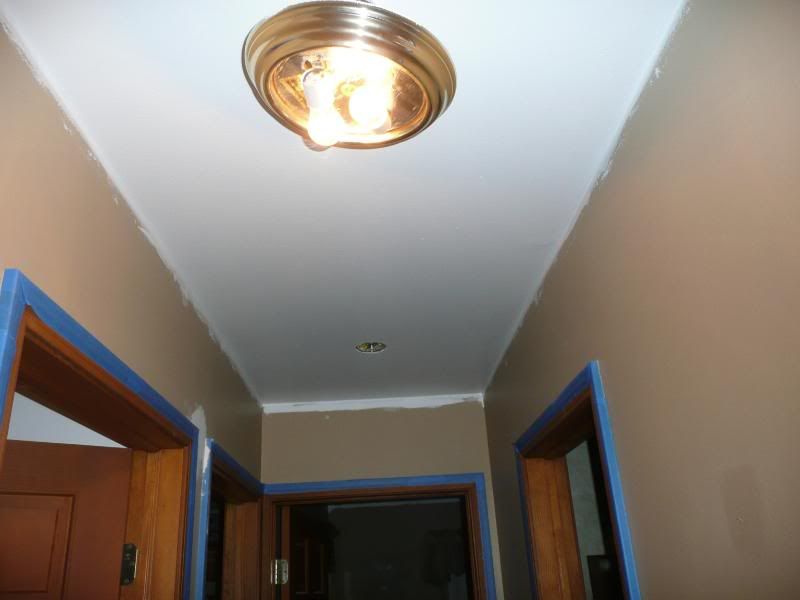 Tore out the main bath floor.... OUCH is all I have to say... 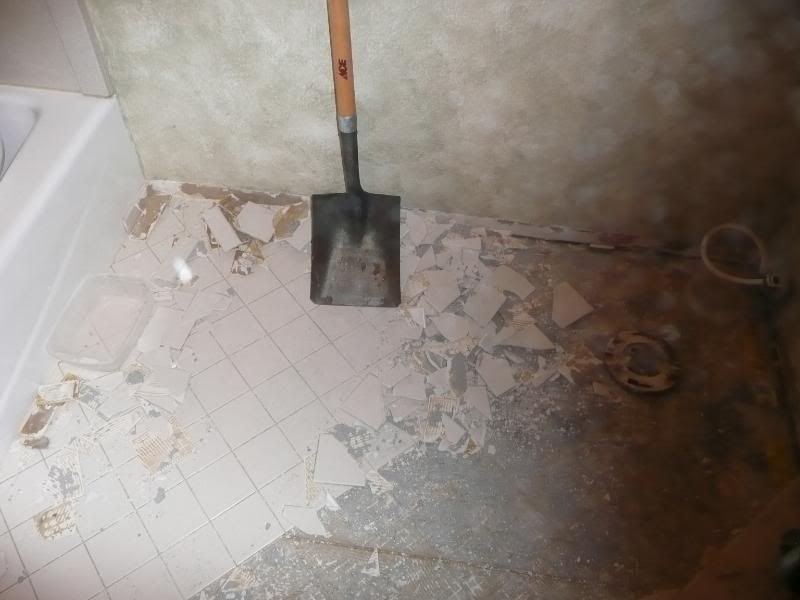 Toilet in a tub LOL 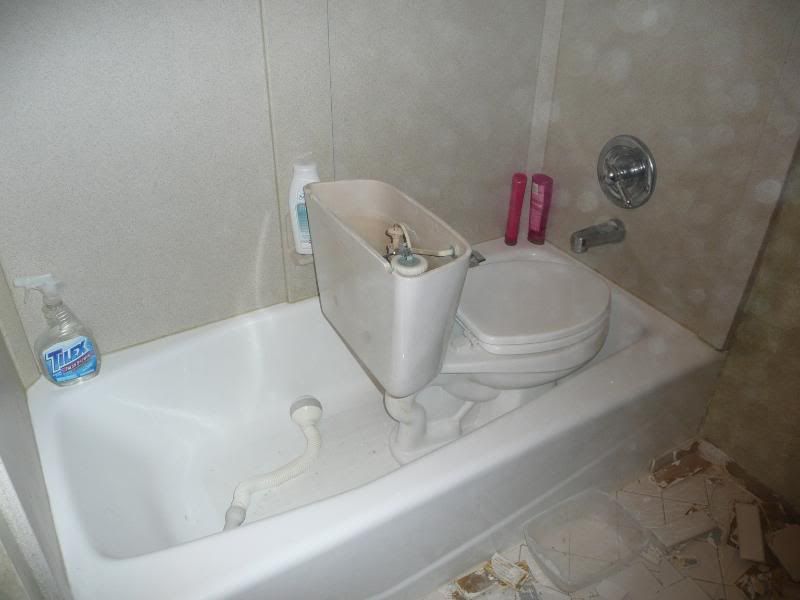 Pulled out the main bath vanity & Found some old water damage here too... so same thing... cleaned with bleach water, air out, paint with killz. This one was also due to the builder jackasses didn't put in a heat duct/vent and just had the heat duct blowing under the vanity... stupid! 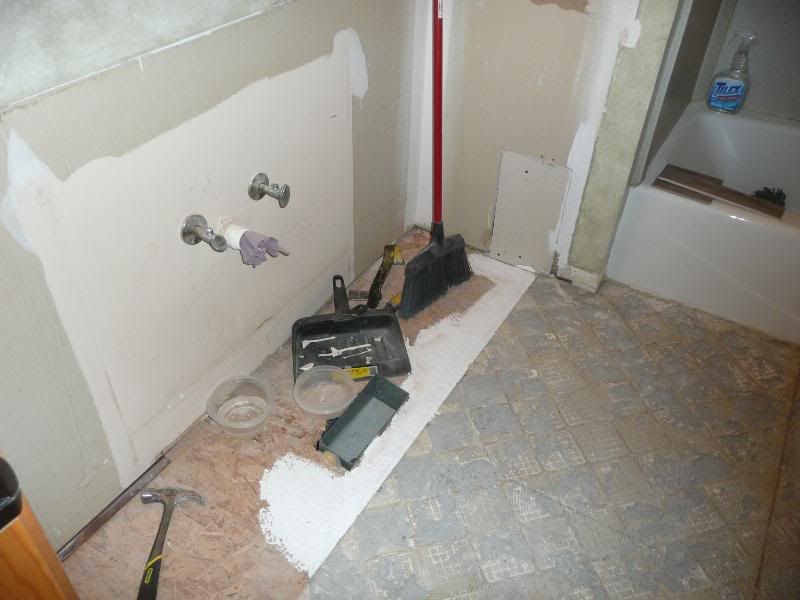 Had to build up the vanity spot due to the front lower facia on the new one...also notice a proper heat duct/vent 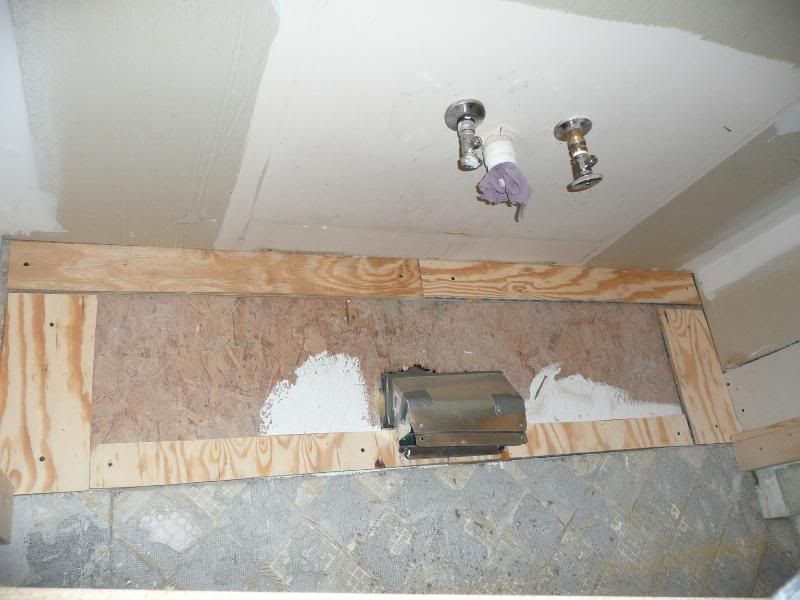 Also had to put some wood filler on the sides (60" vanity in a 64" hole) cause I didn't want to custom order a vanity at double the cost. 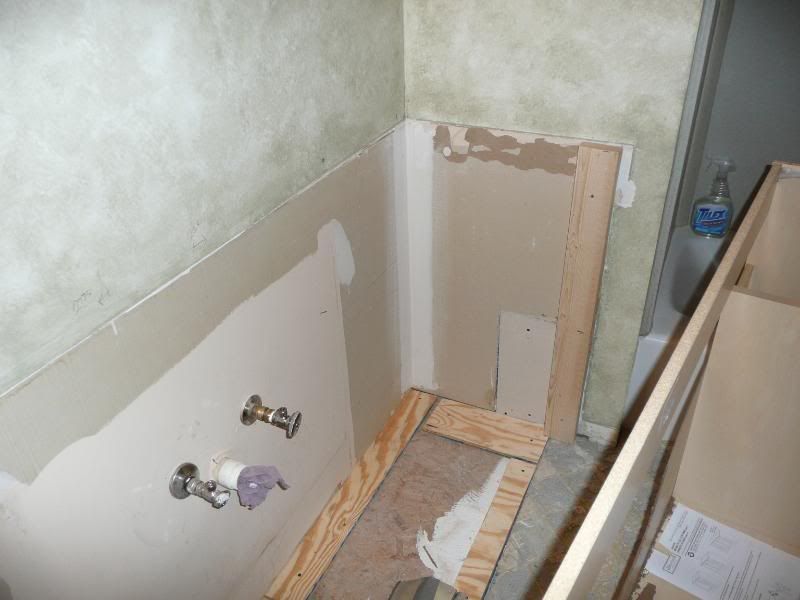 New adult height vanity in. 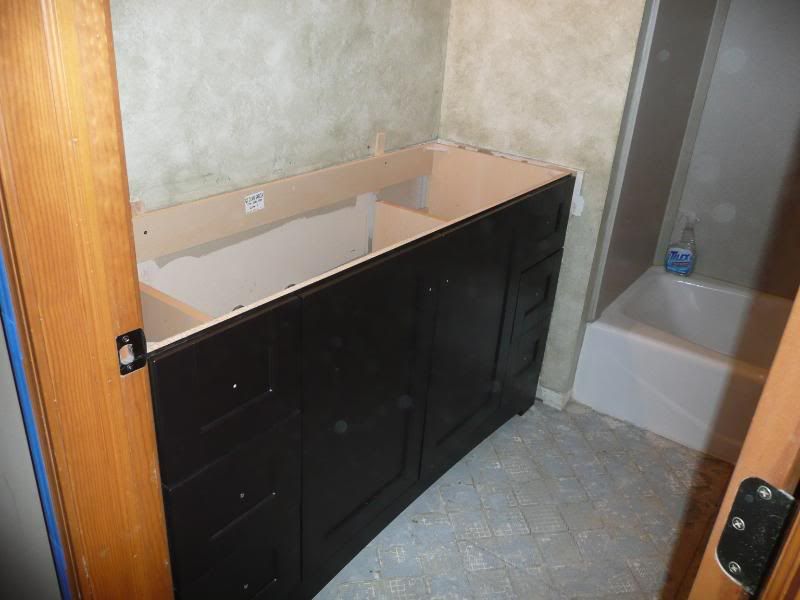 Oh... its tile and one complicated pattern 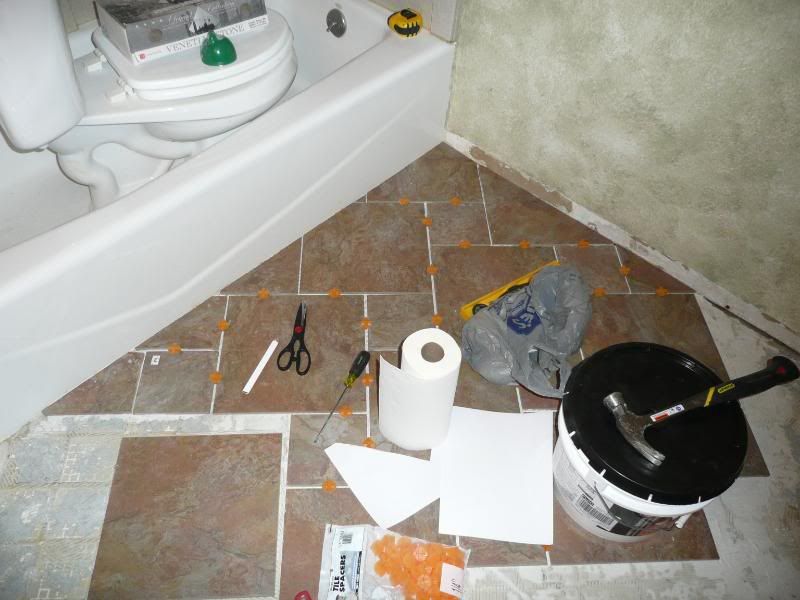 One of the worse pieces 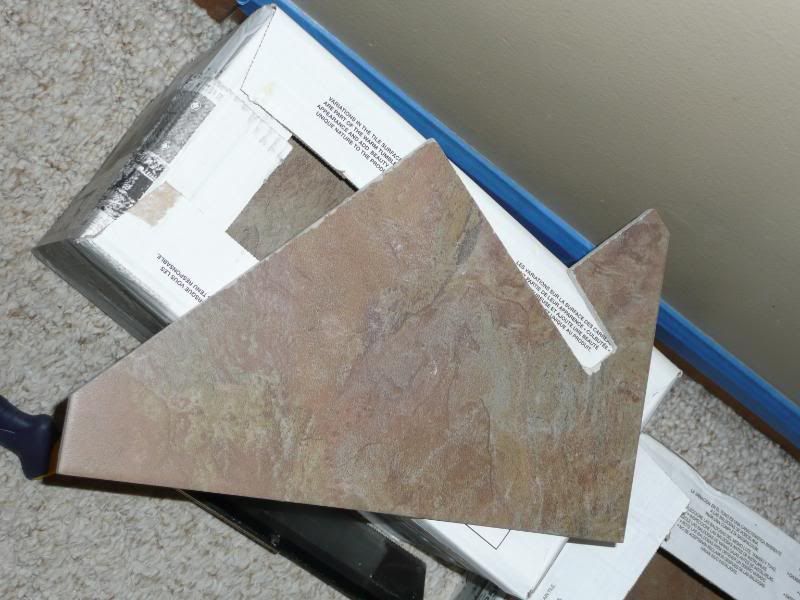 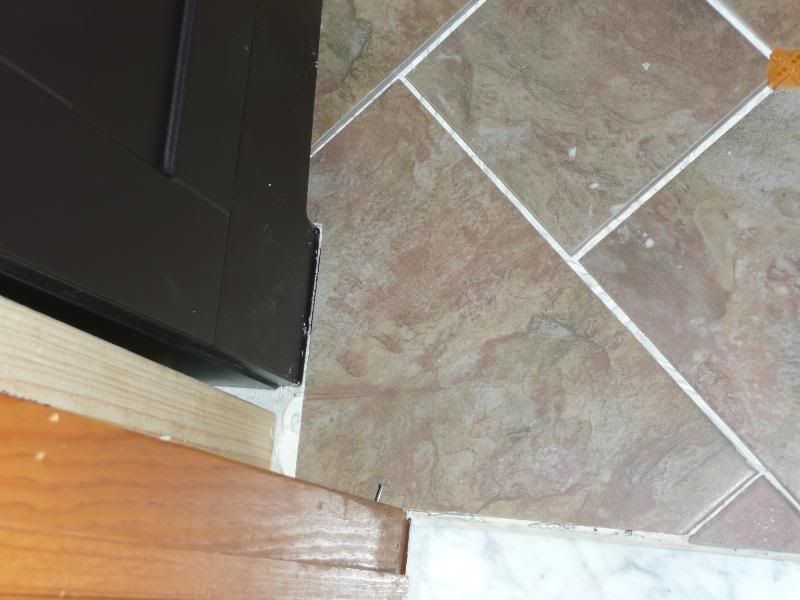 Can't wait to grout it 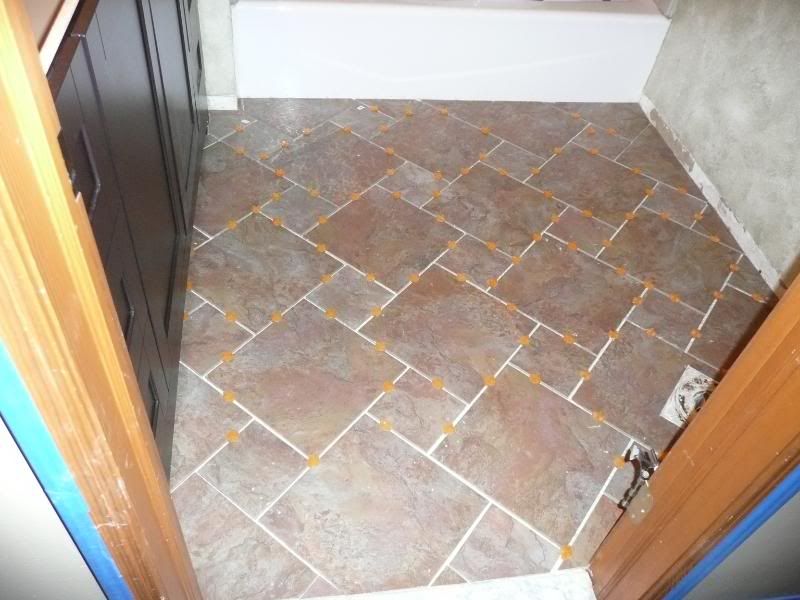 The tile shop... 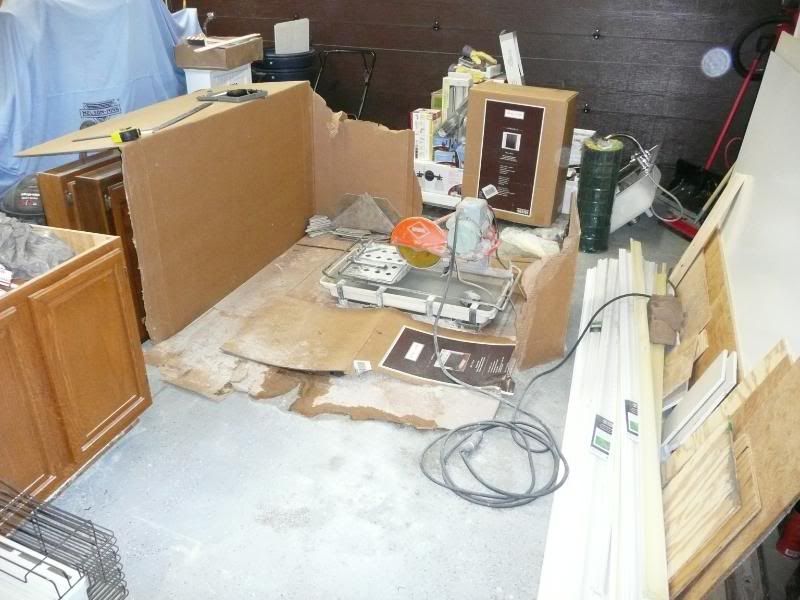
|
|
|

|
|
|
#110 |
|
Trip's Assistant
 Join Date: Feb 2008
Location: Imported from Detroit
Moto: 2009 HD Street Classic
Posts: 12,149
|
Because I discountinued the plumbing in the master bath... had to run new... even thru in a mechanical vent because I was tapping into the shower drain line and no longer right into the main drain with the roof vent. Just a pre-caution.
 Got to love drop ceilings in the basement... 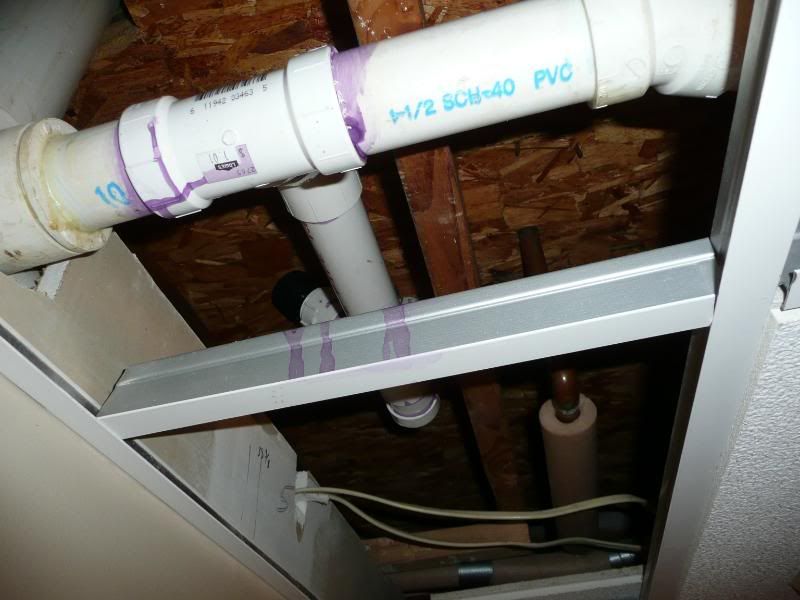 Then I tiled the master bath 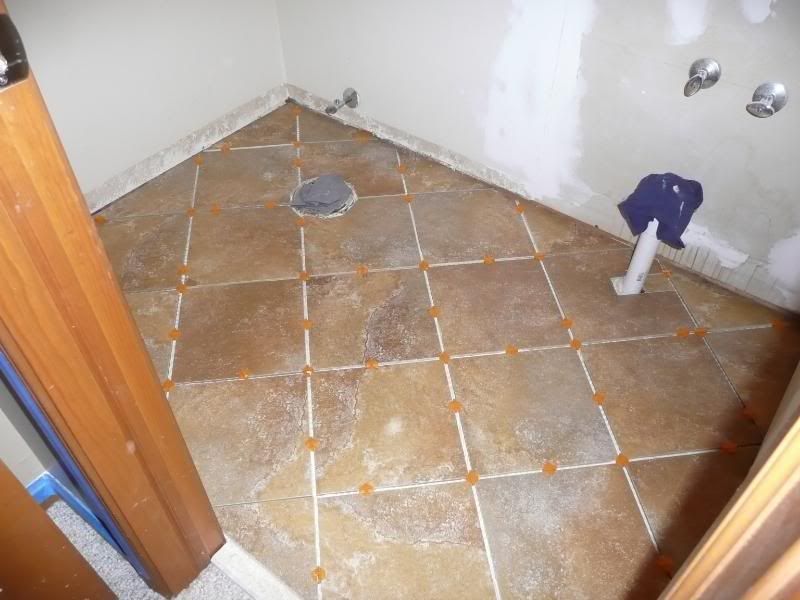 Then primered the walls white 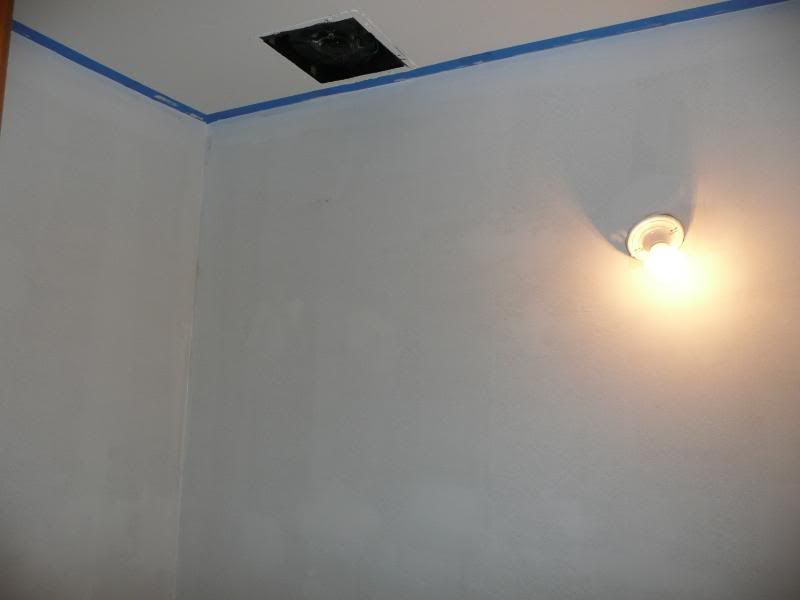 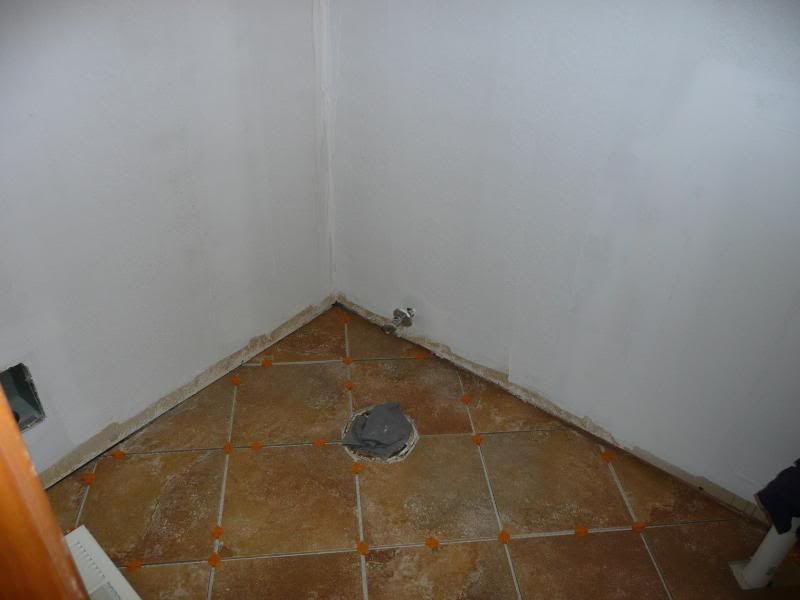 Installed the corian vanity top/sink. Then, after I ripped the piece. Added it in to trim out the sides of the vanity (remember due to the 60" in a 64" hole). 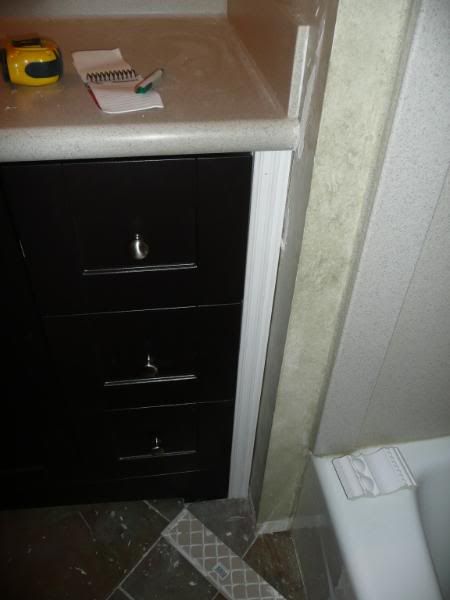 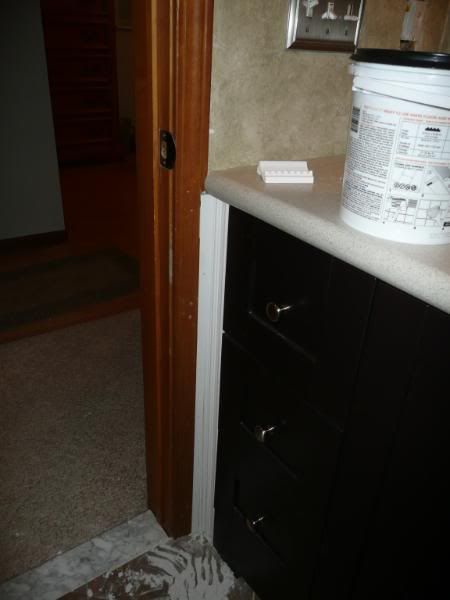 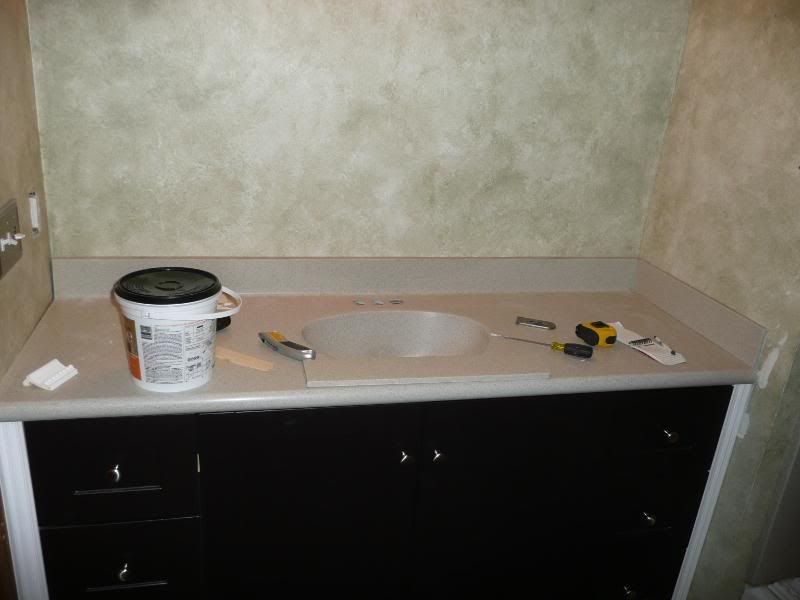 Then back to tiling... did the bullnose on the floor 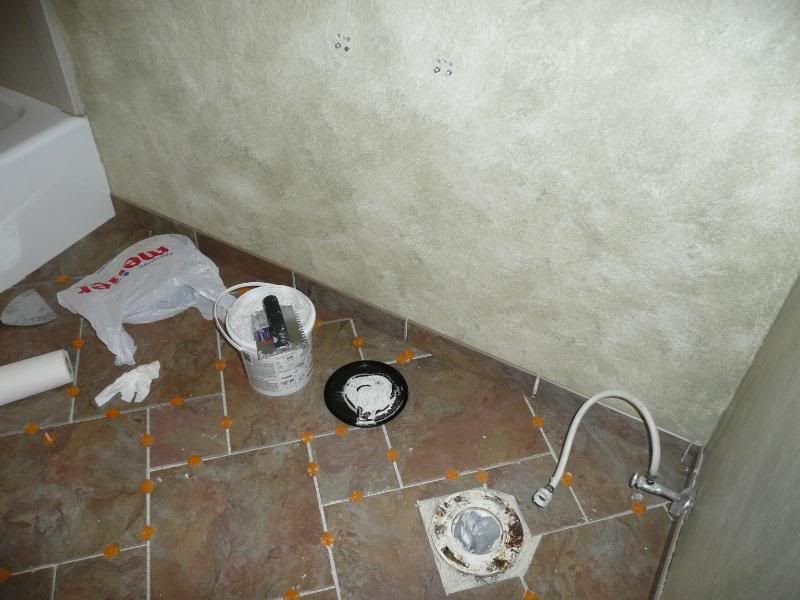 Started to work on the tub top surround tile. Had to come up with my own pattern... 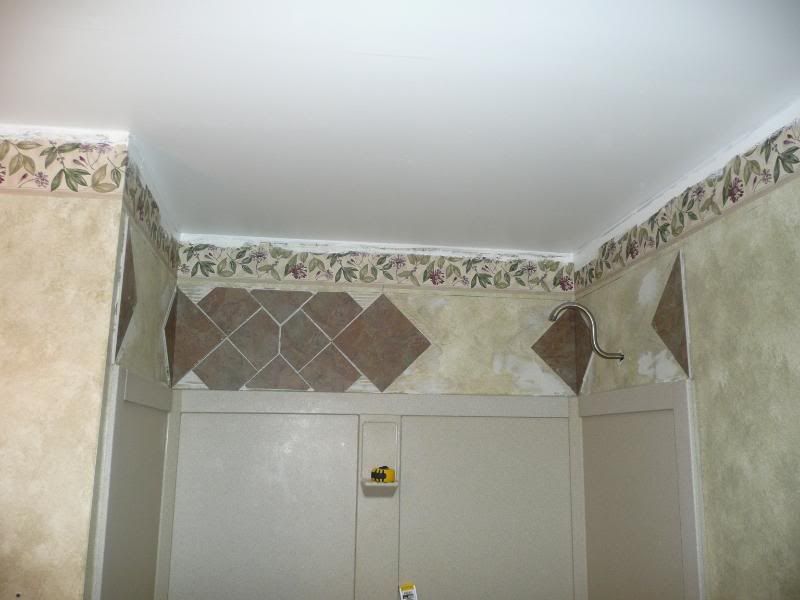 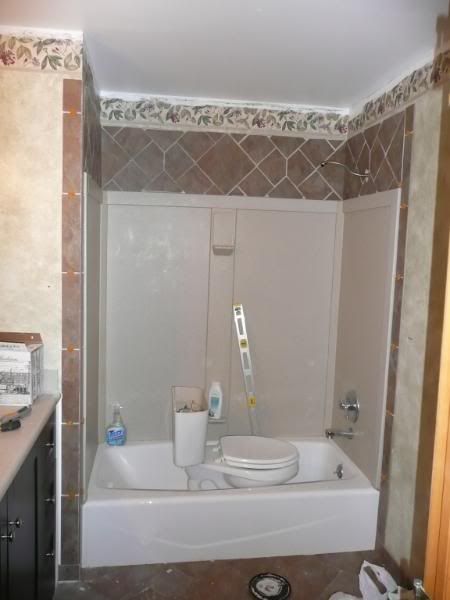  Hung some new lights... Main bath 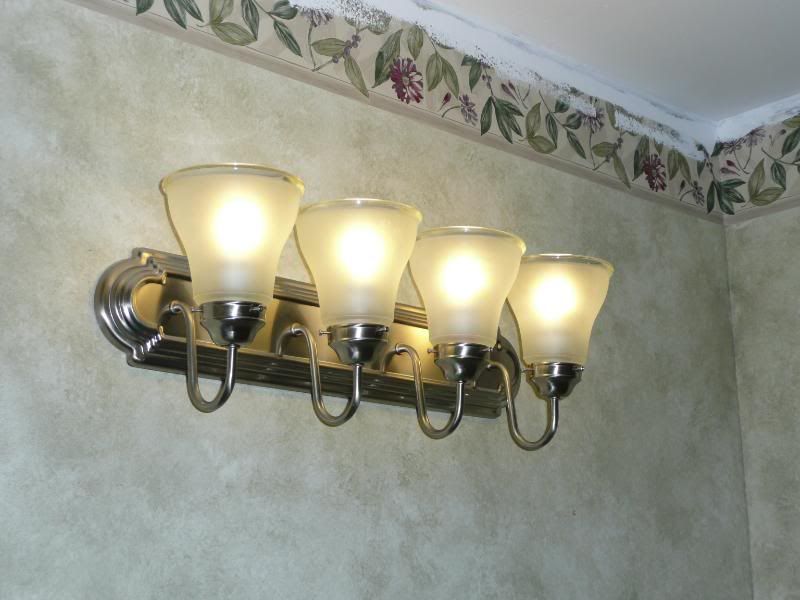 Master bath 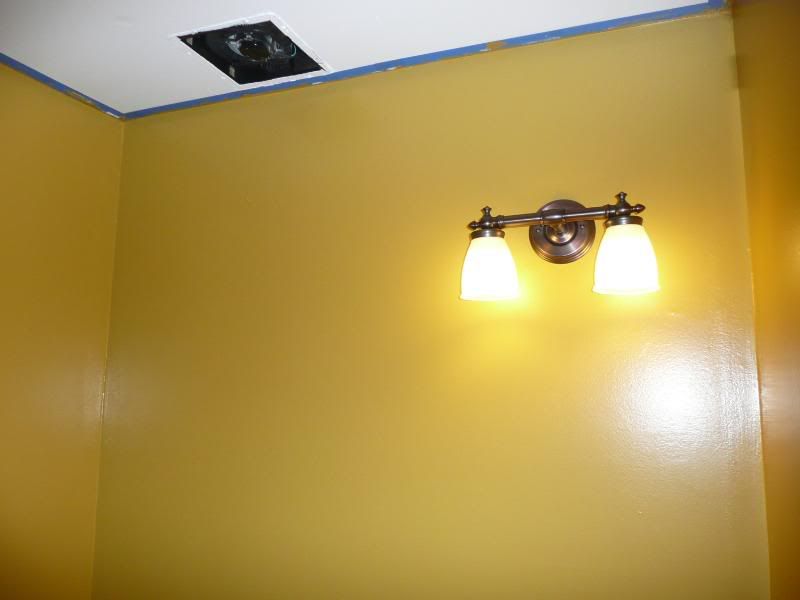 Hallway 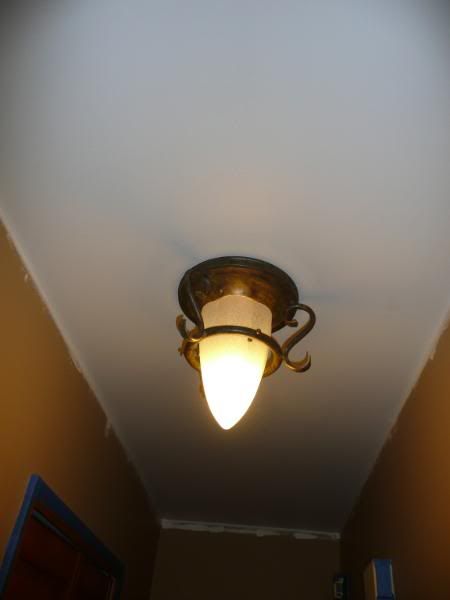
Last edited by Gas Man; 02-25-2009 at 01:44 AM.. |
|
|

|
 |
| Bookmarks |
| Thread Tools | |
| Display Modes | |
|
|