
 |
 |
 |
 |
 |
 |
 |
 |
 |
|
|
#11 |
|
Trip's Assistant
 Join Date: Feb 2008
Location: Imported from Detroit
Moto: 2009 HD Street Classic
Posts: 12,149
|
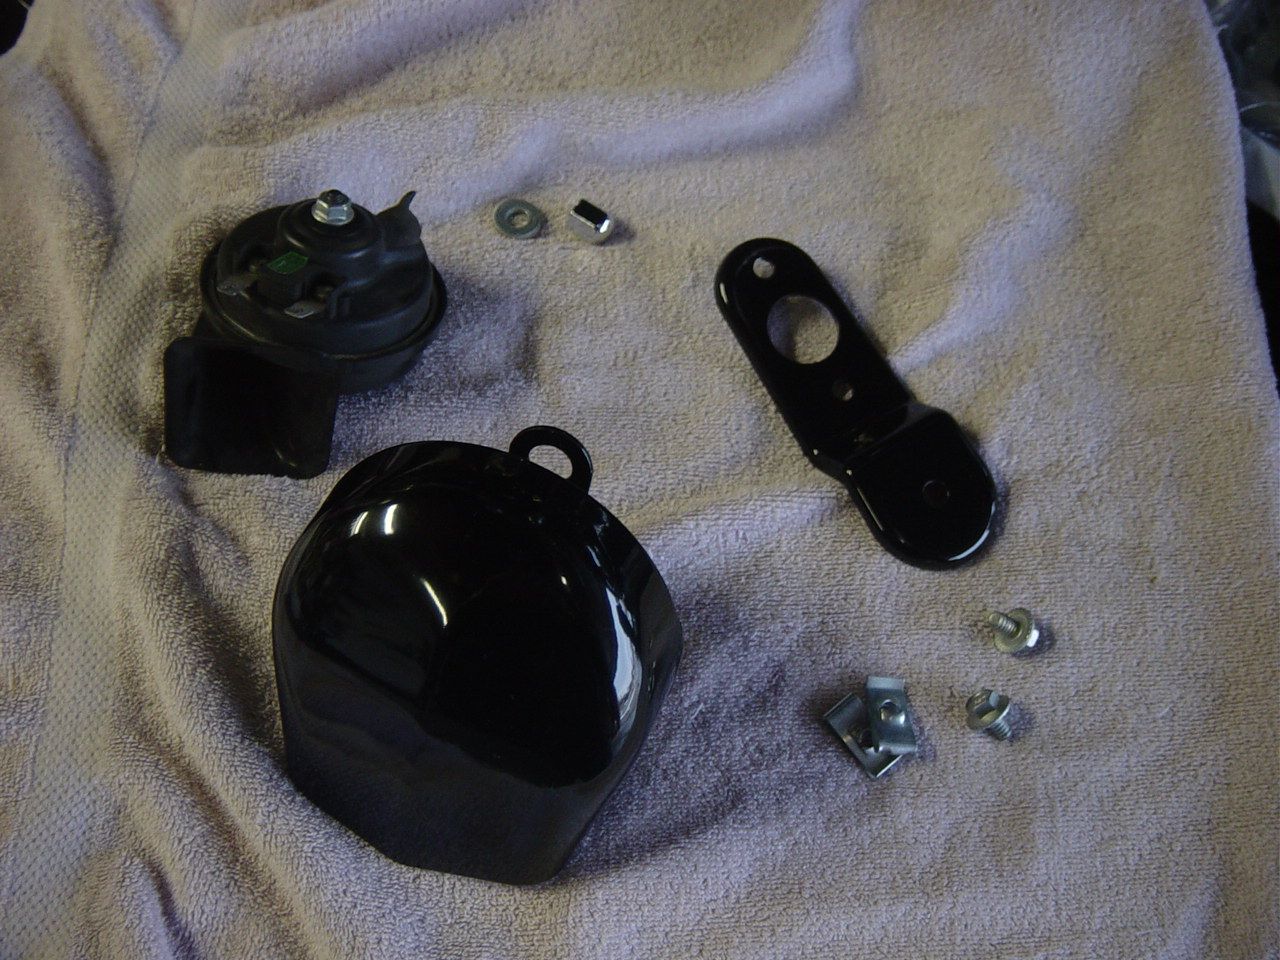
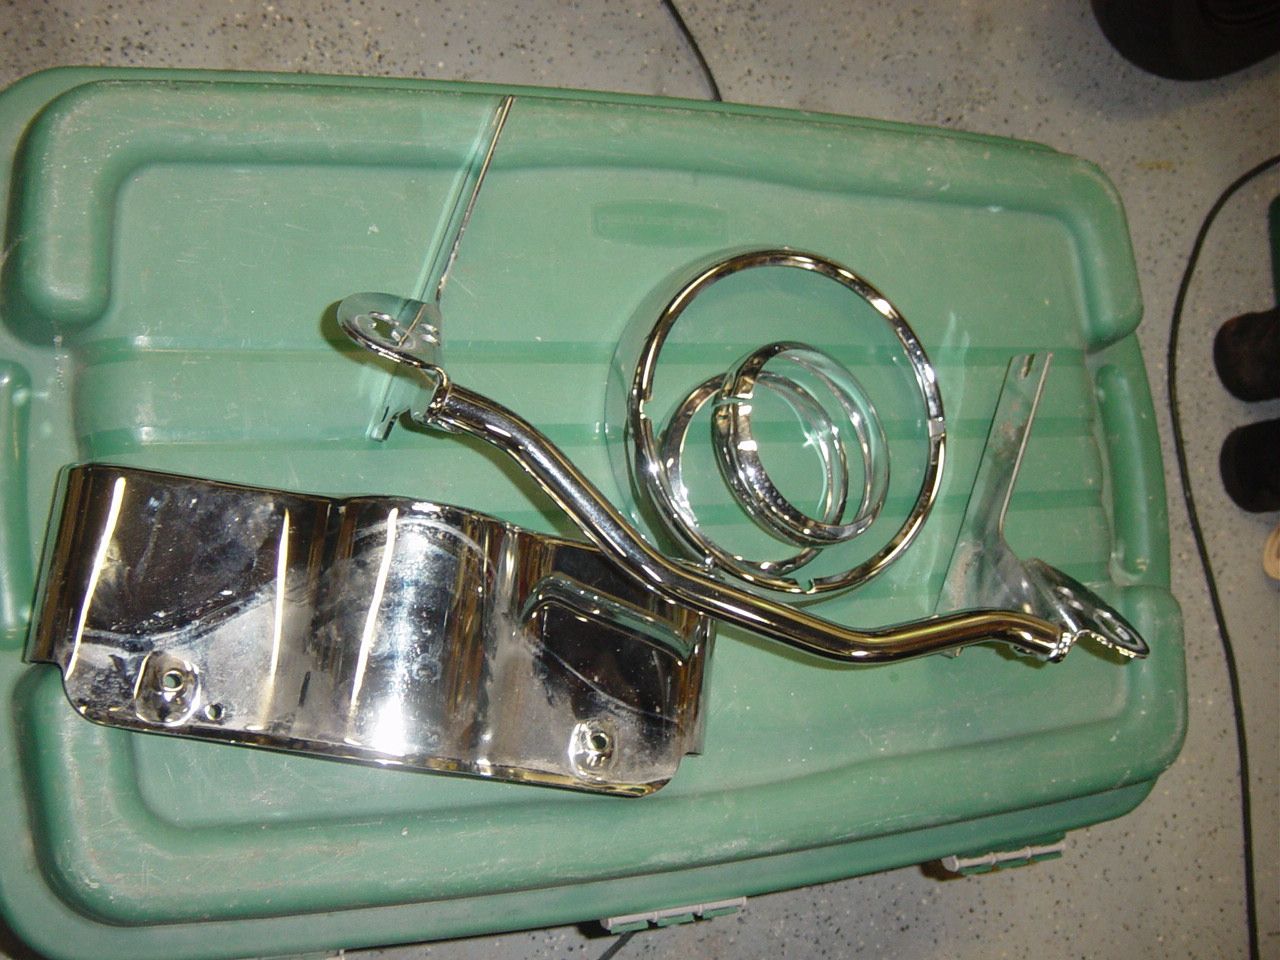
Got the horn done... here's the pieces
 And it does like I have been trying to do... disappearing act 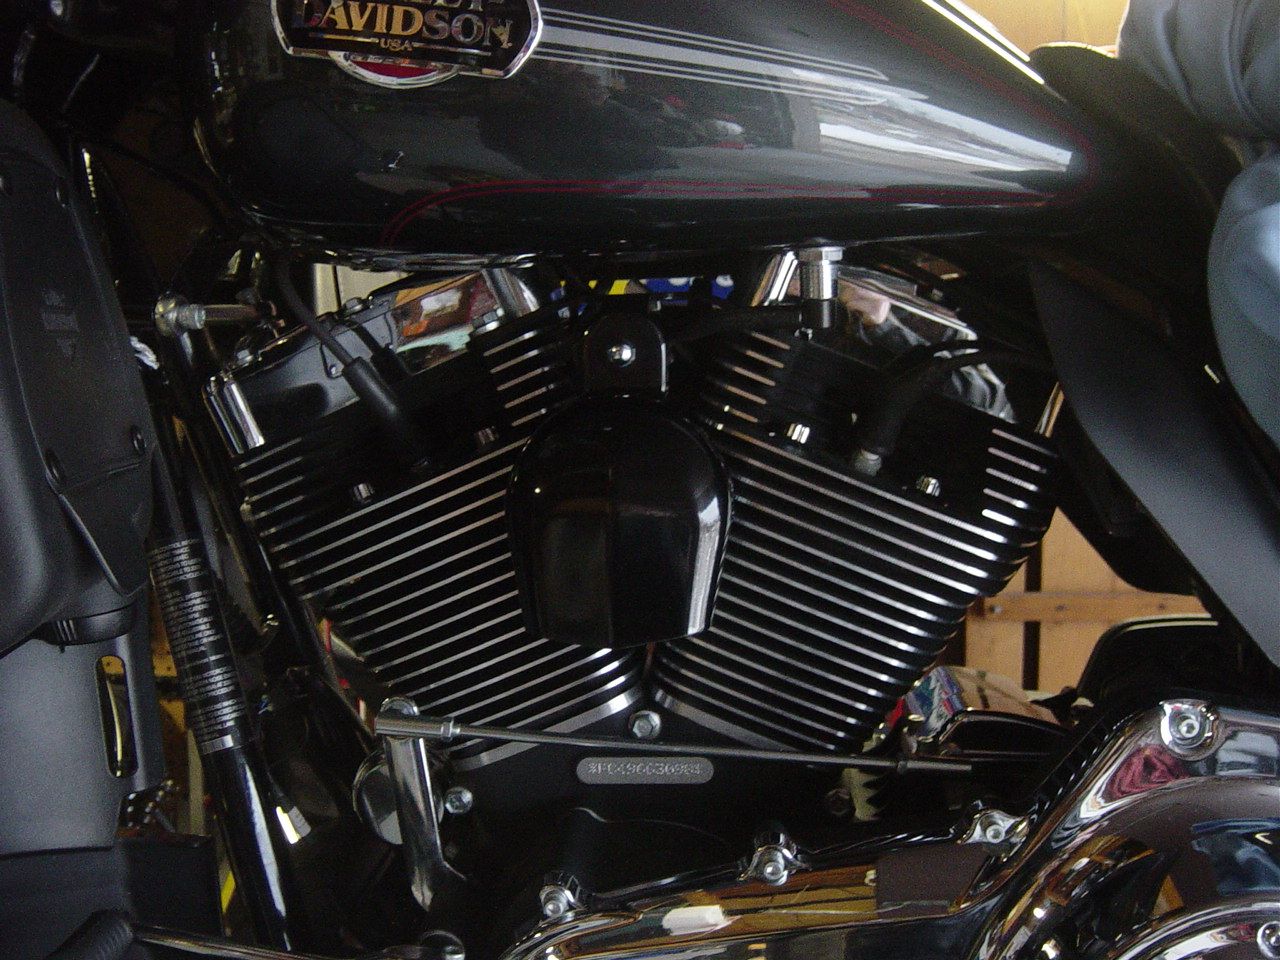 Can't put the saddlebags back together, cause one of the tubes had to be re-done... but got the fenderstruts and trunk detach kit pieces done. 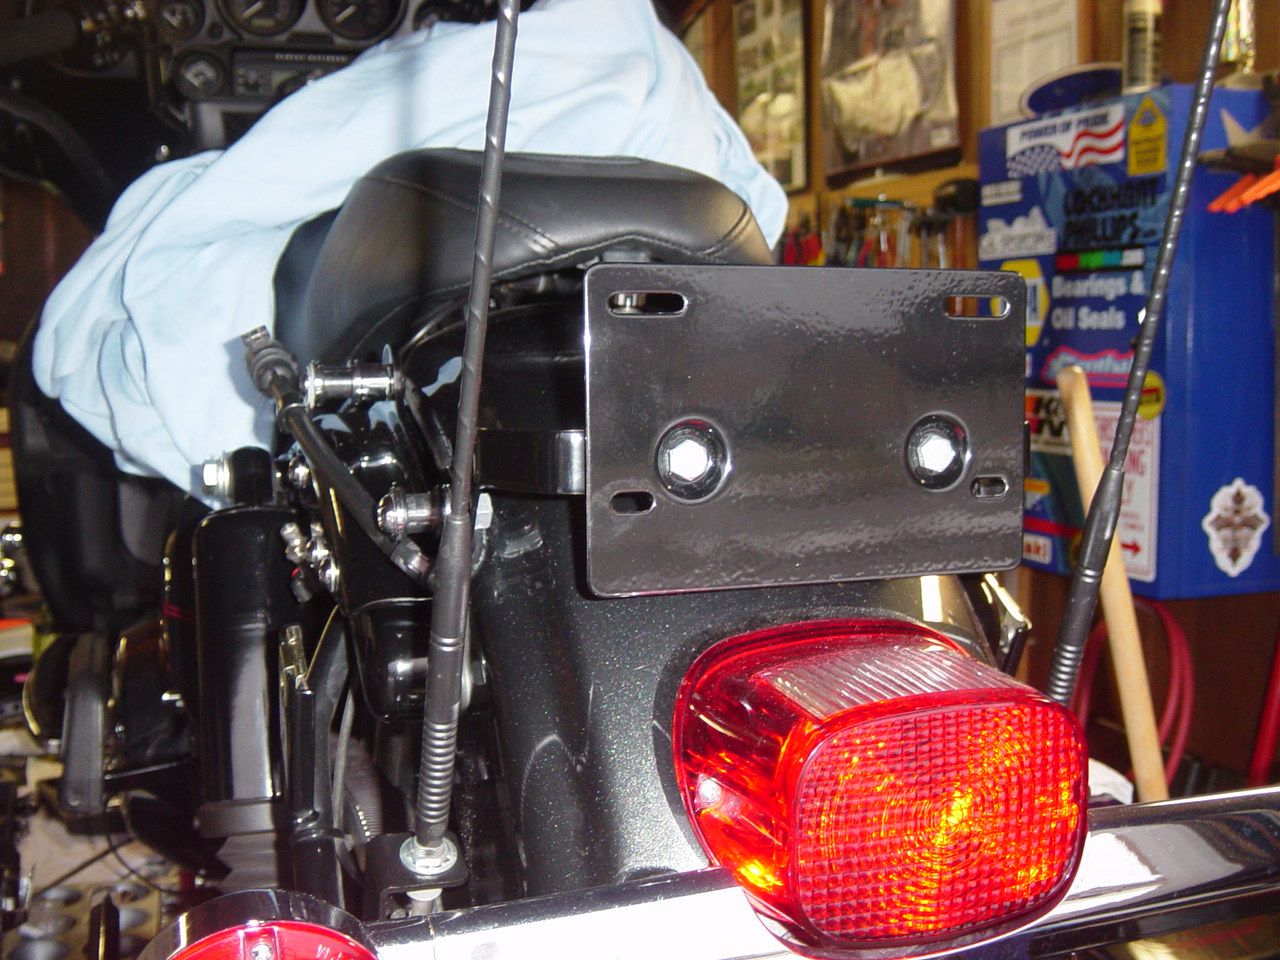 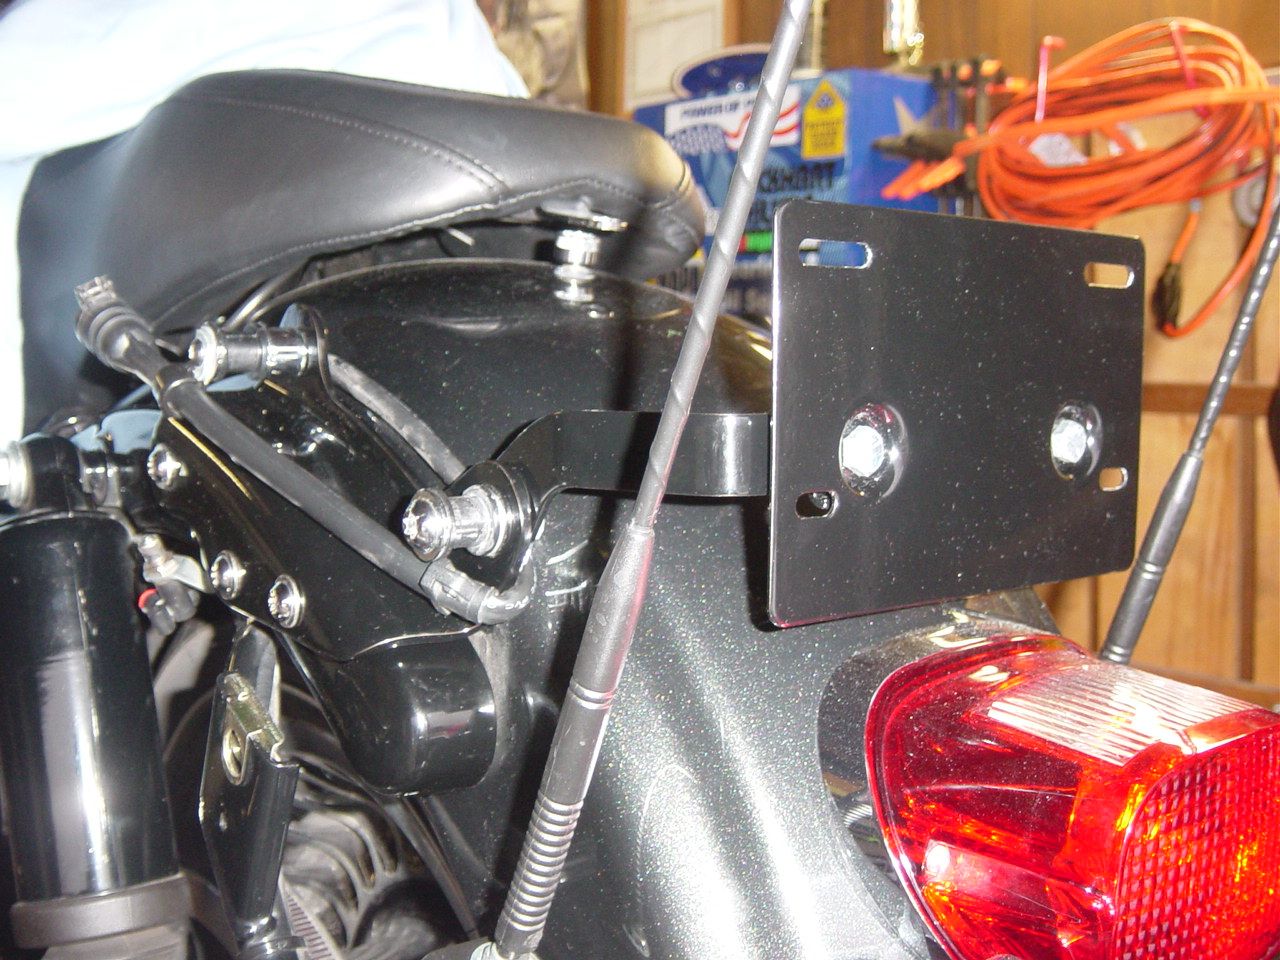 Keeping with the blend of black & chrome... the plate frame is still chrome with black print 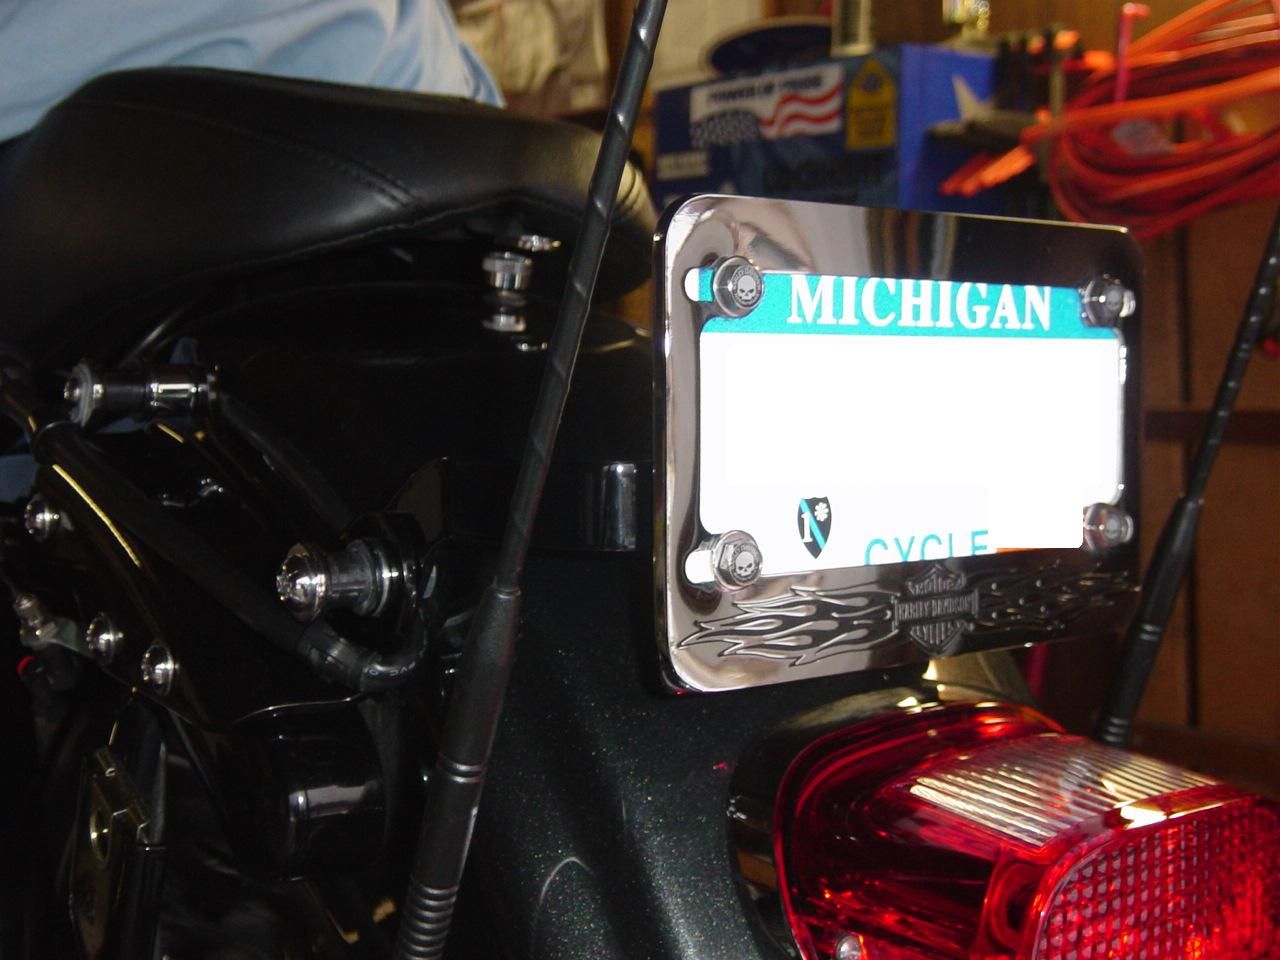 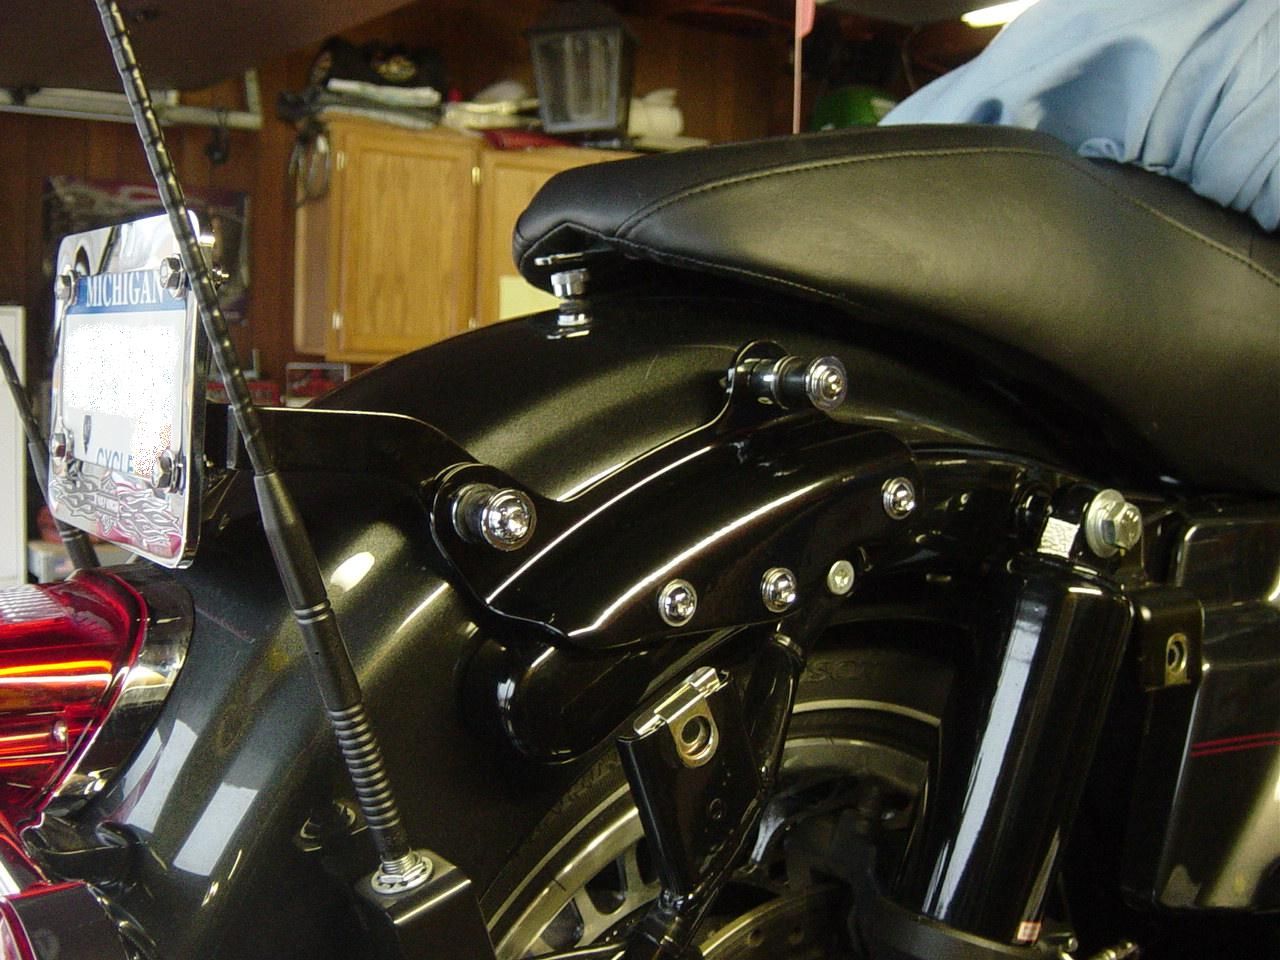
|
|
|

|
|
|
#12 |
|
Trip's Assistant
 Join Date: Feb 2008
Location: Imported from Detroit
Moto: 2009 HD Street Classic
Posts: 12,149
|
Finally have all the pieces to put the saddlebag surrounds back on.
Tap out the threaded holes so they are clean 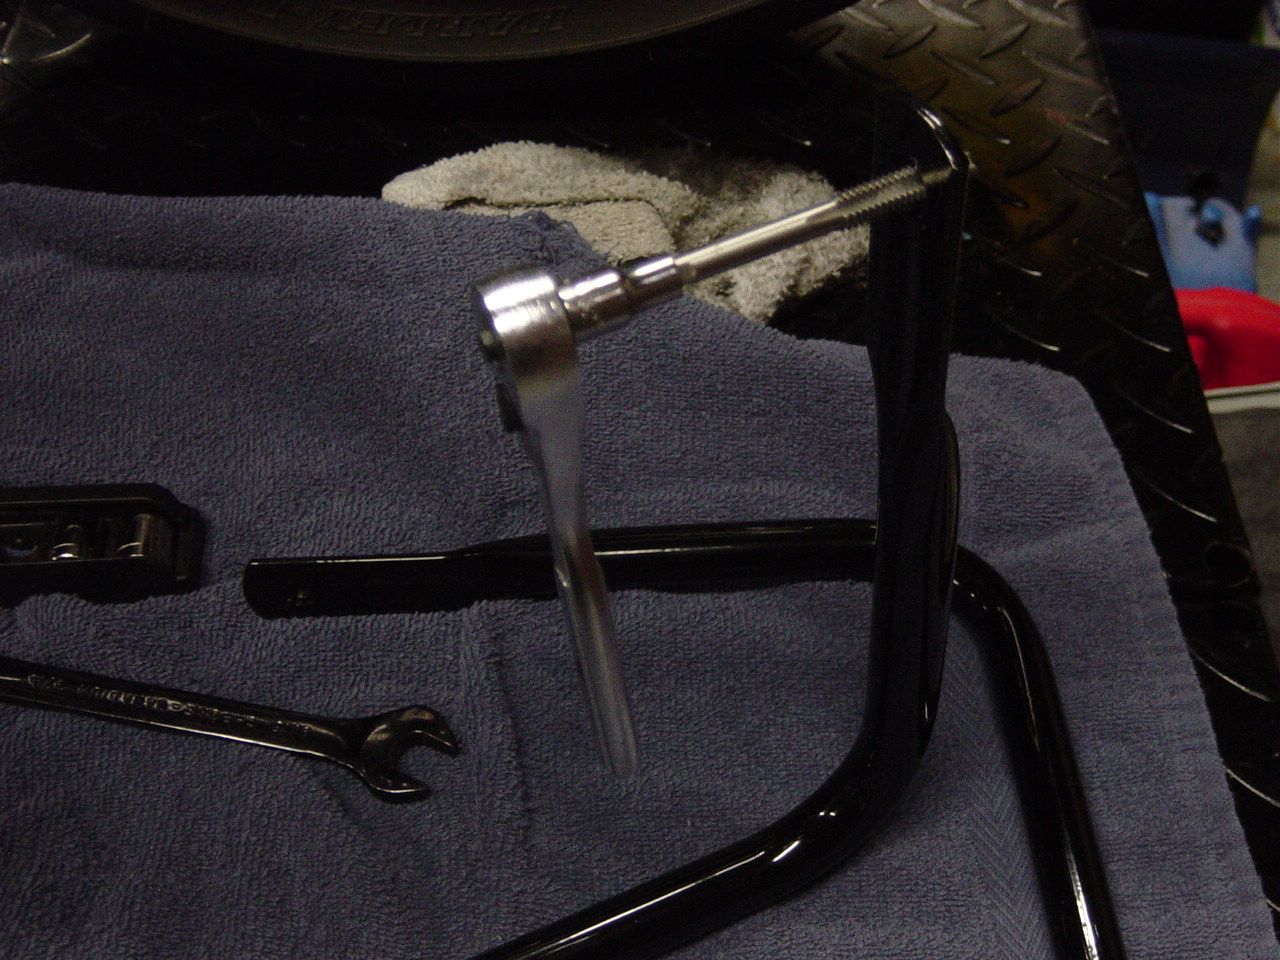 Get it together 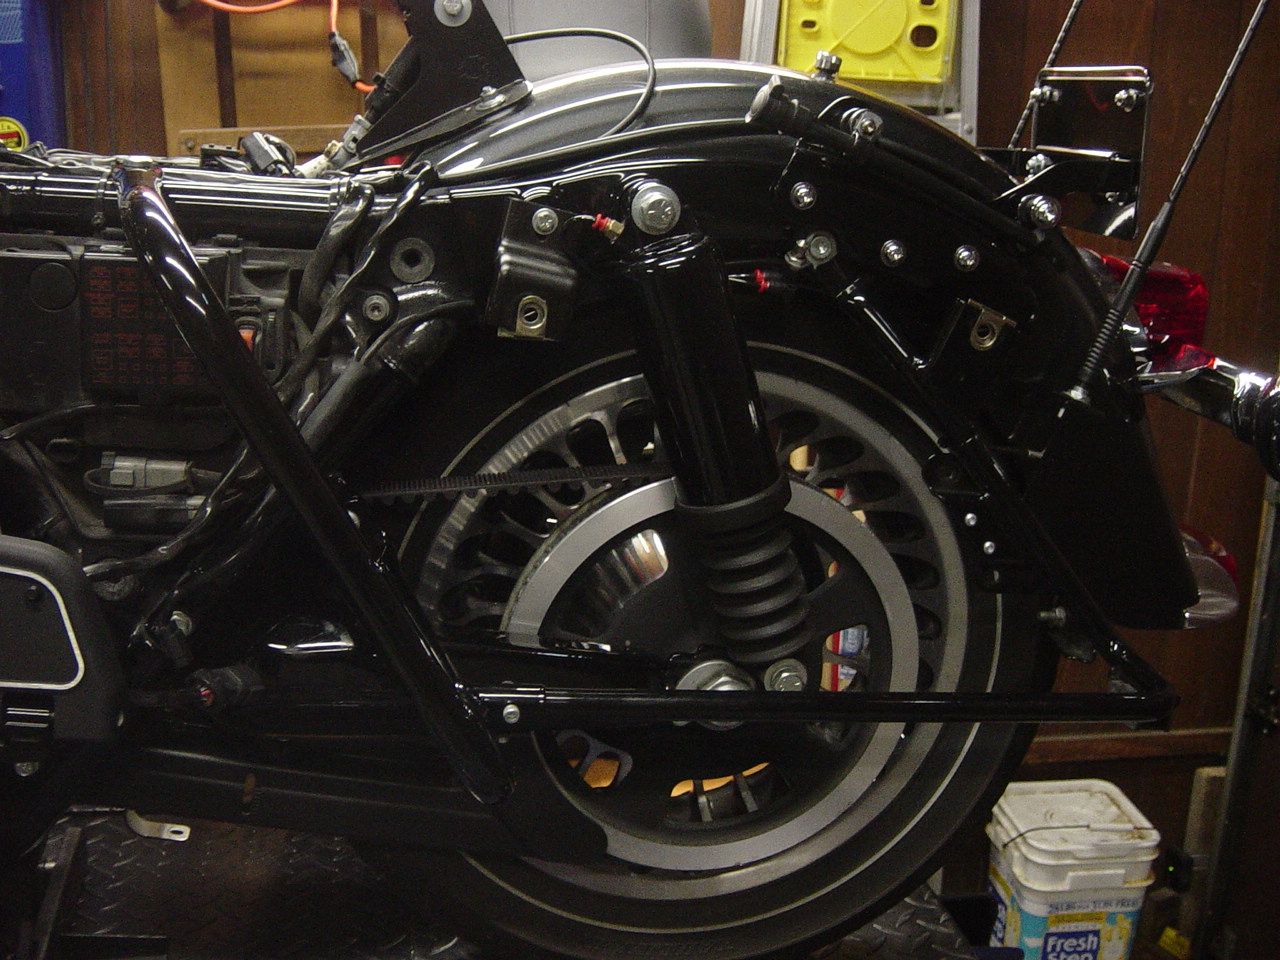 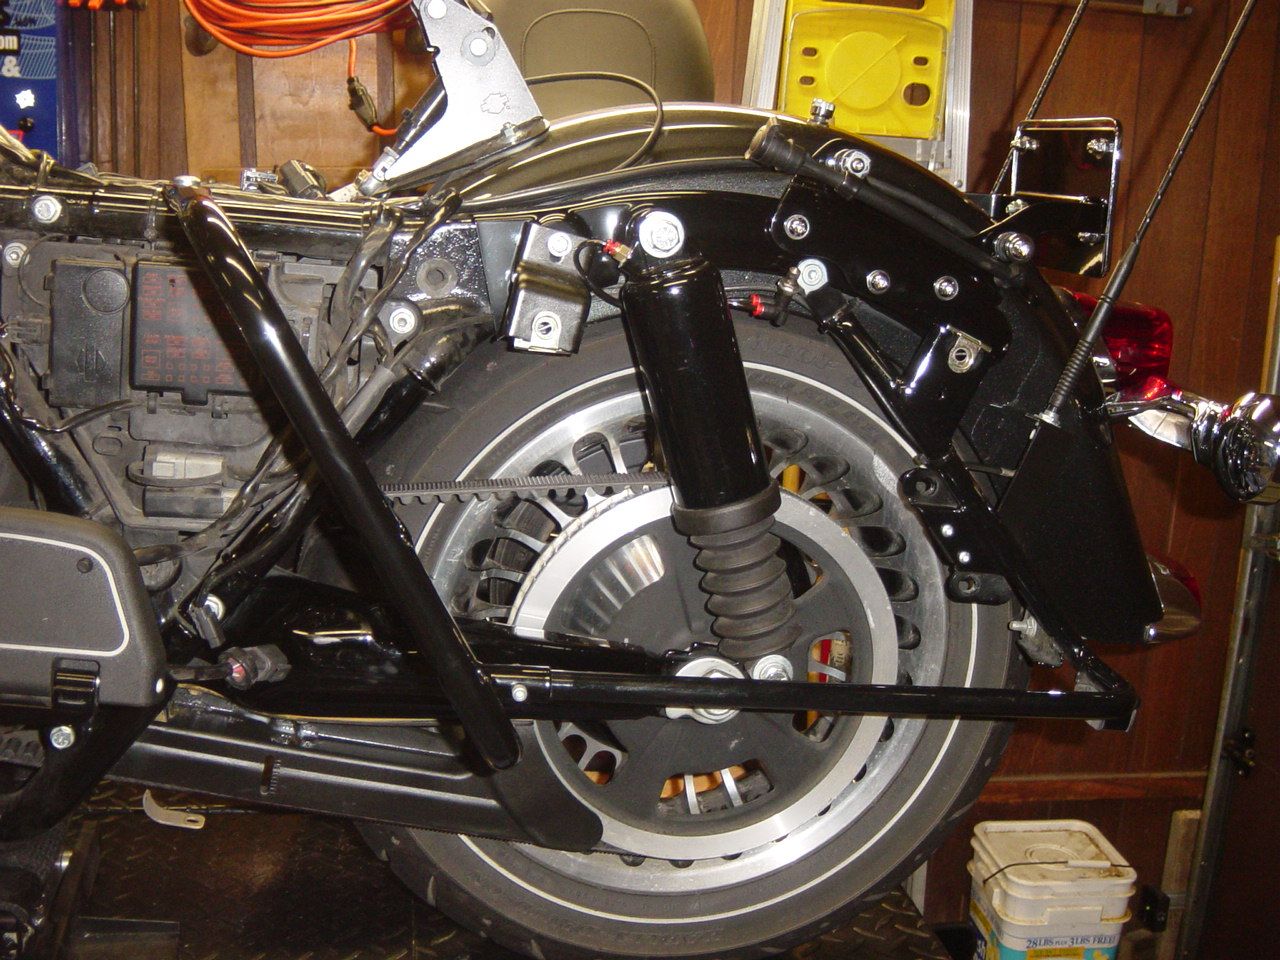 Got two of each of these shots below (with & without flash) neither is exactly how it looks in person. 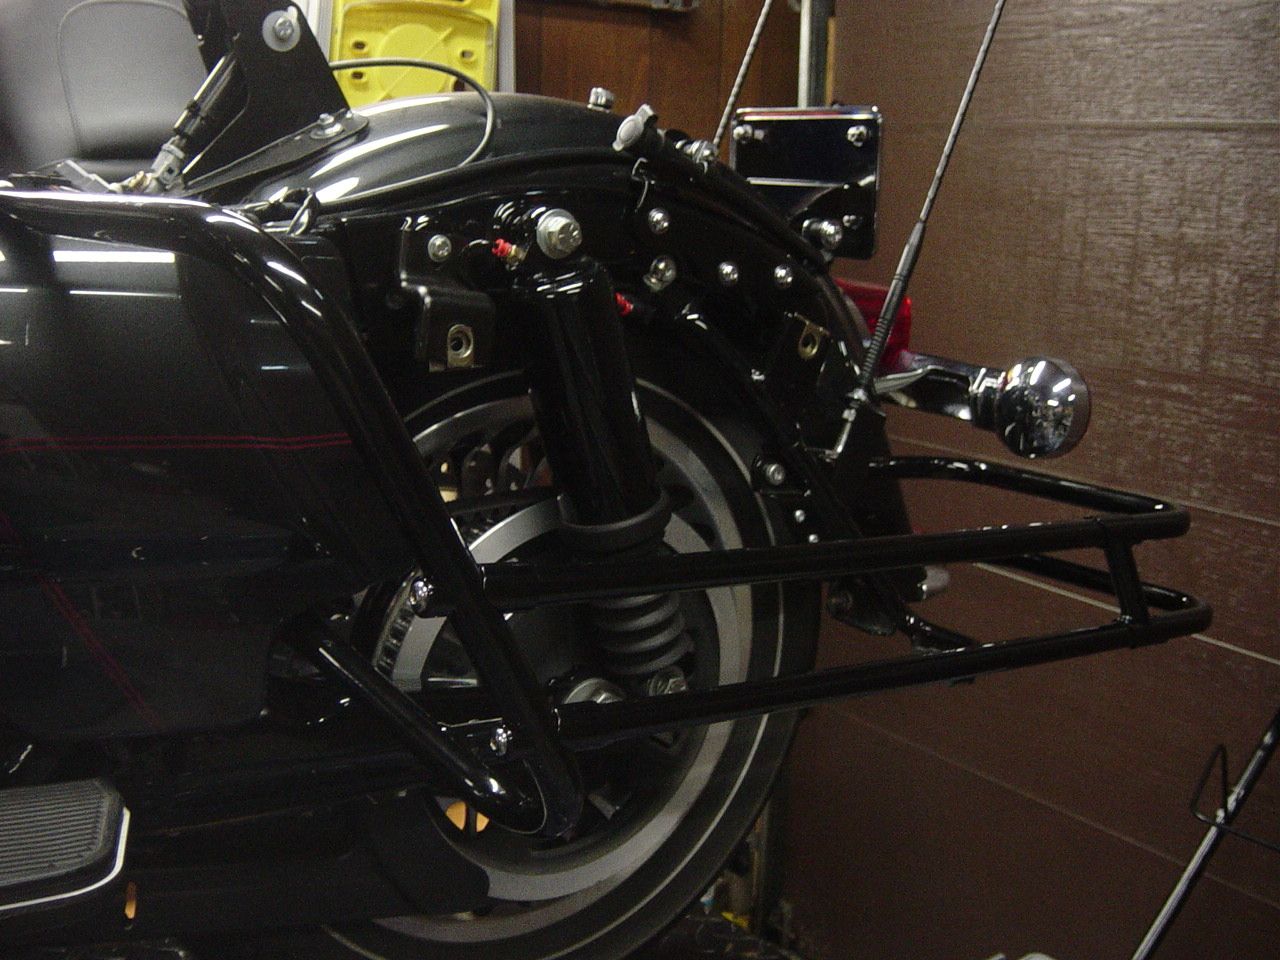 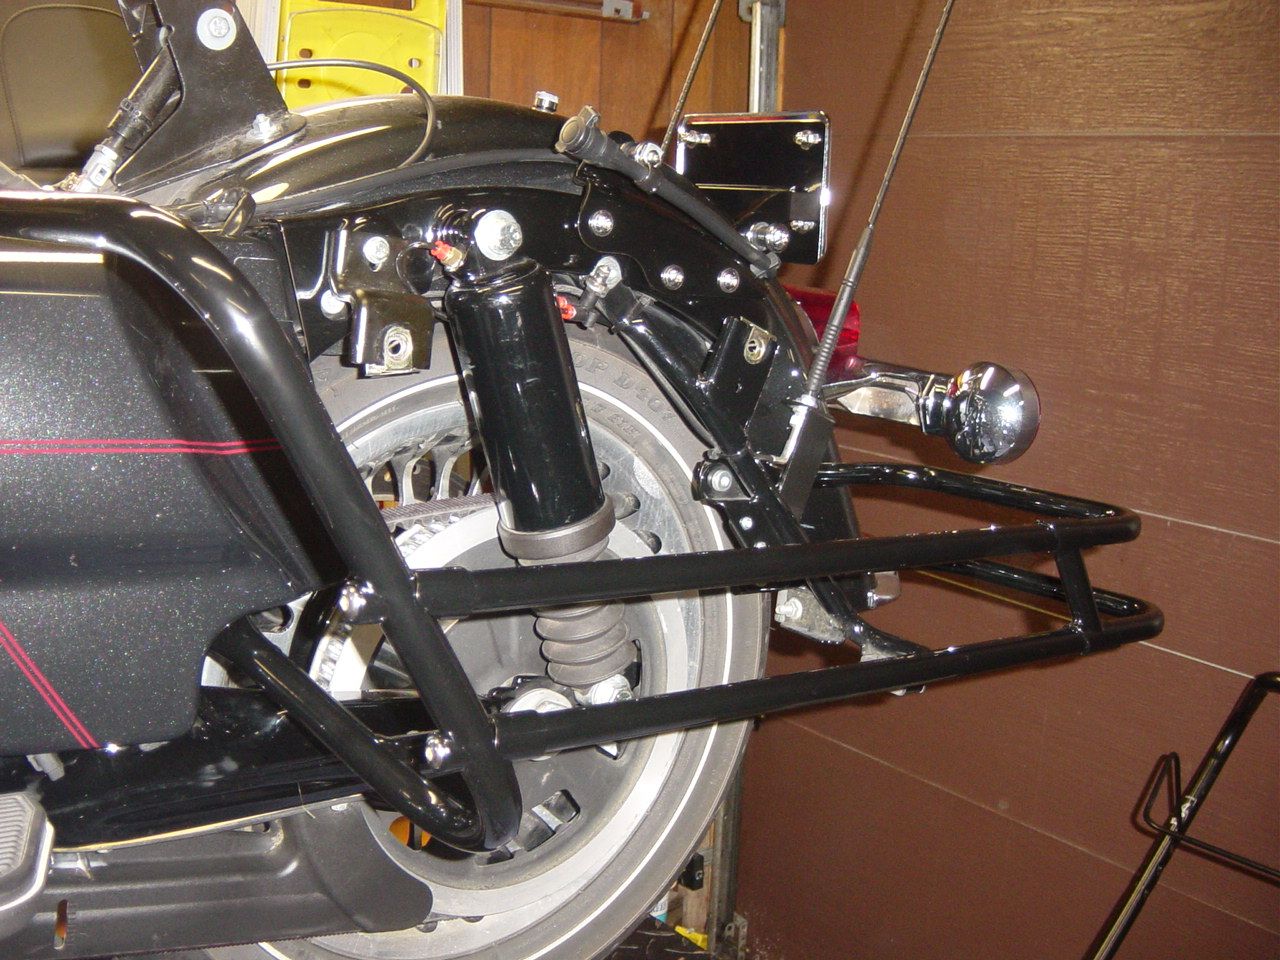 With the saddle bag 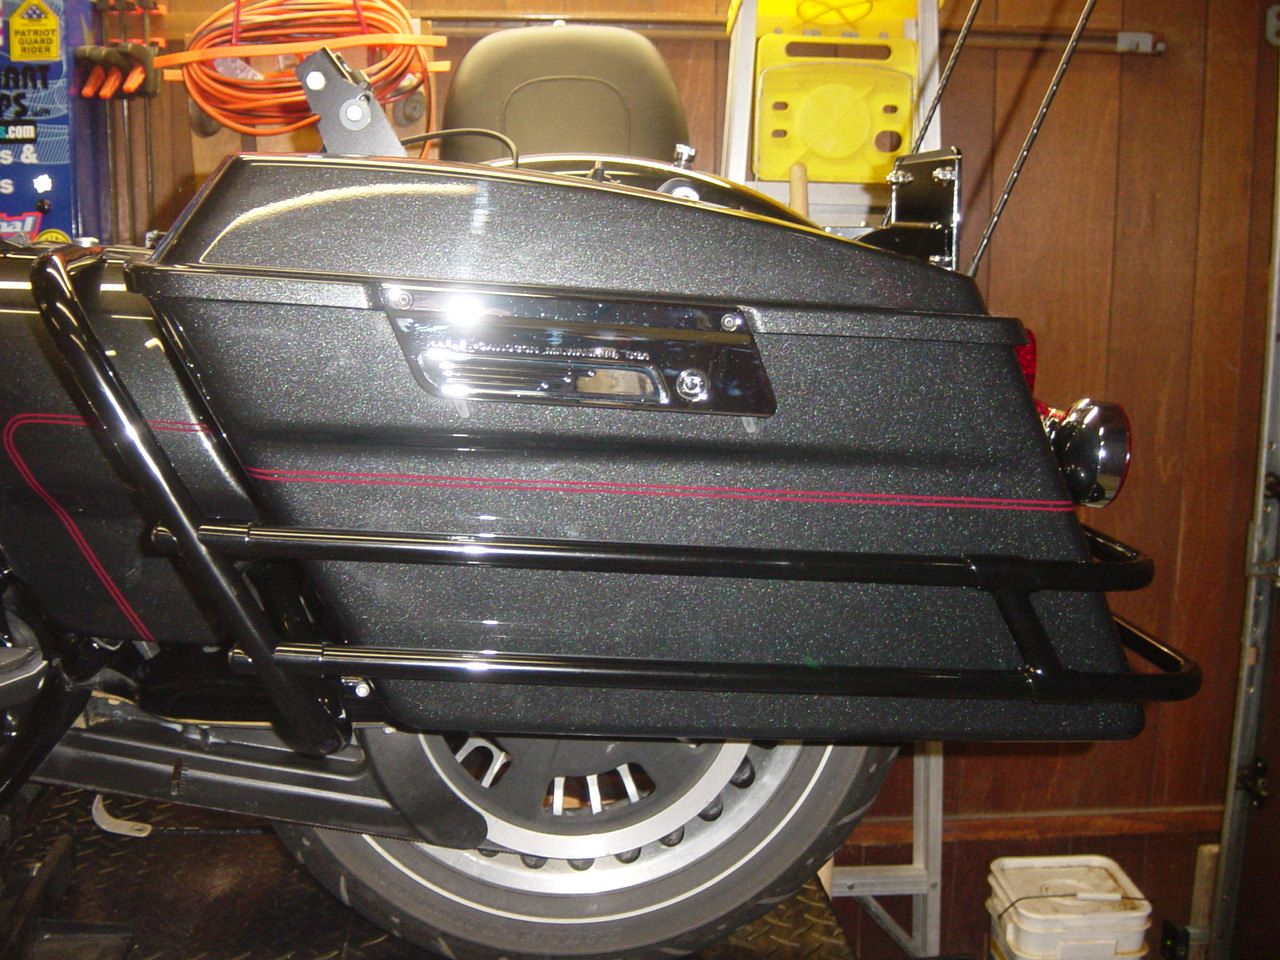 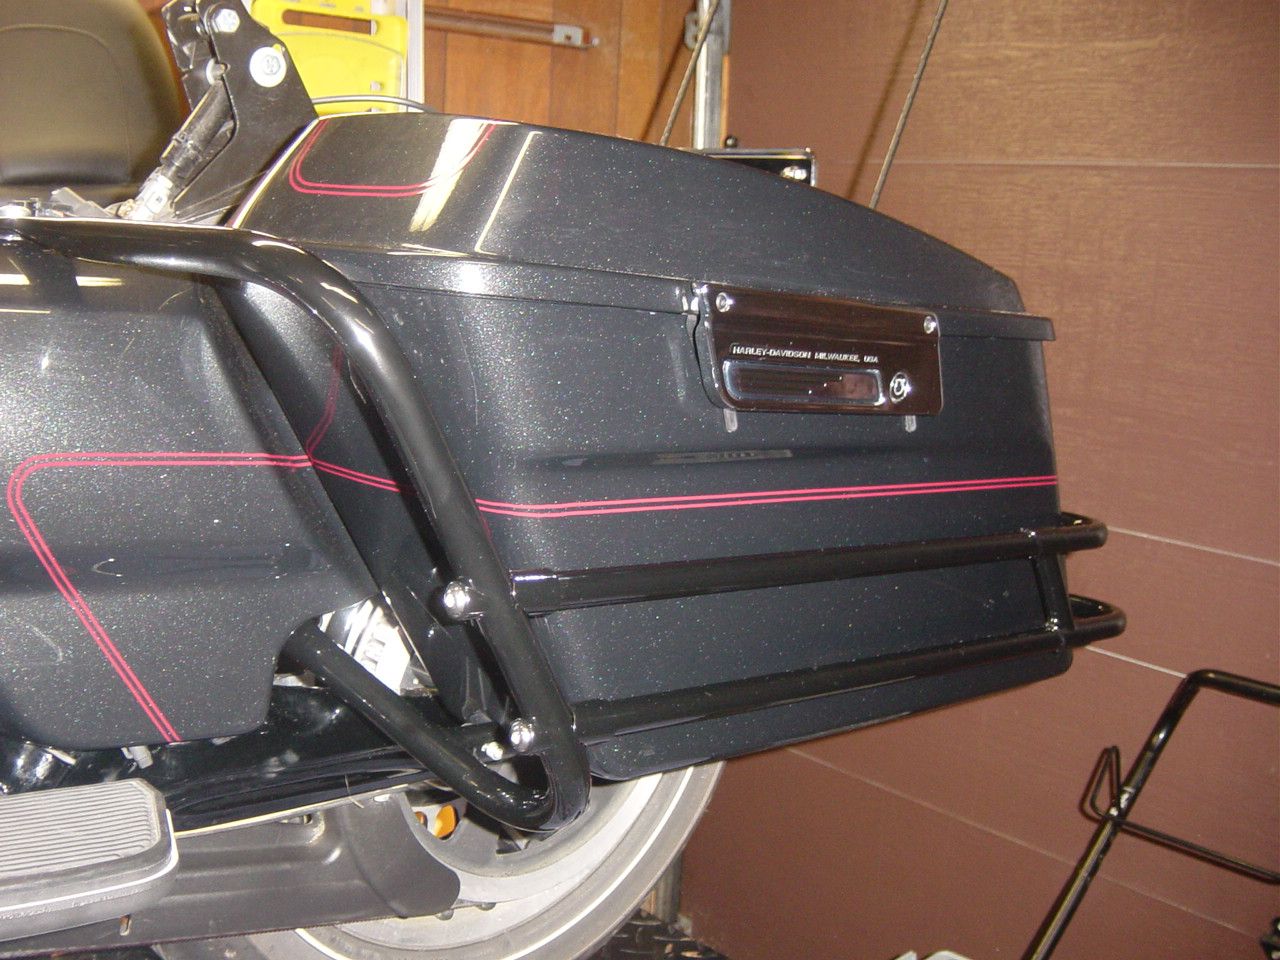 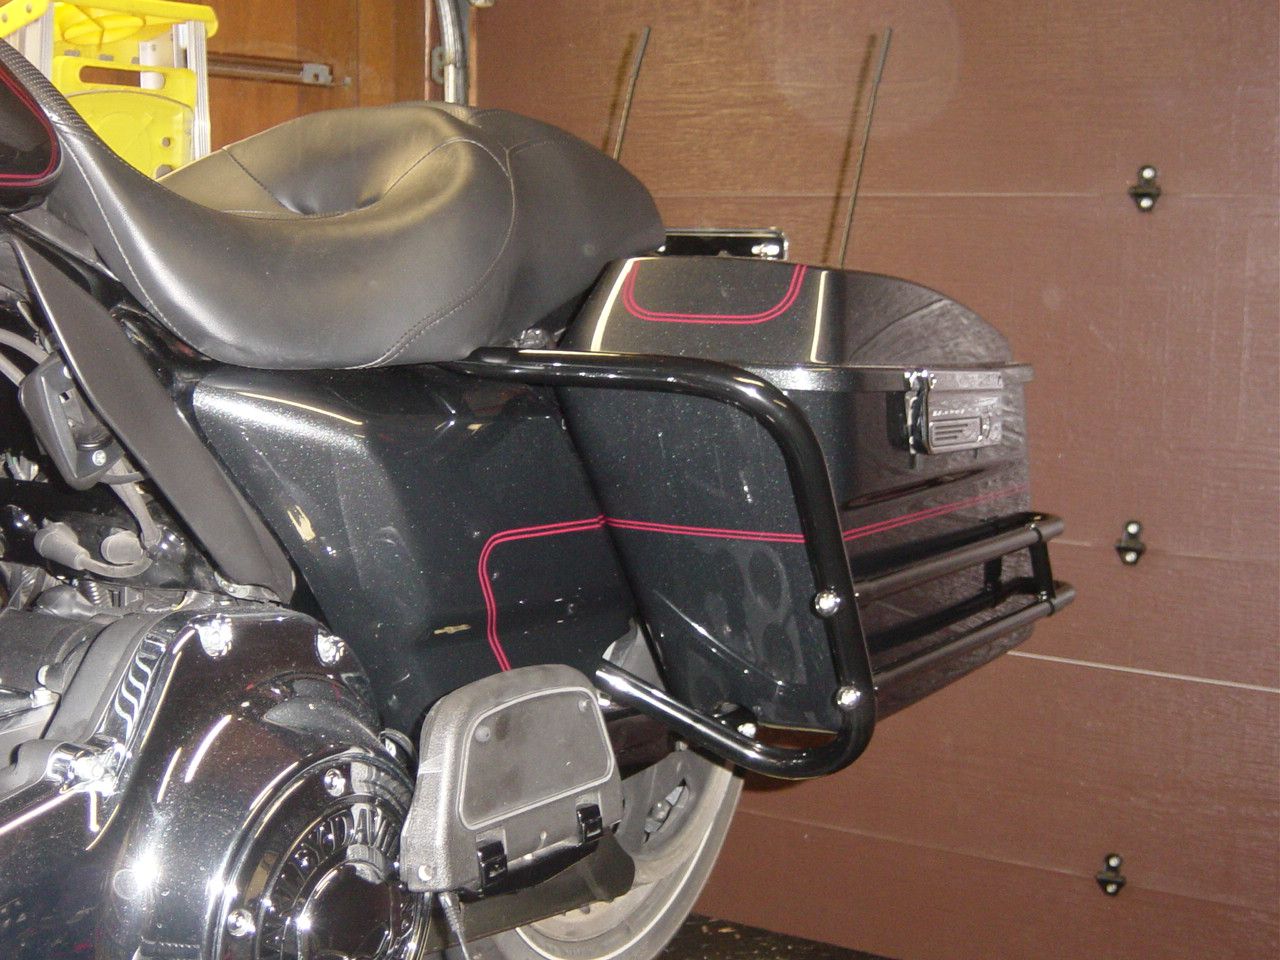 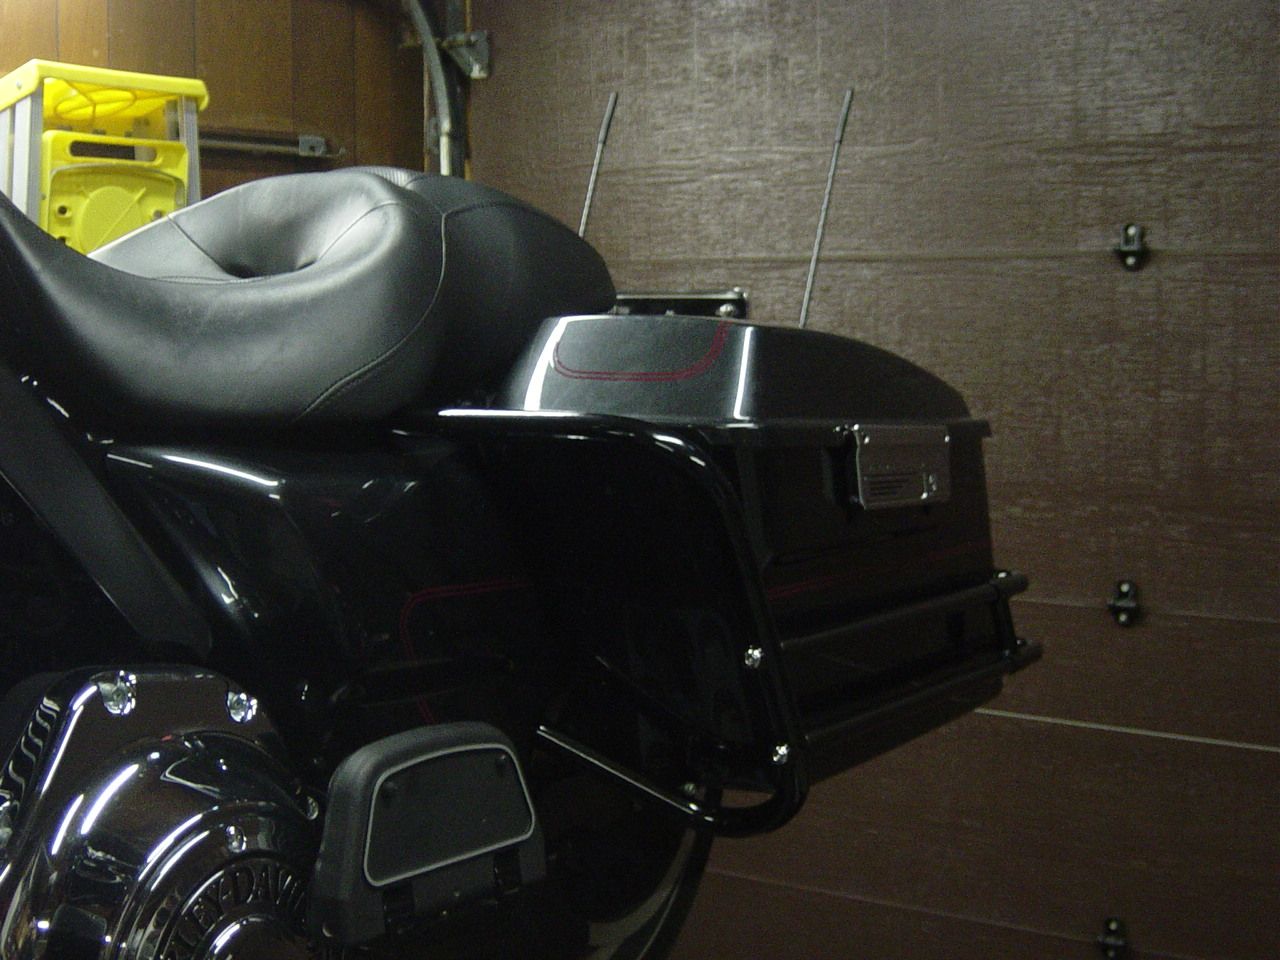 Duplicate on other side 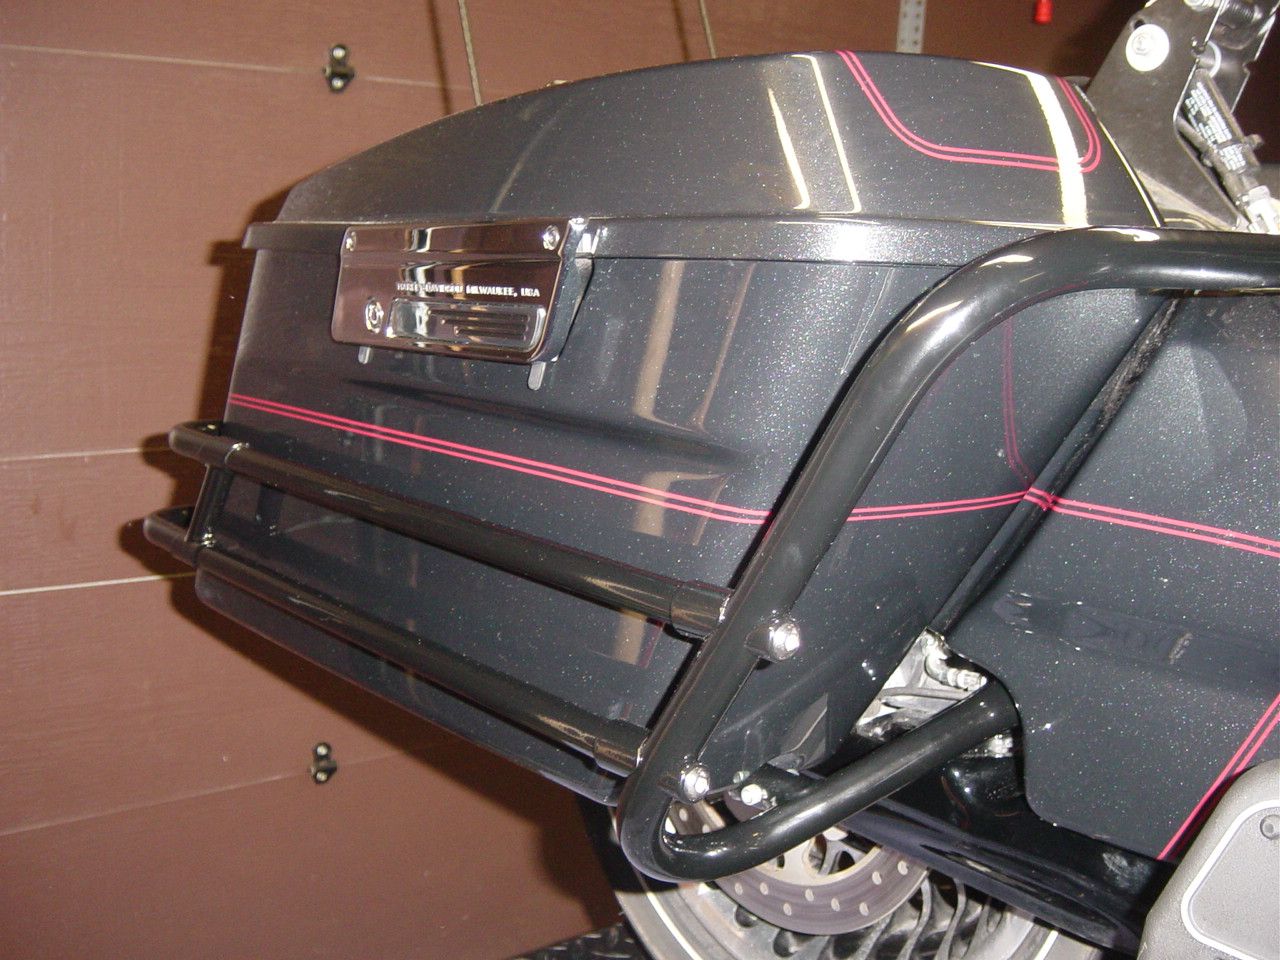 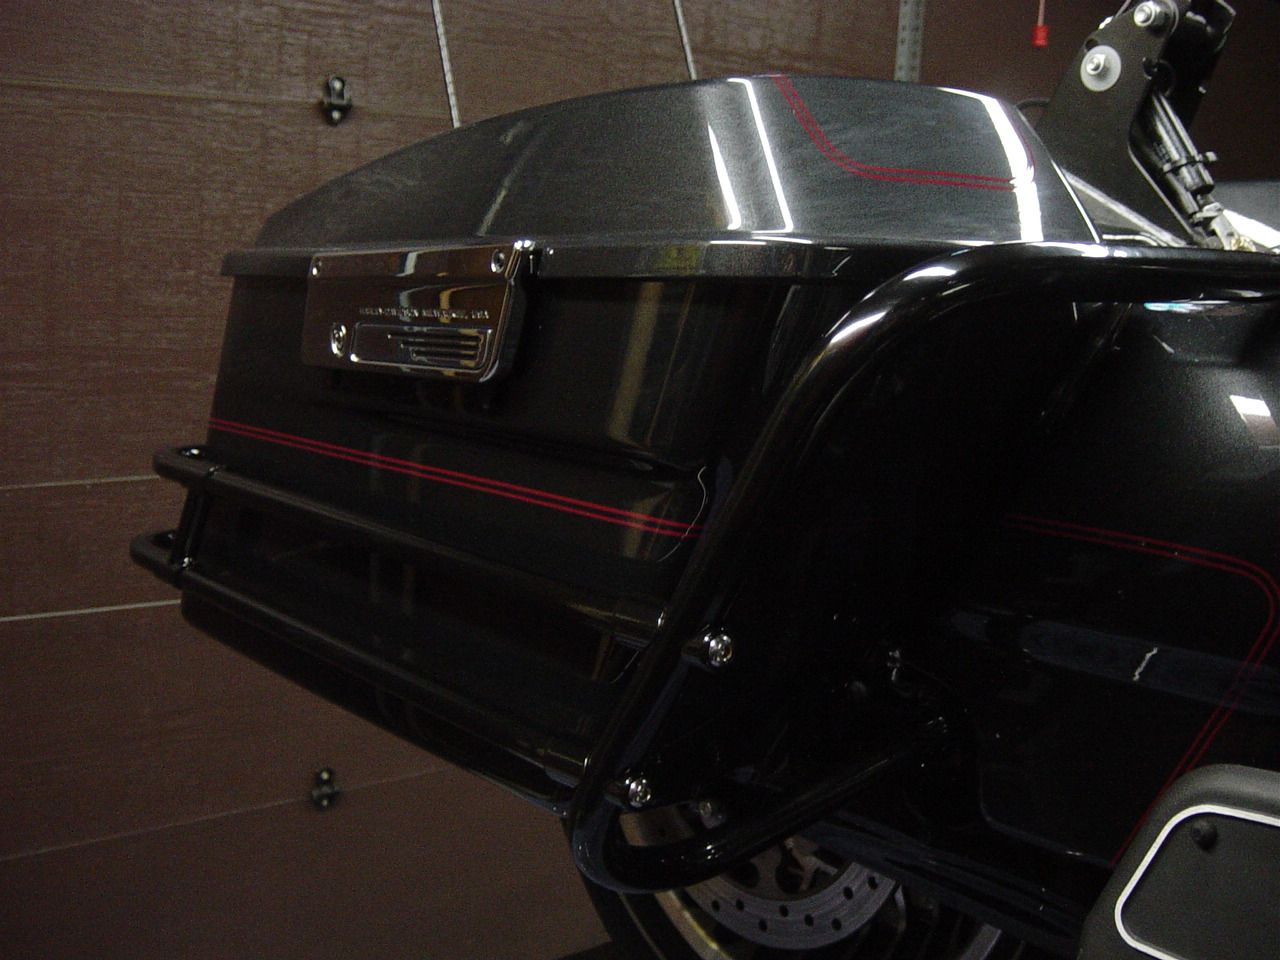 I love it... This exhaust bracket was bare metal from HD, and you could see it. I fixed that, high temp powder and a new chrome bolt to replace the rusted old one. 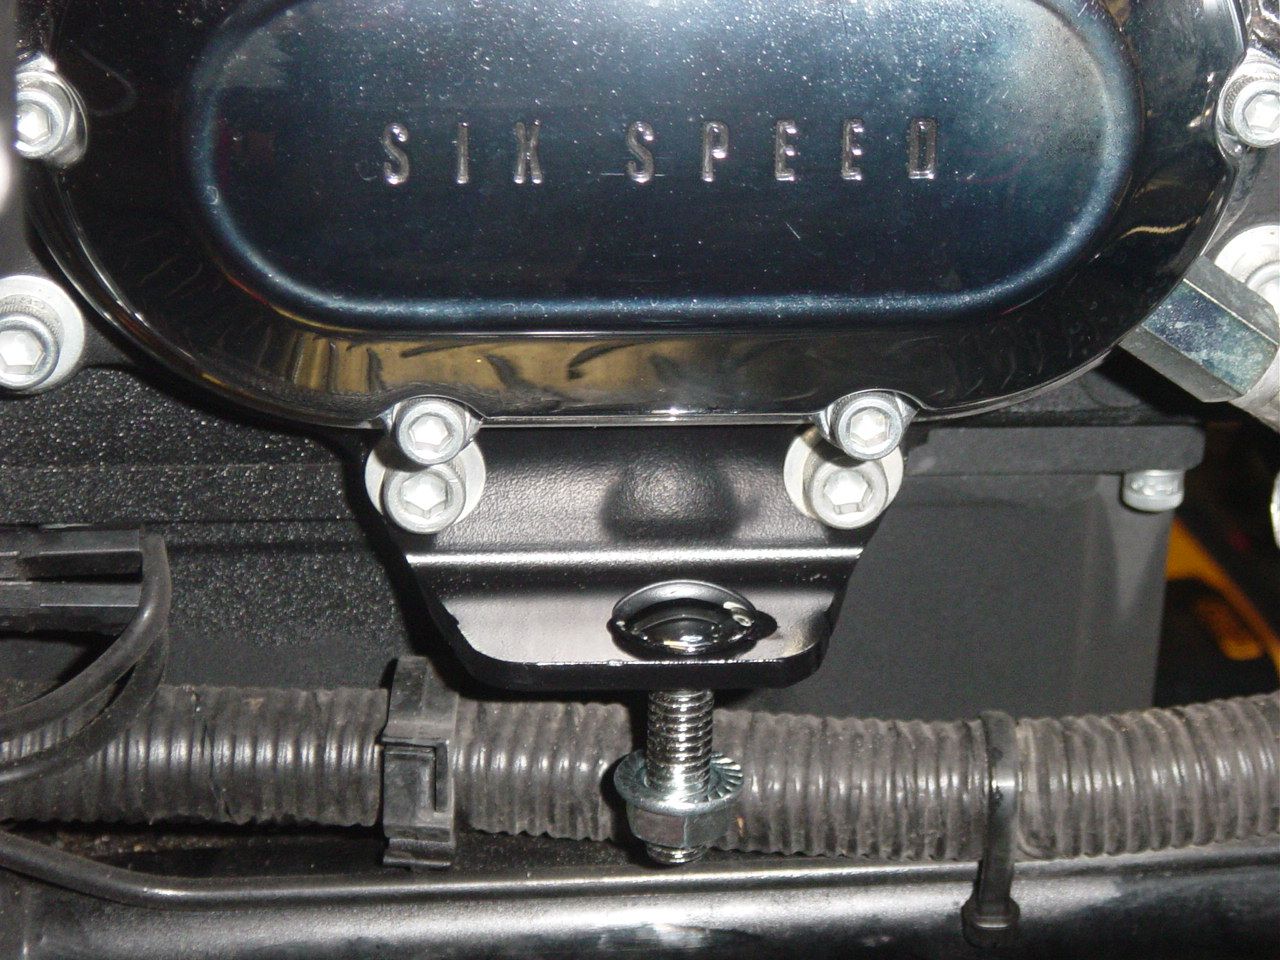 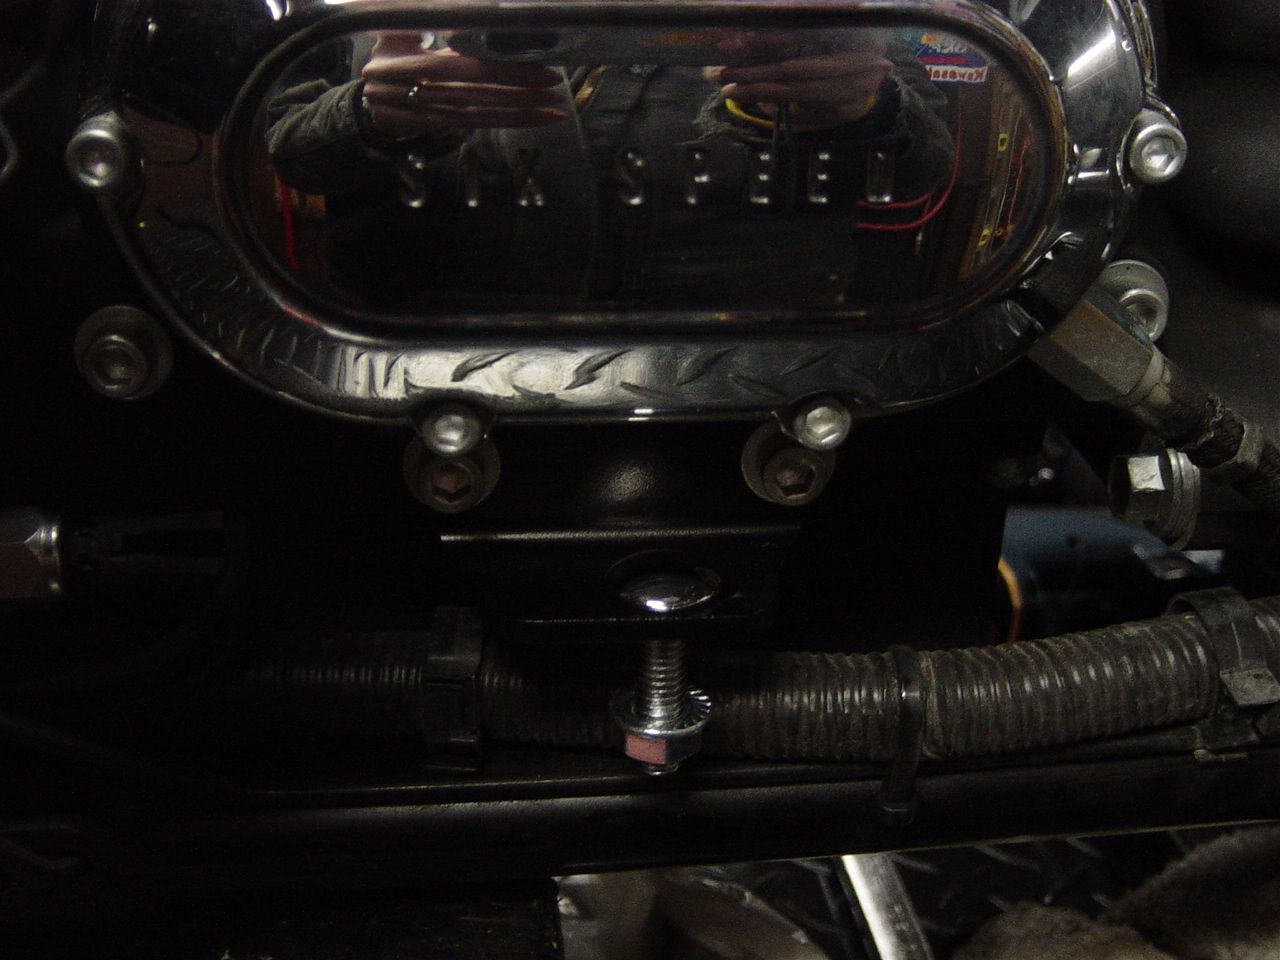 Then I borrowed a 1 3/8" wrench from a tech at work... to remove the fork caps. Then remove the drain plugs and let the forks drain. 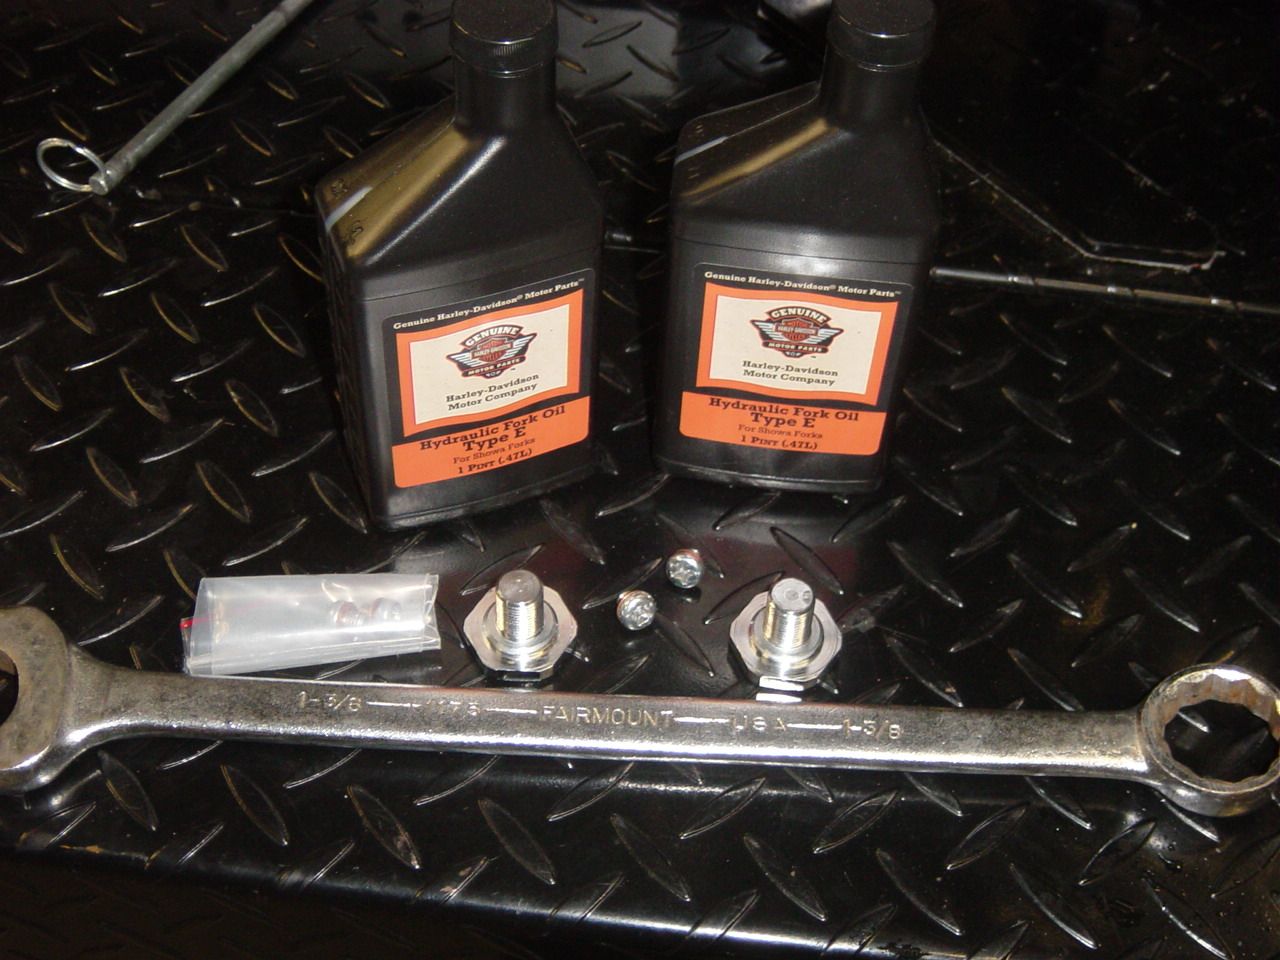 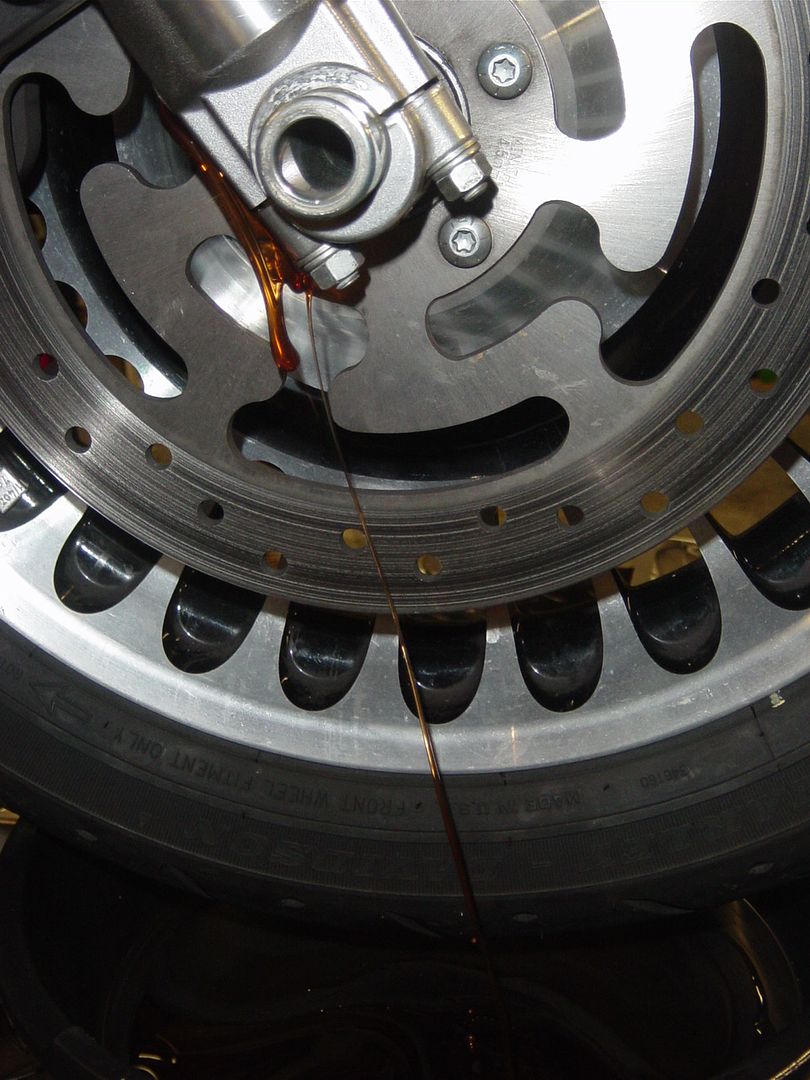 Should pick up the ceramic this weekend so I can get the exhaust back on. Got all the high temp powder sitting in the basement just waiting. |
|
|

|
|
|
#13 |
|
Trip's Assistant
 Join Date: Feb 2008
Location: Imported from Detroit
Moto: 2009 HD Street Classic
Posts: 12,149
|
So I let the fork oil drain for a couple days
Installed to torque spec the new drain plugs 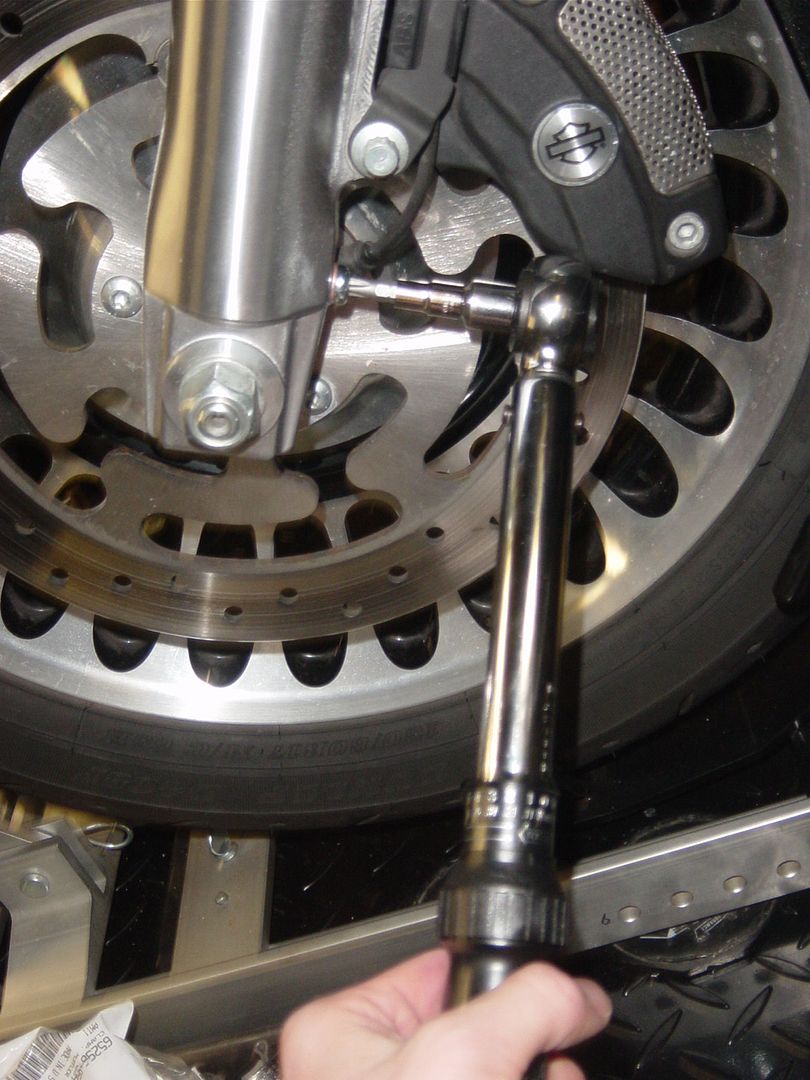 Measure out spec amount of fluid 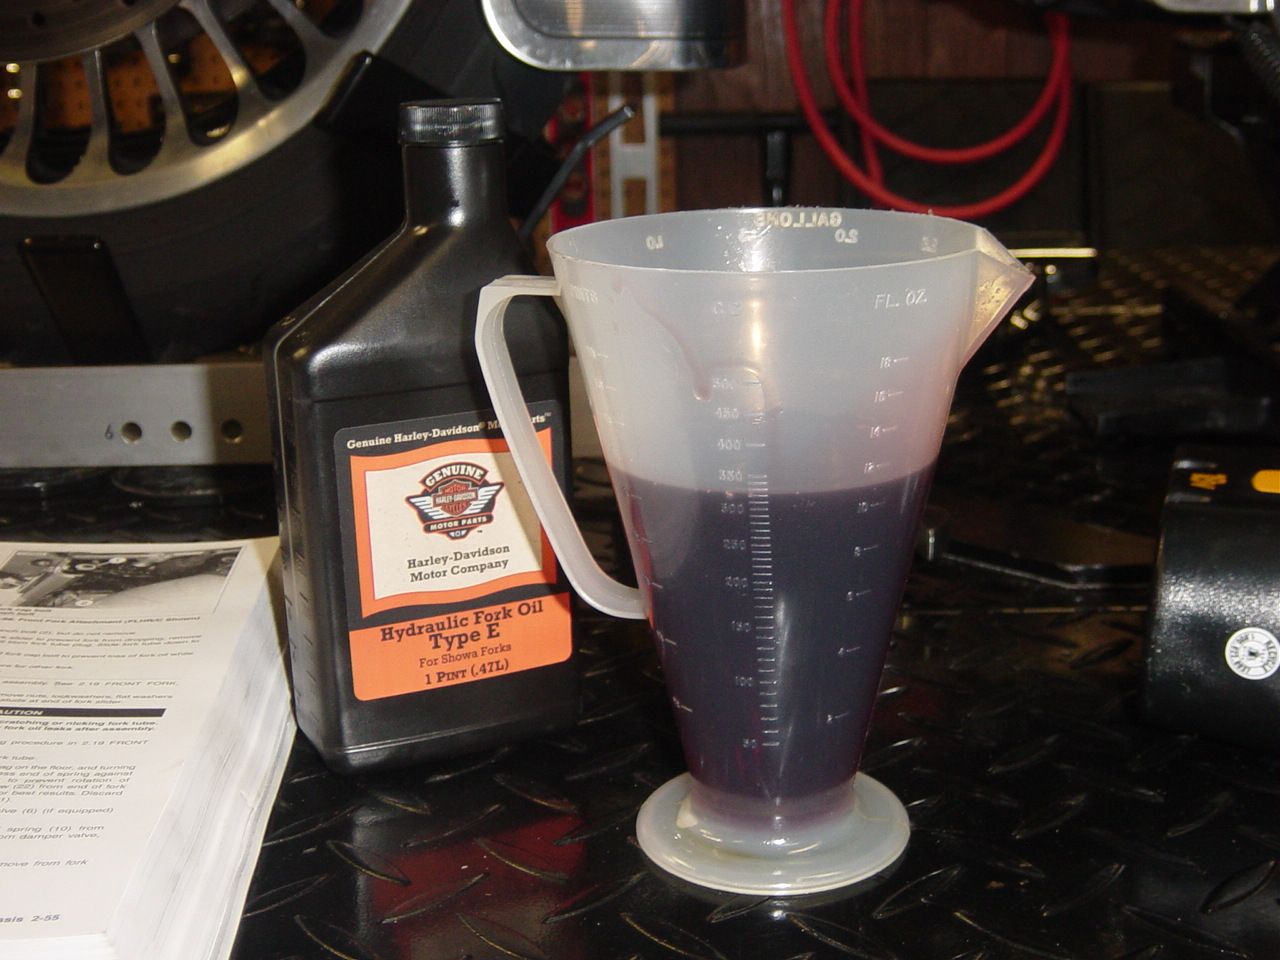 Funnel to the top of the fork & pour in 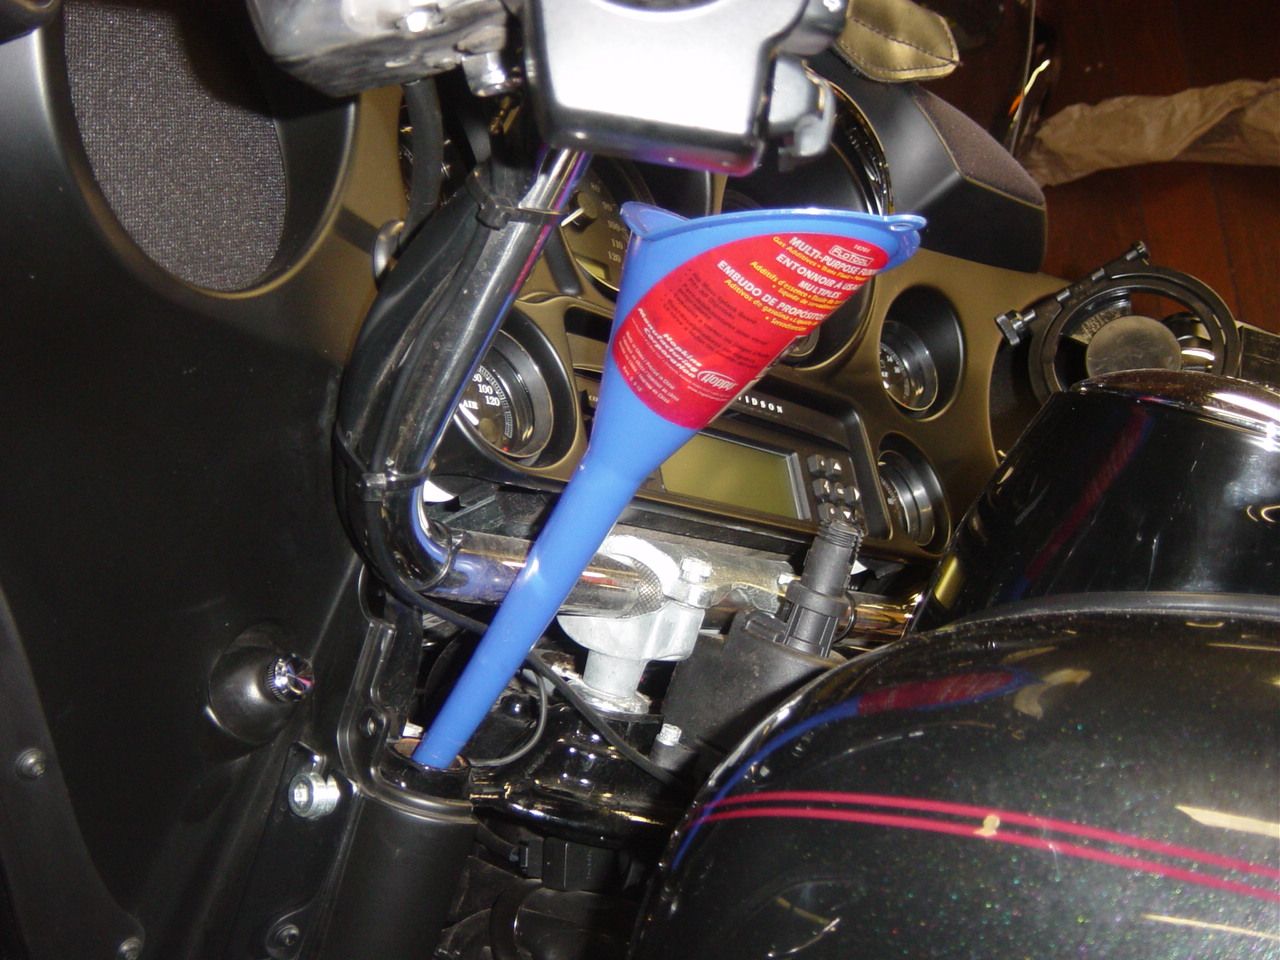 With 15,500 miles on my Ultra, the dealership mechanic was surprised I was on the original brake pads. He said, most people only get 10k out of them. I figure my amount of miles is due to my road trips on the highway. I'm always amazed by how little pad material is actually on new pads. But they are suppose to be 4.5mm or bigger. Mine were 1.8 - 2.9mm. 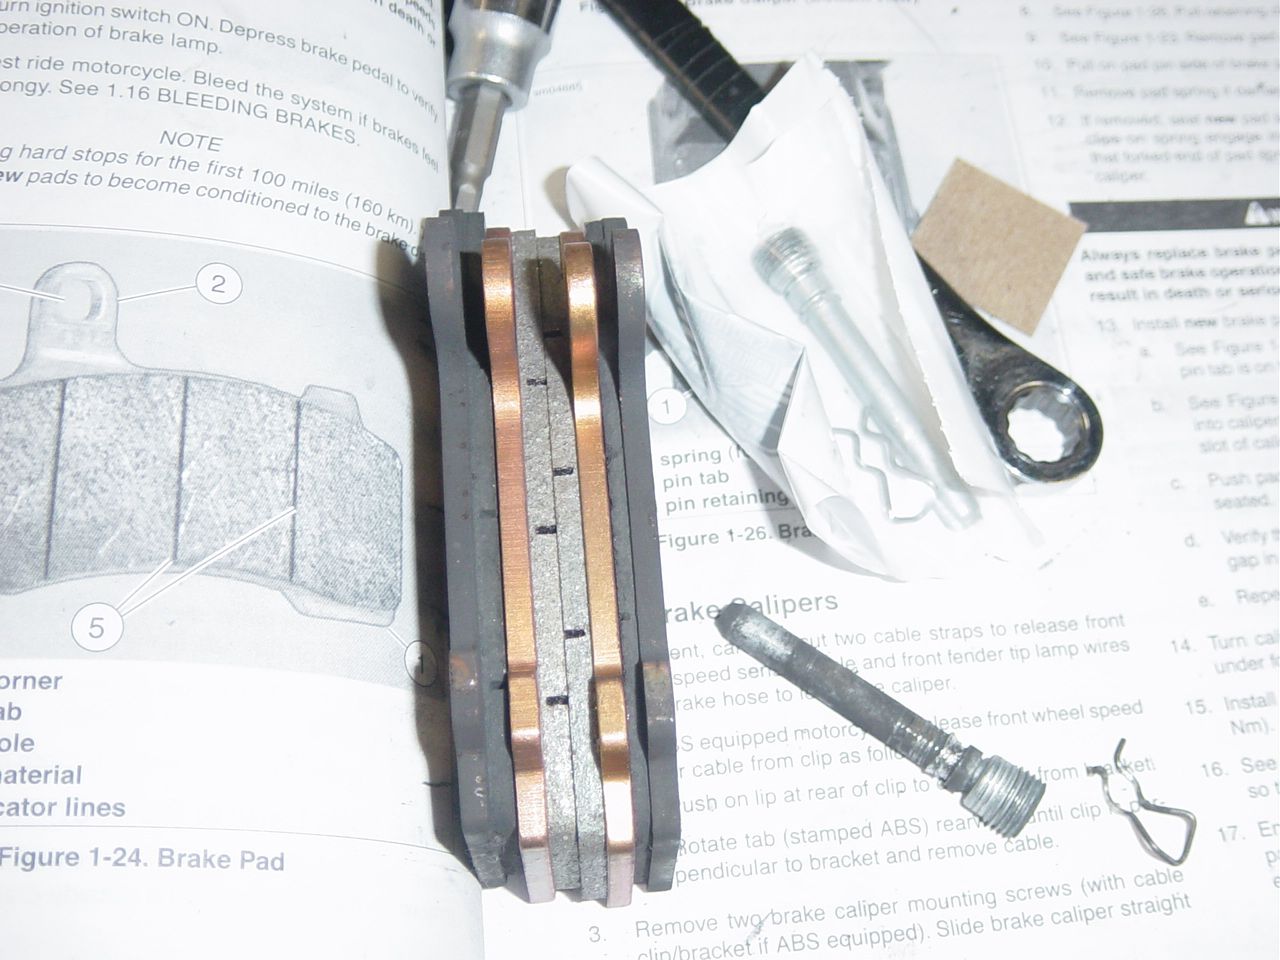 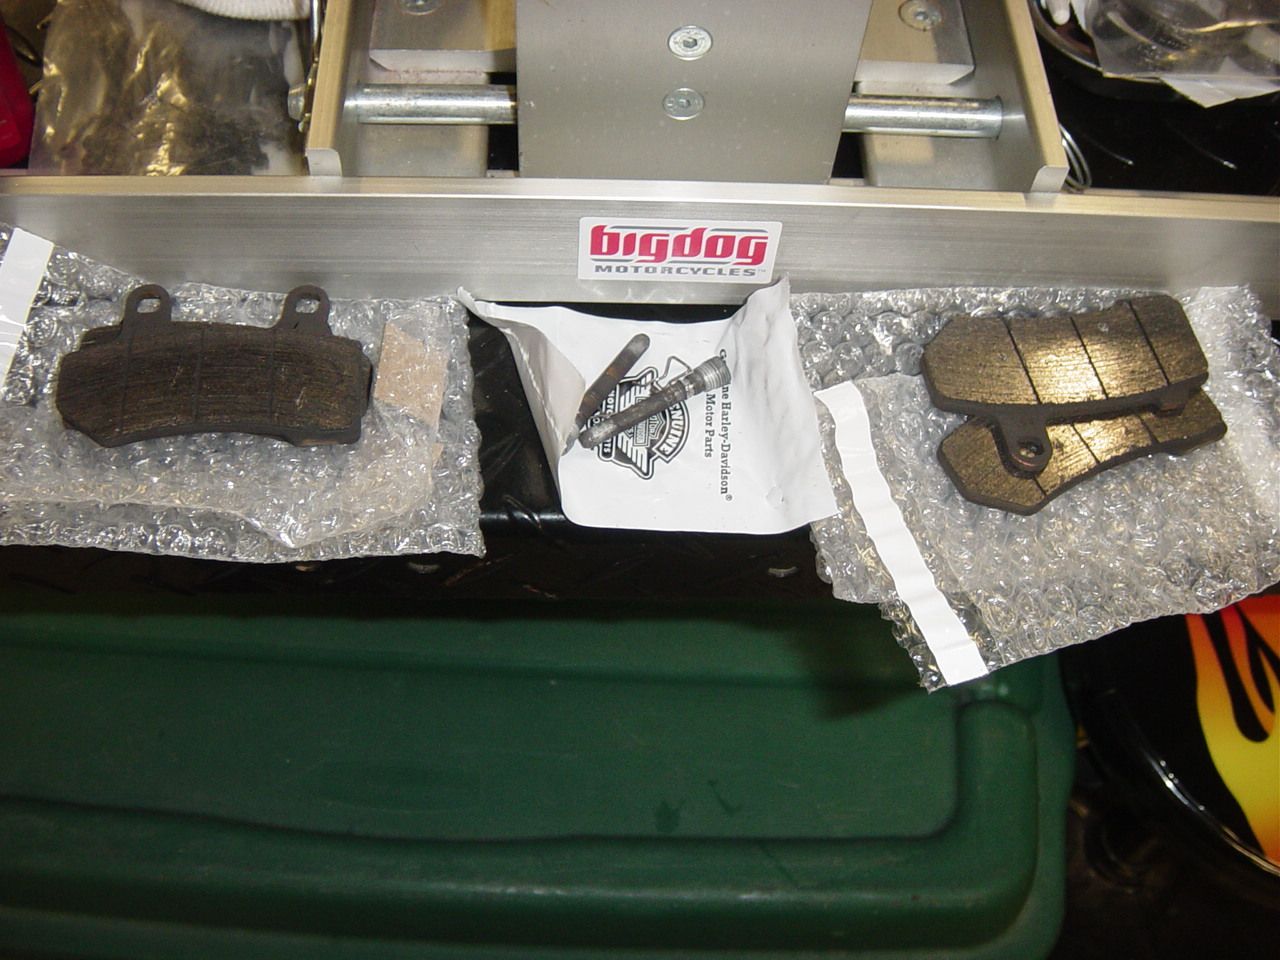 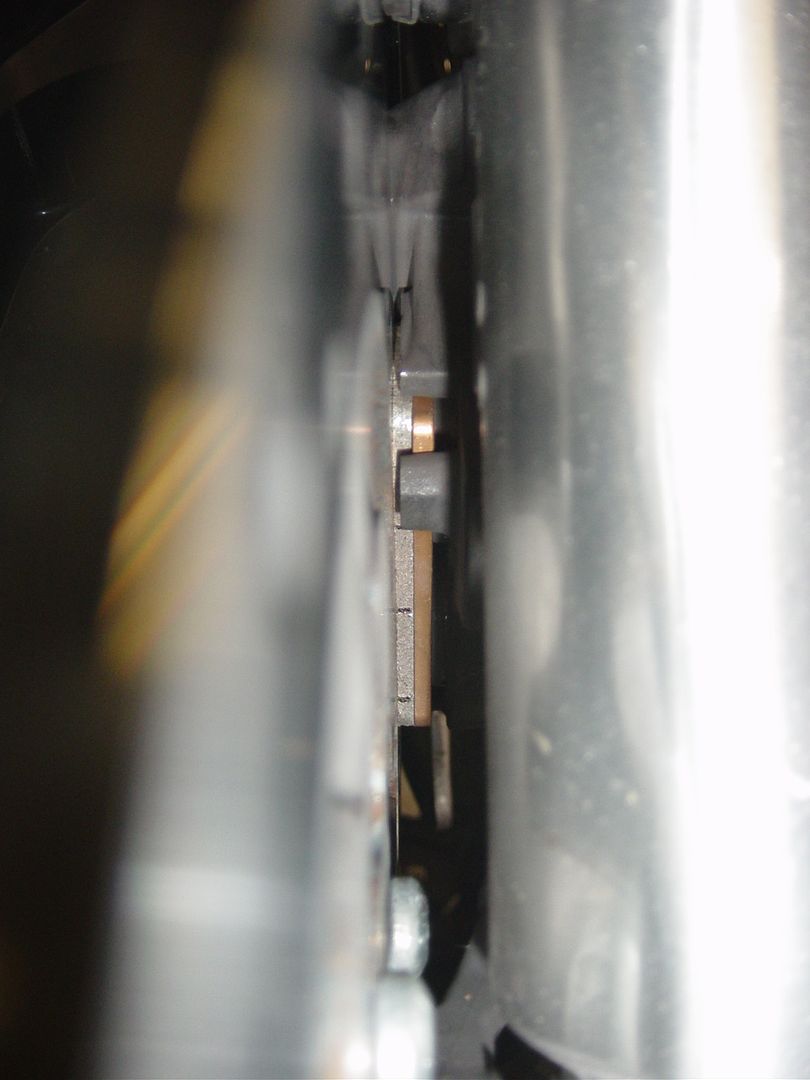 It's always a nice feeling to get some good preventative maintenance done to the bike. All that is left to do is get & hang exhaust. |
|
|

|
|
|
#14 |
|
Trip's Assistant
 Join Date: Feb 2008
Location: Imported from Detroit
Moto: 2009 HD Street Classic
Posts: 12,149
|
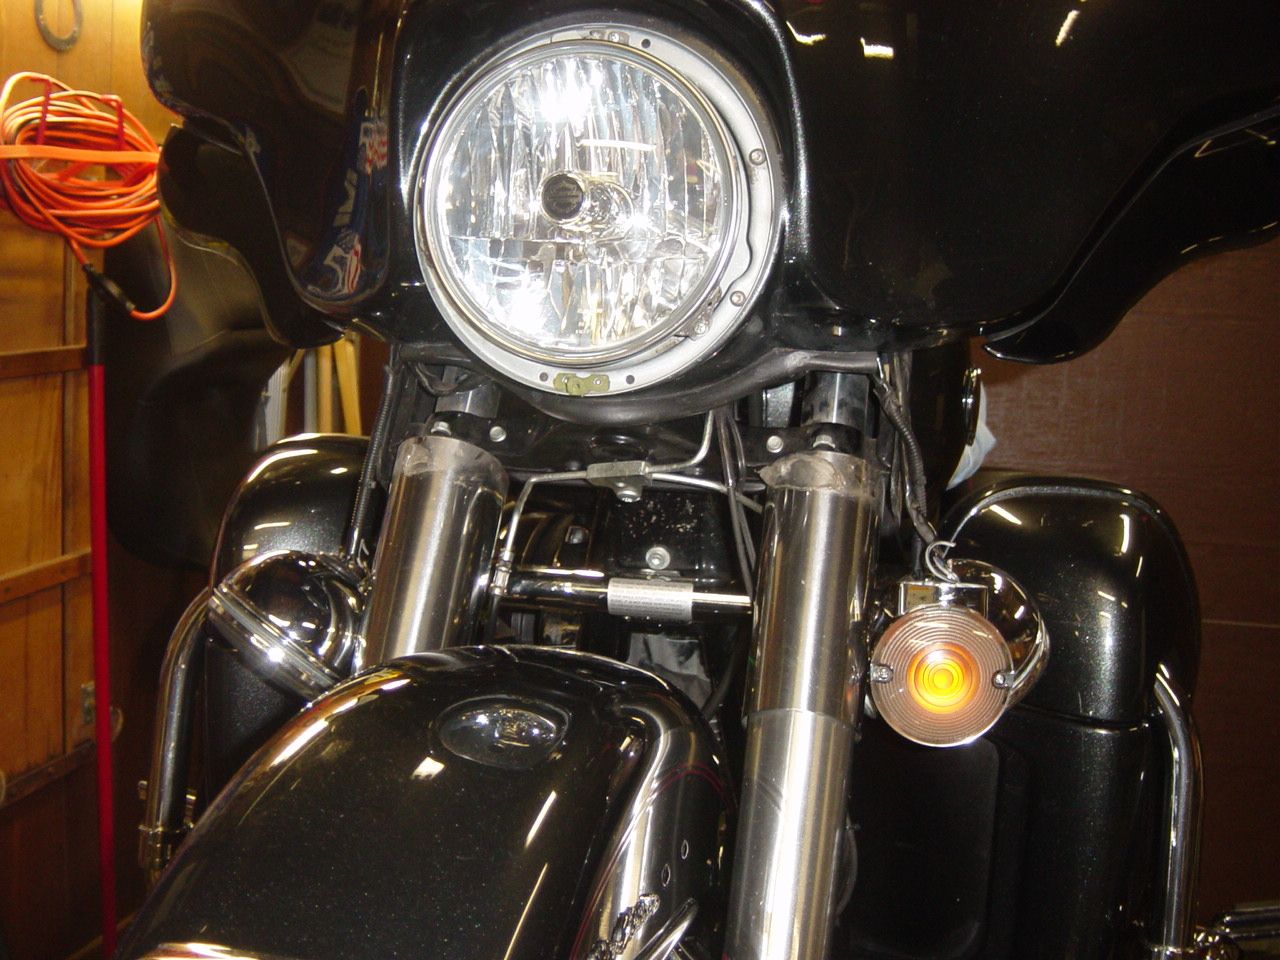
Well I had everything but the exhaust on the bike and it kept bugging me that the front still looked stock. So I tore the front light dept all apart and removed some pieces for gloss black powder.
  Picked up the ceramic exhausts... love the way ceramic looks, hate how easy it is to scratch. But love even more how well it absorbs/controls heat. Did the Ultra pipes in a flat black, because it will hide better behind the high temp powdered heat shields and big reason is to control the heat. 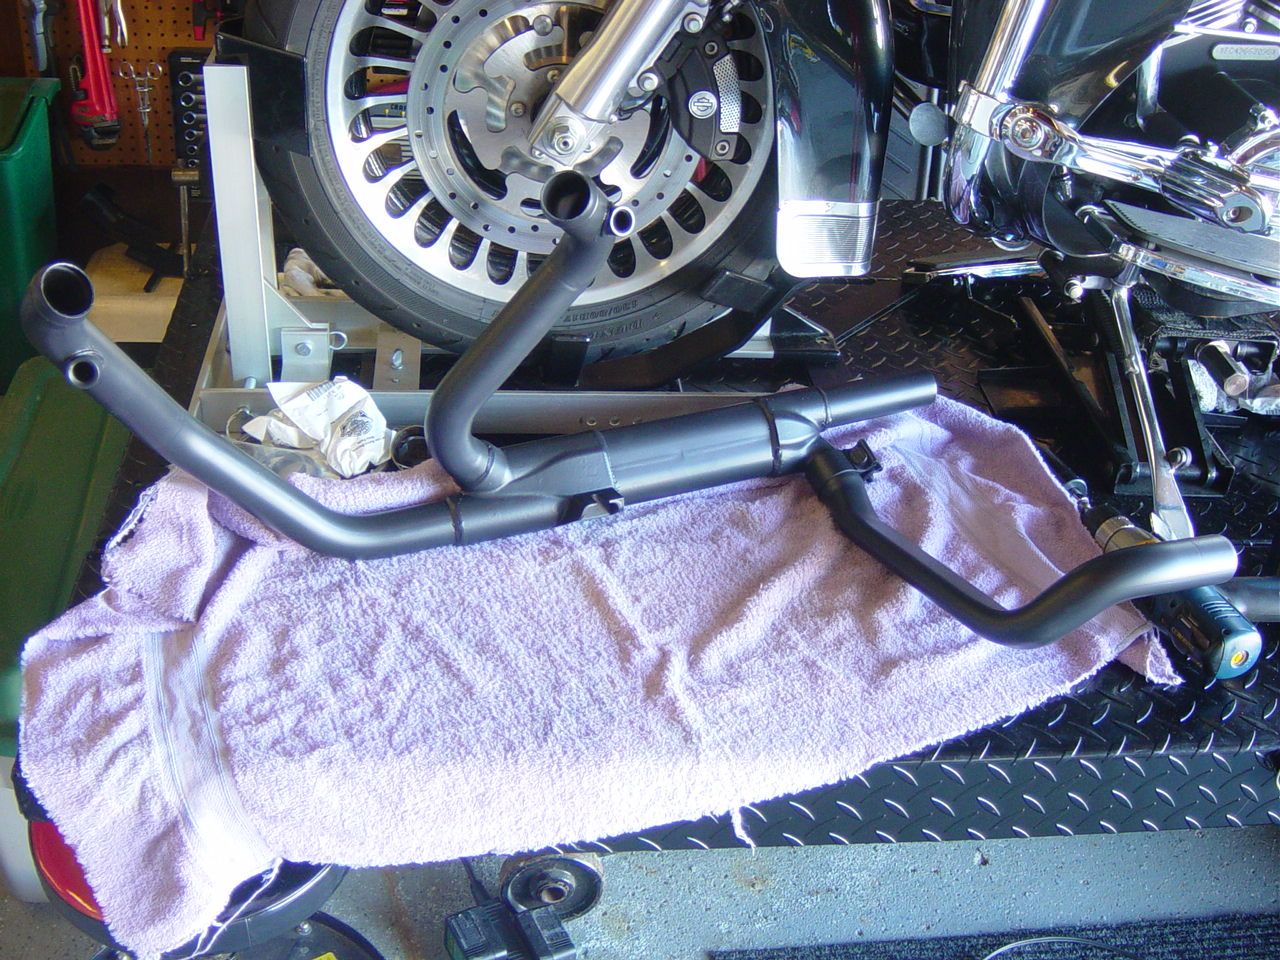 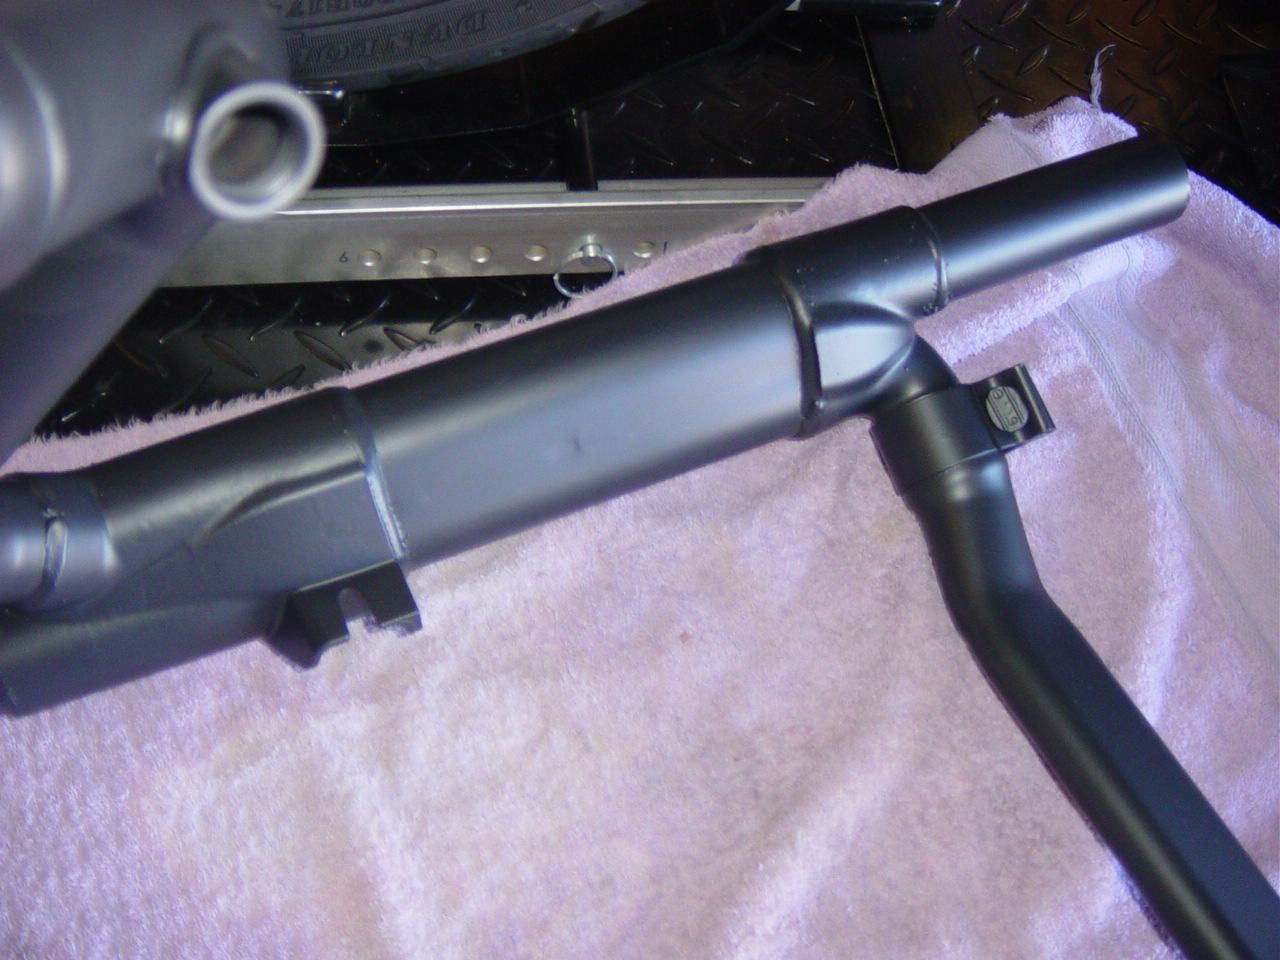 Put on the flanges and re-installed the O2 sensors 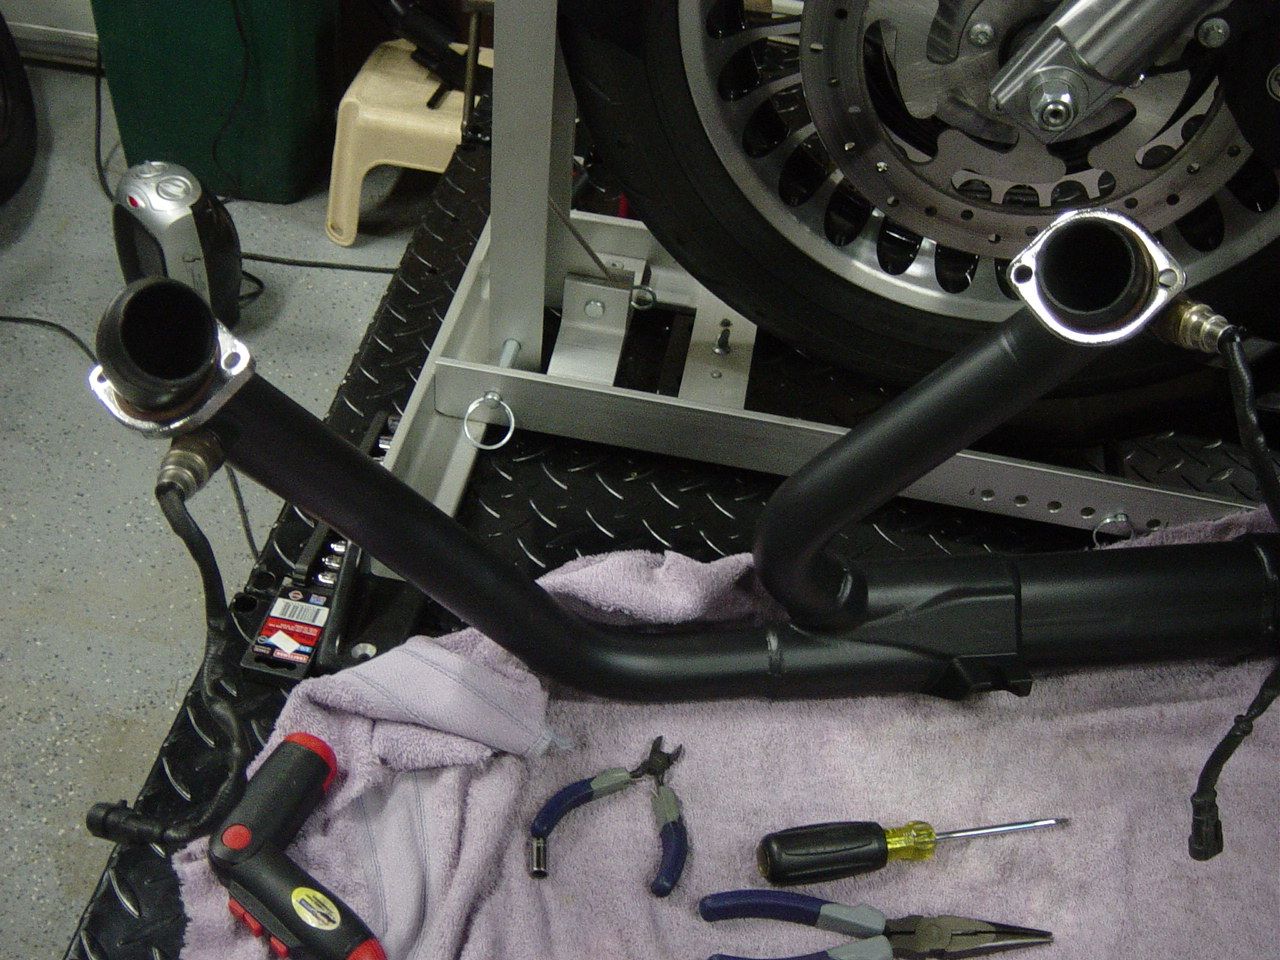 Mounted the exhaust (did with and without flash pics here, it looks like a mix of them in person, damn flash vs garage lighting) 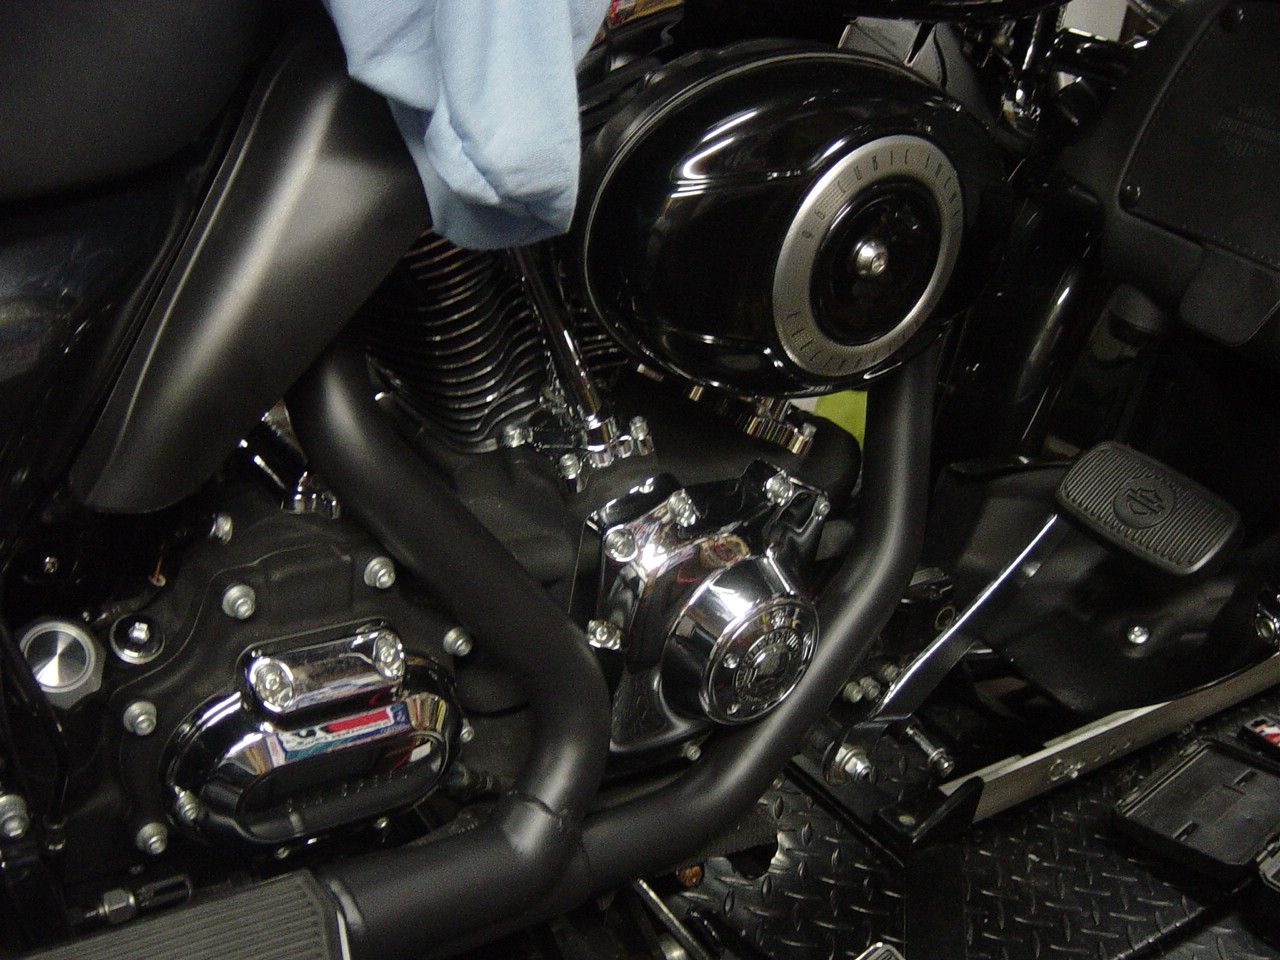 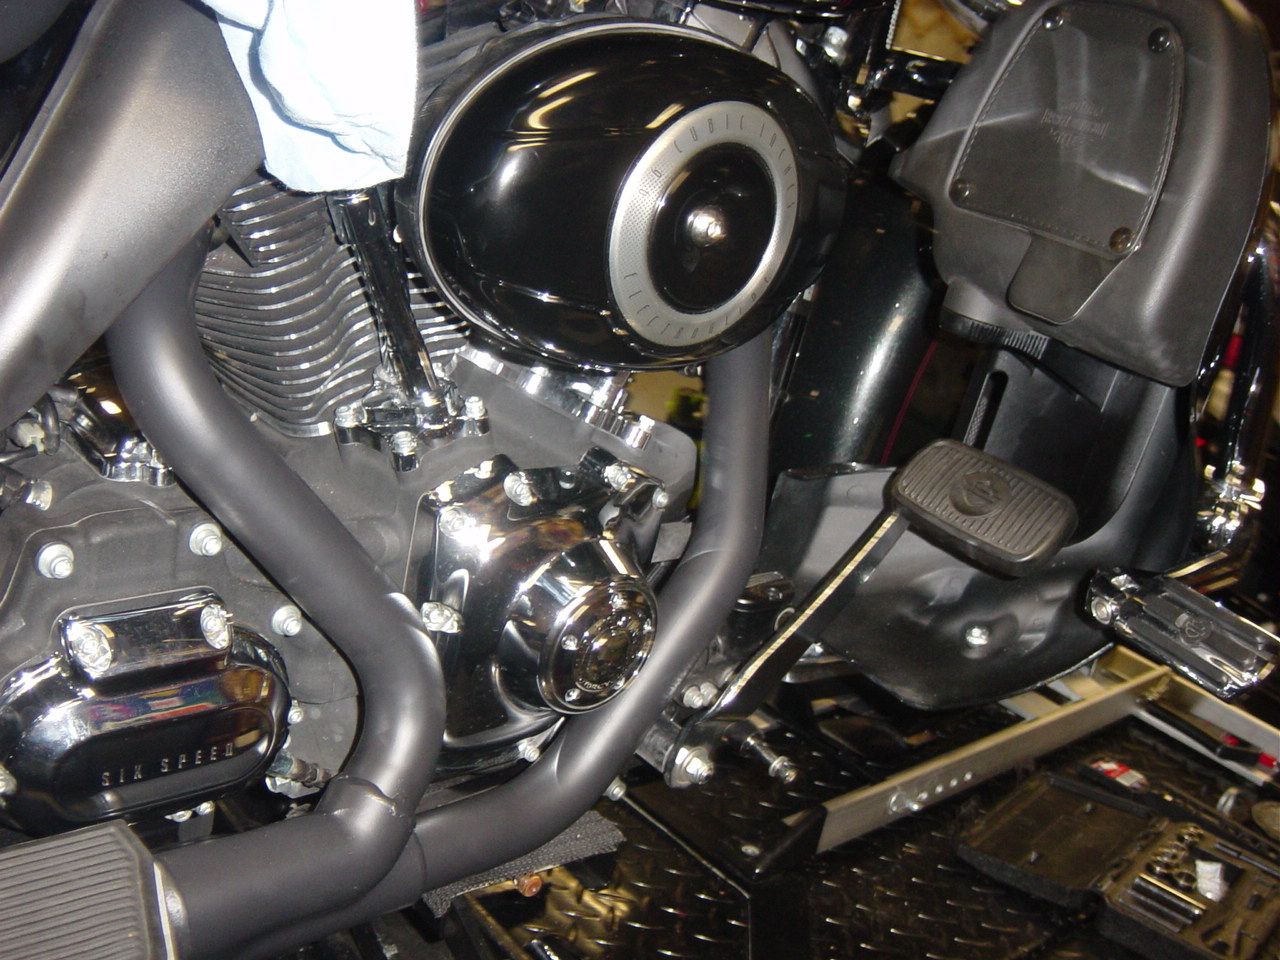 Left side muffler and heat shield 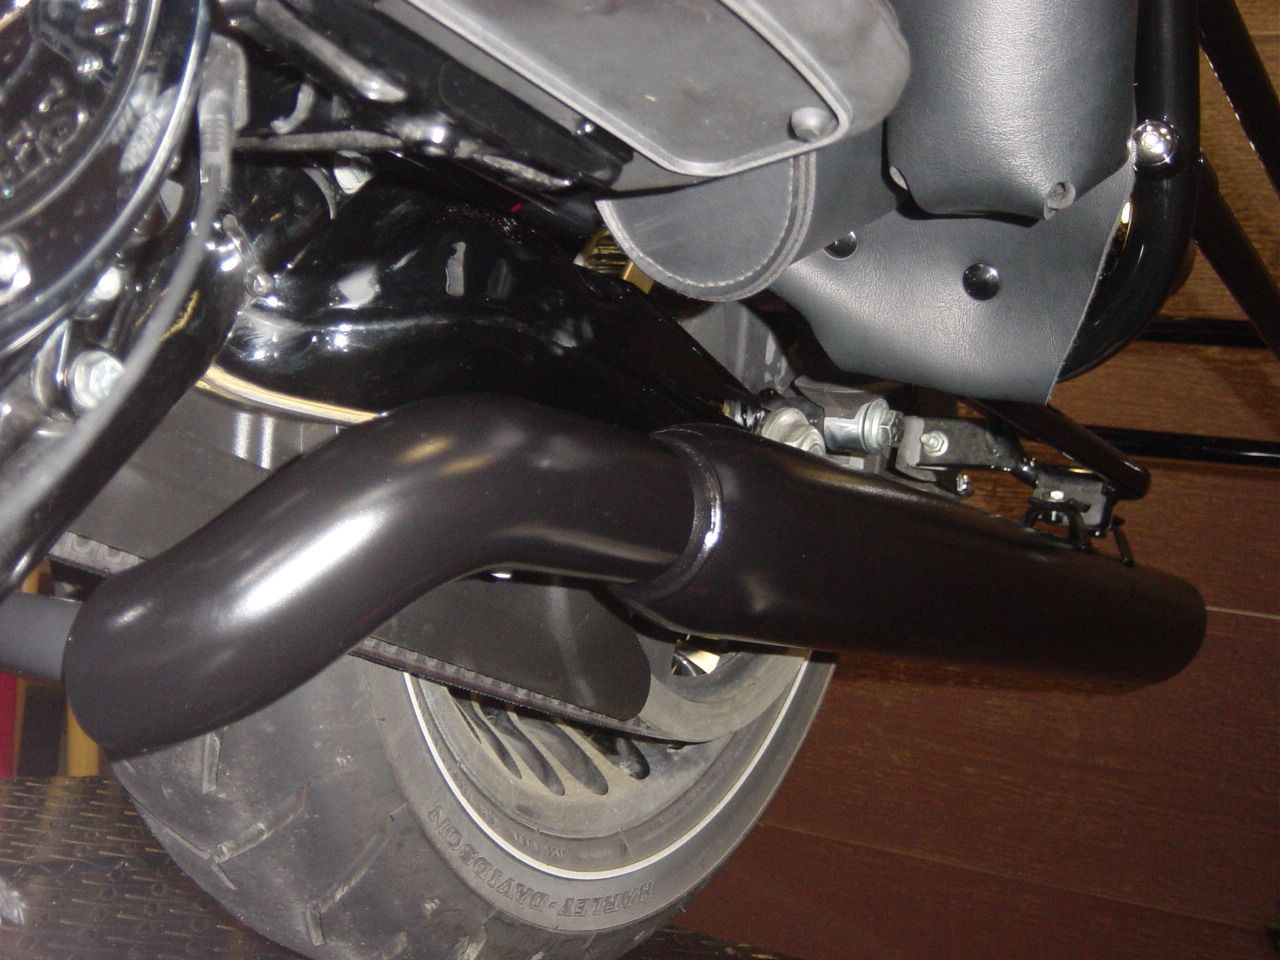 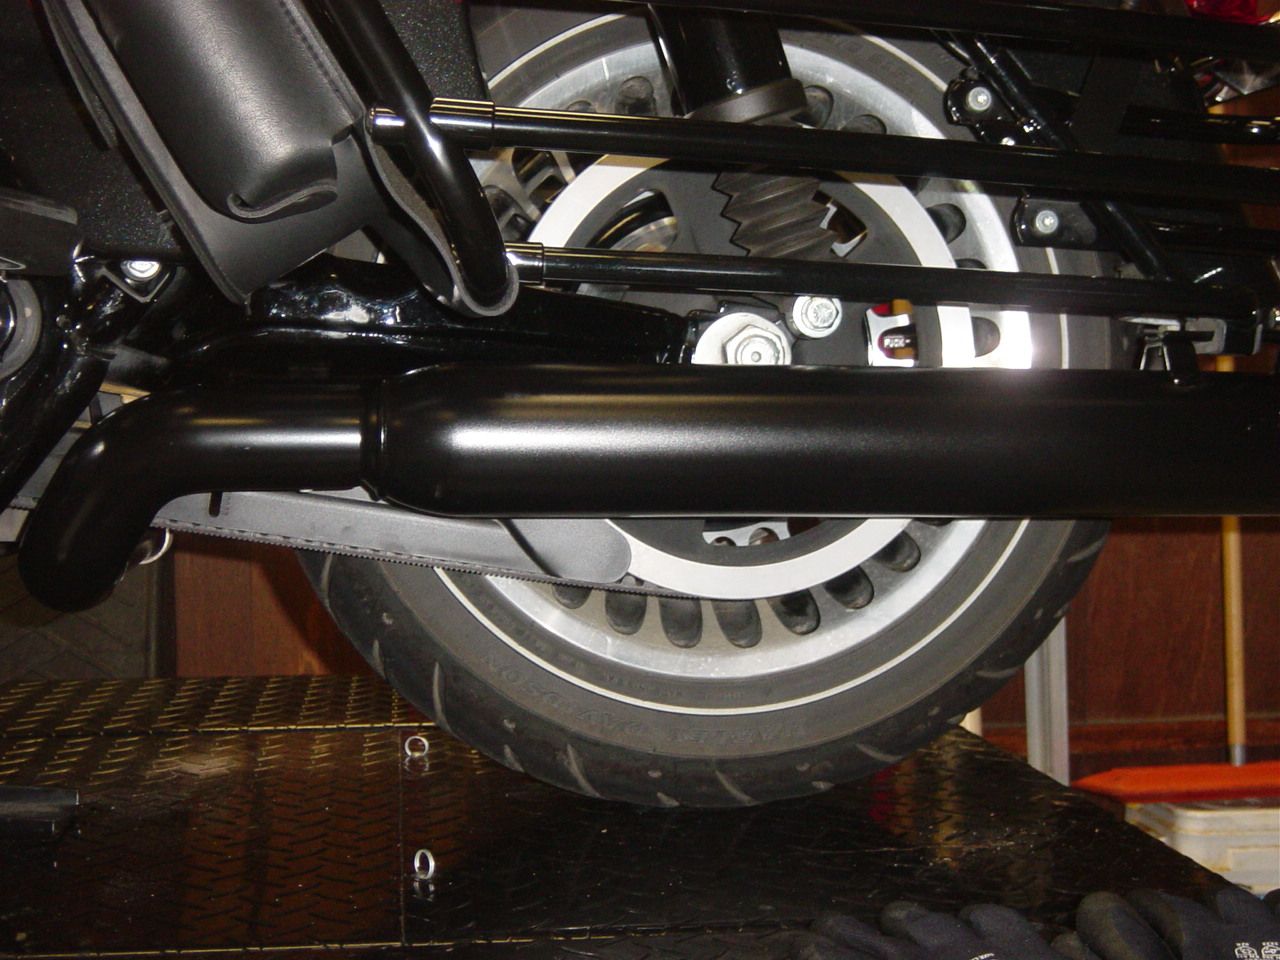 Re-installed the high temp powdered heat shields 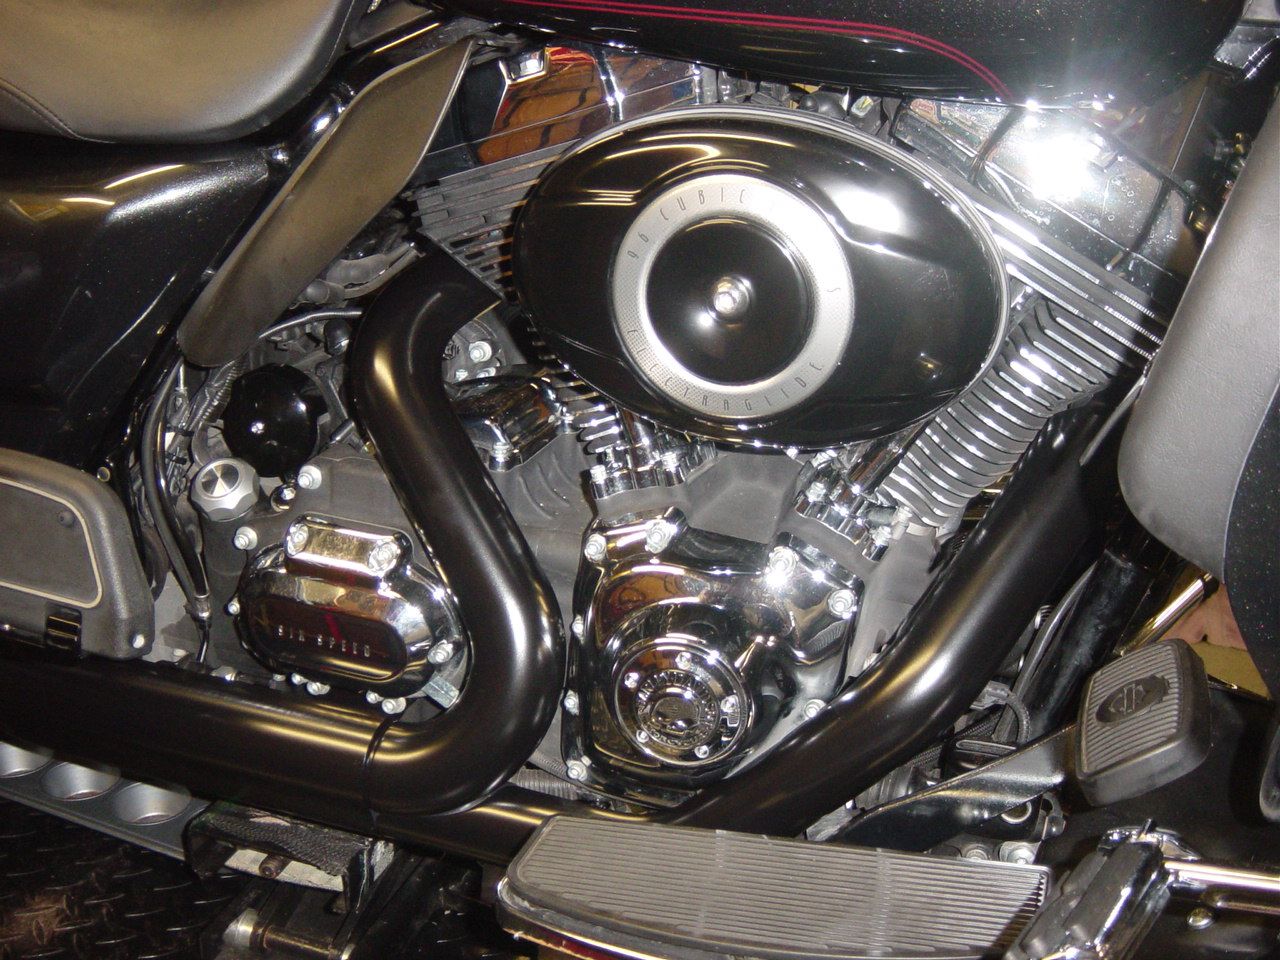 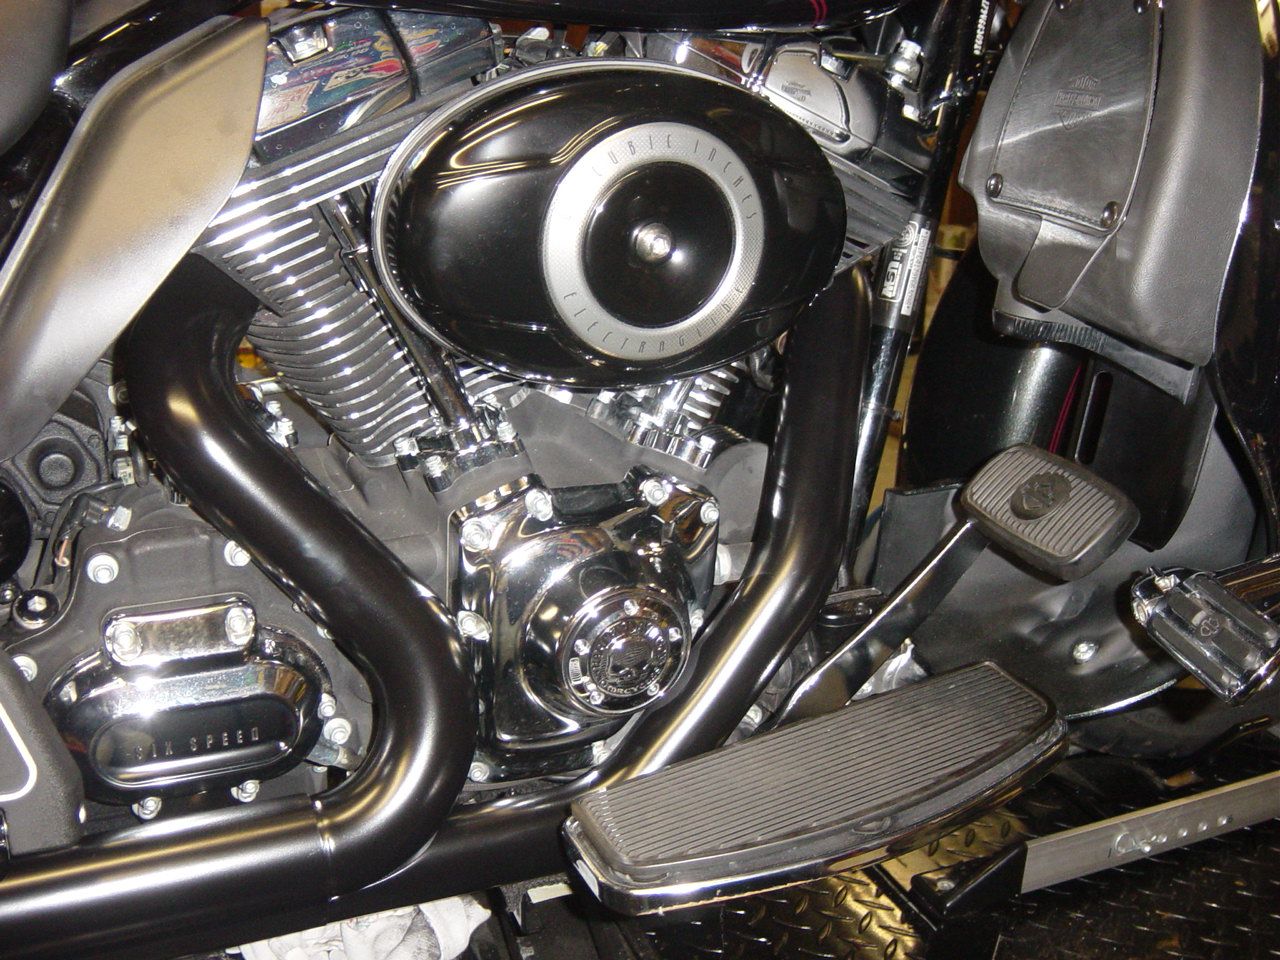 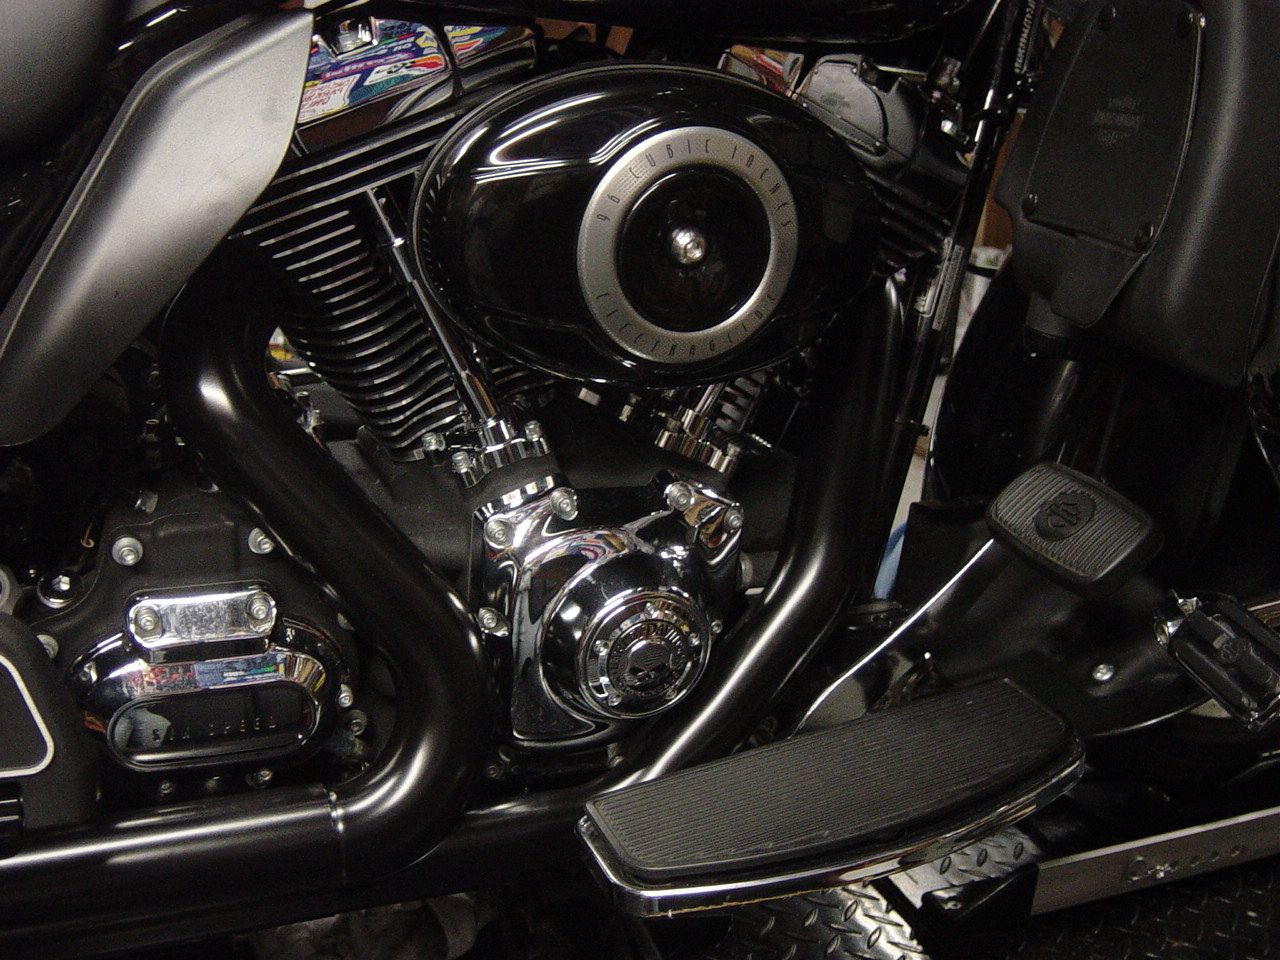 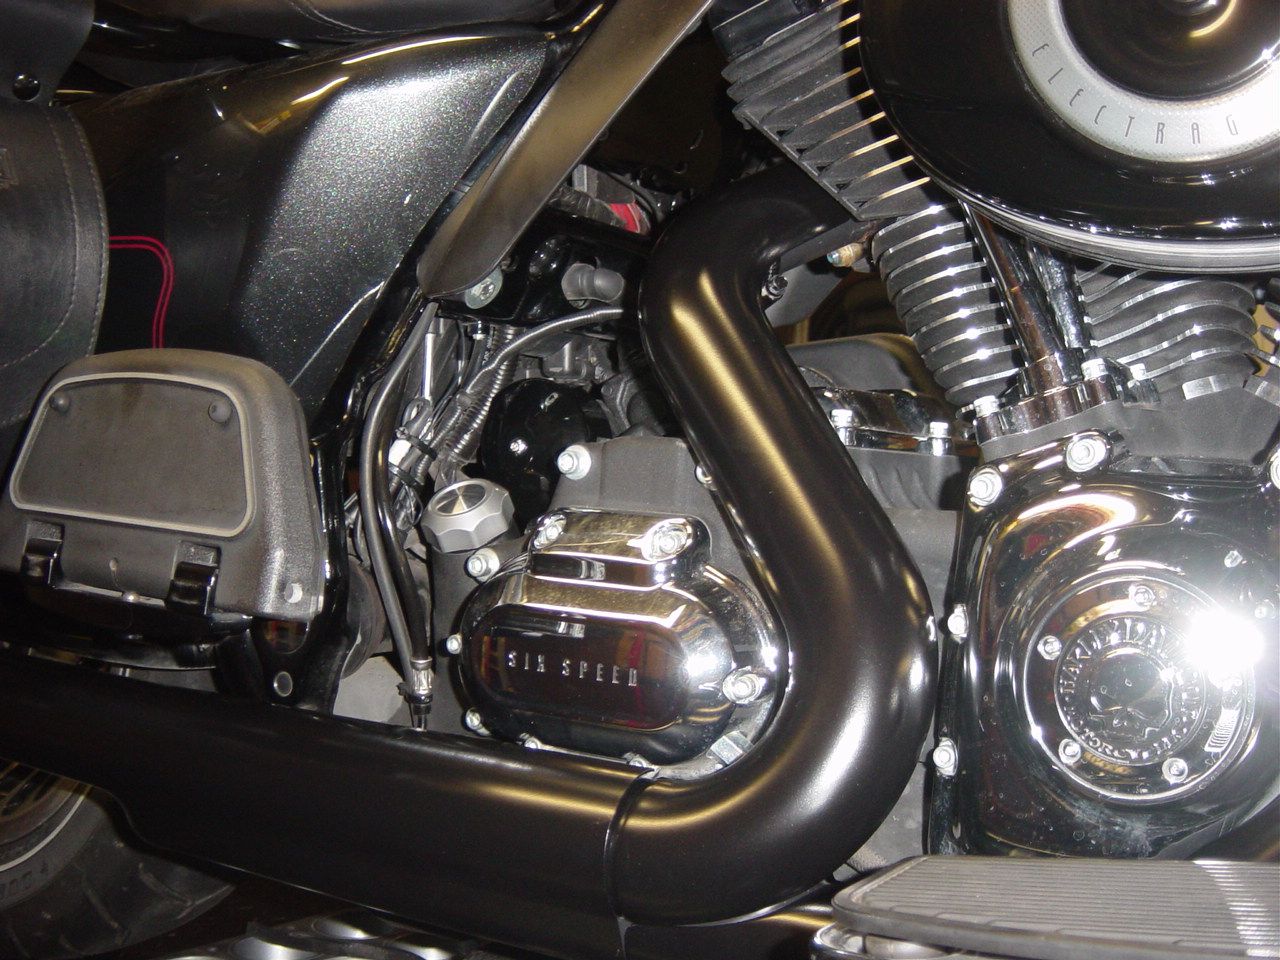 And of coarse the right side muffler 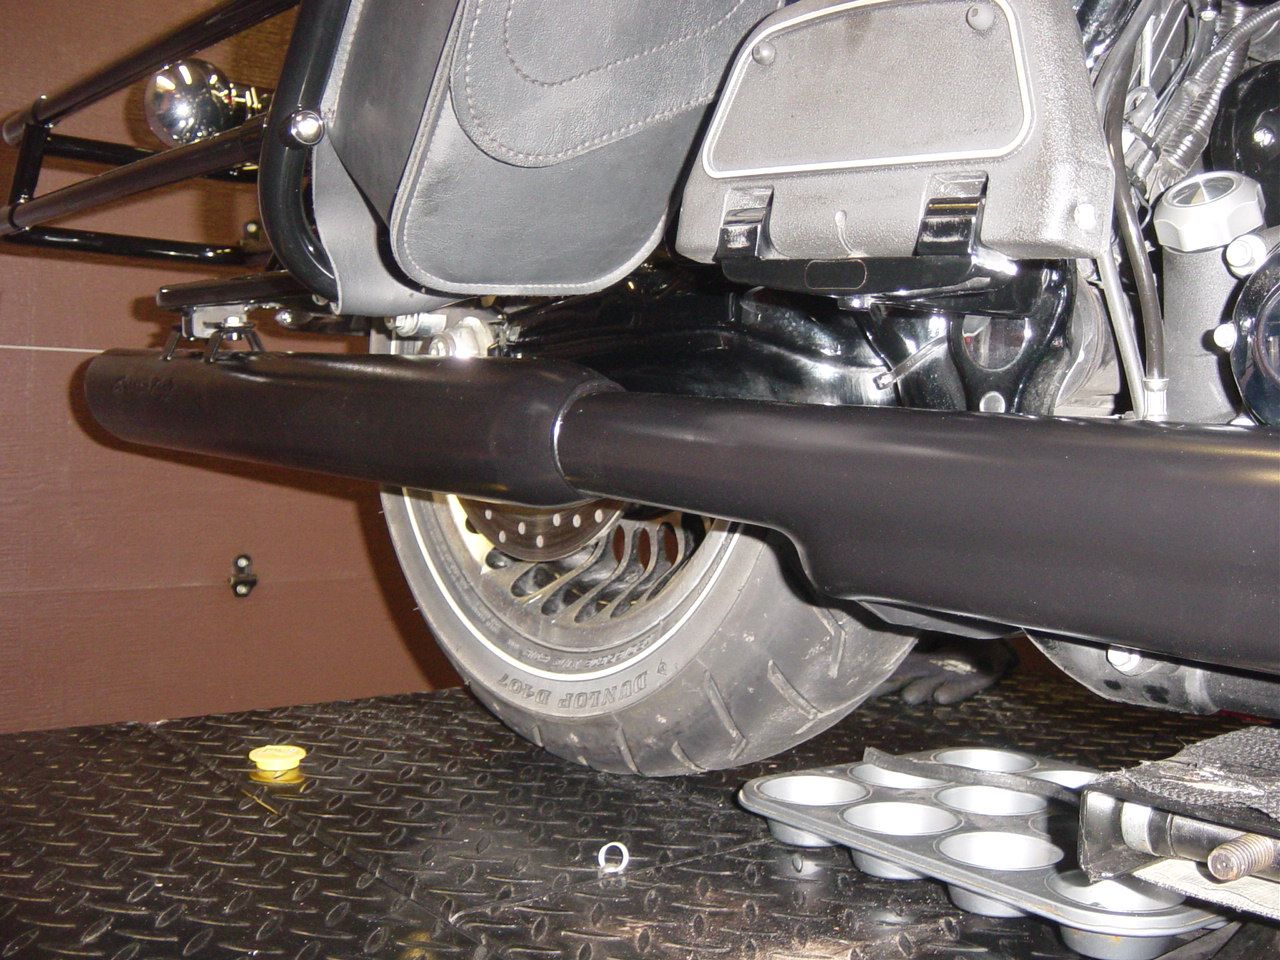 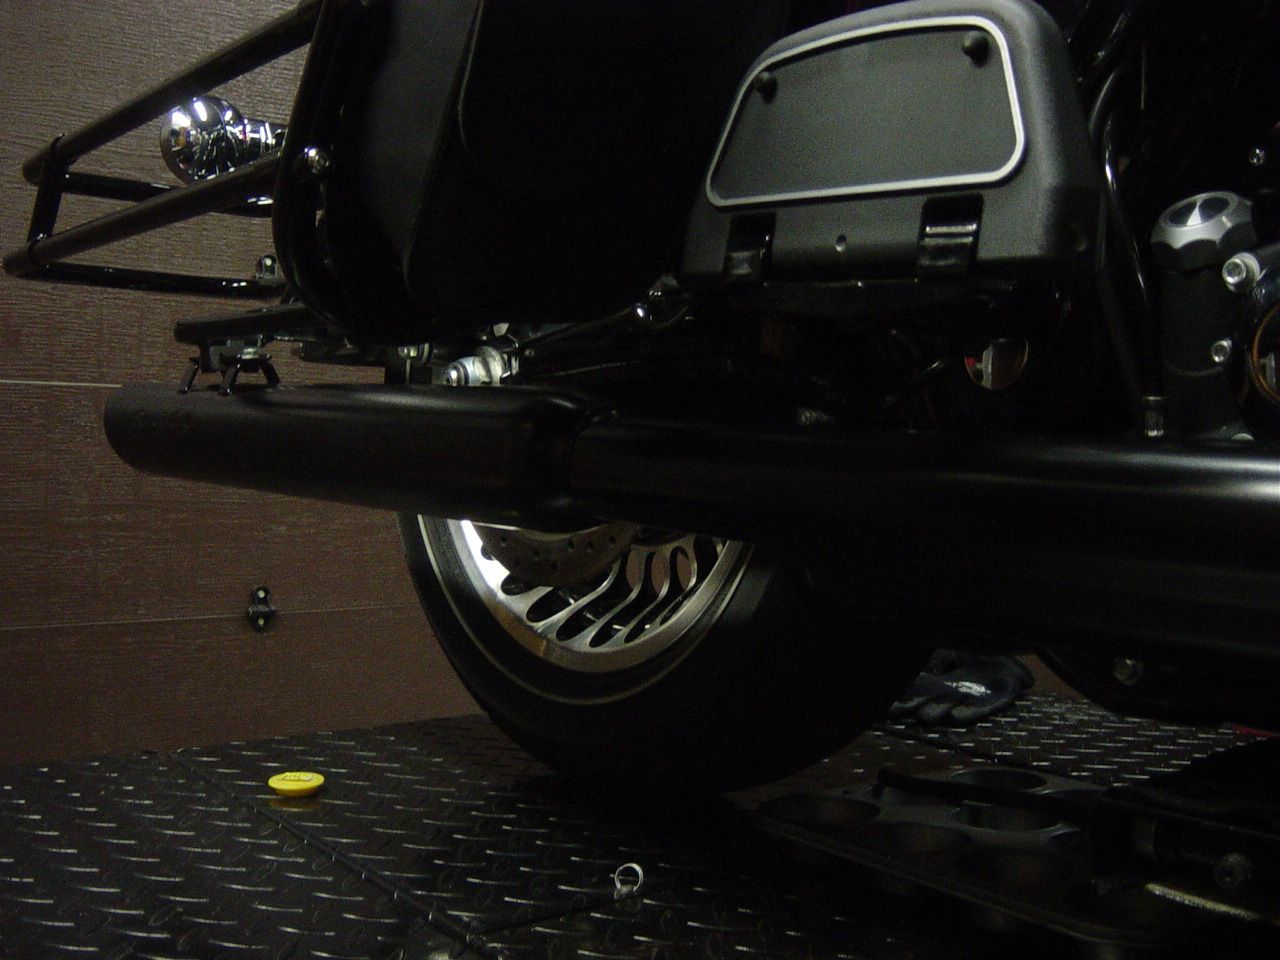
|
|
|

|
|
|
#15 |
|
Trip's Assistant
 Join Date: Feb 2008
Location: Imported from Detroit
Moto: 2009 HD Street Classic
Posts: 12,149
|
With the saddle bags back on
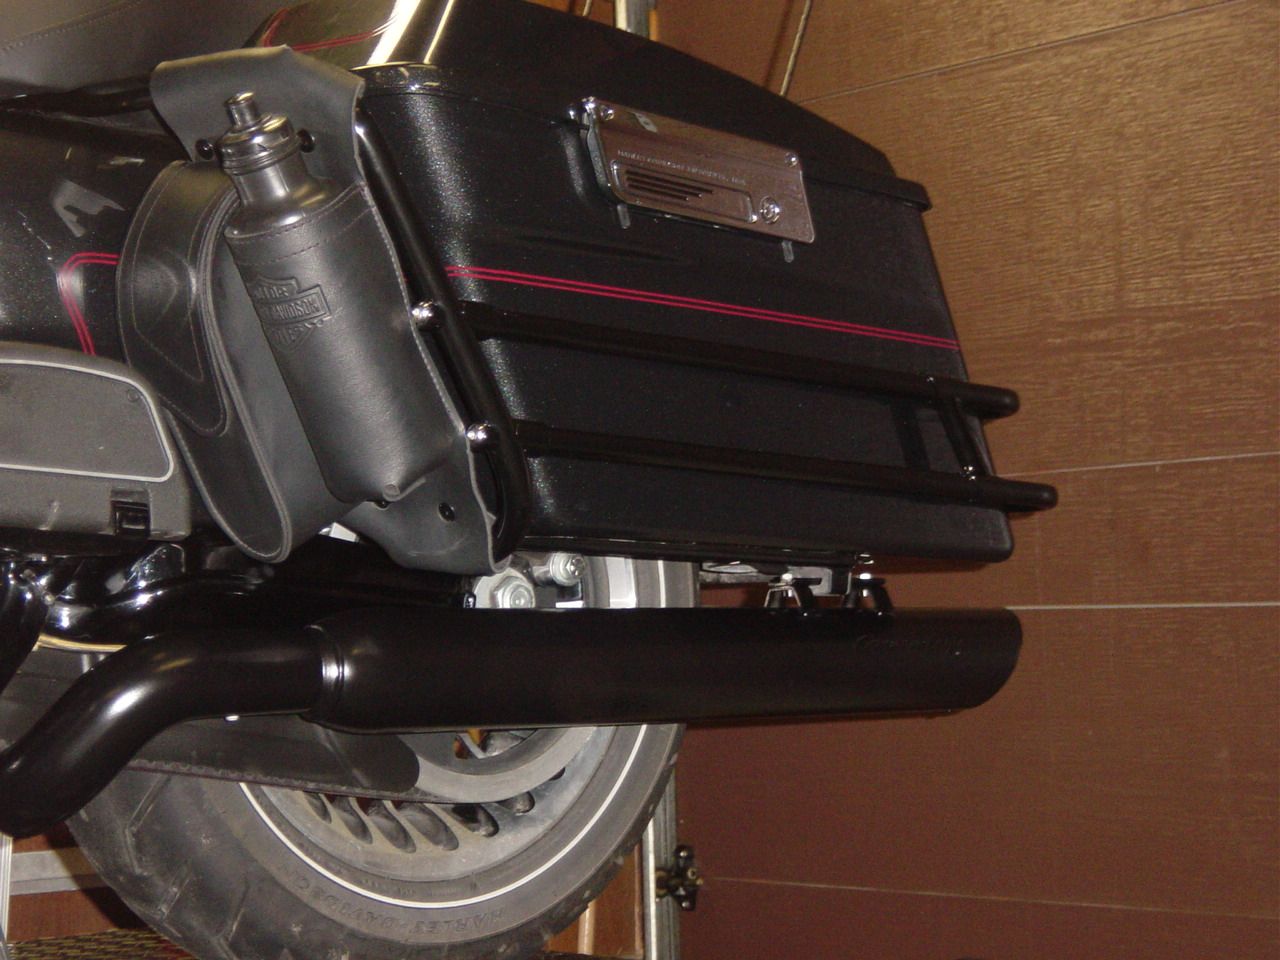 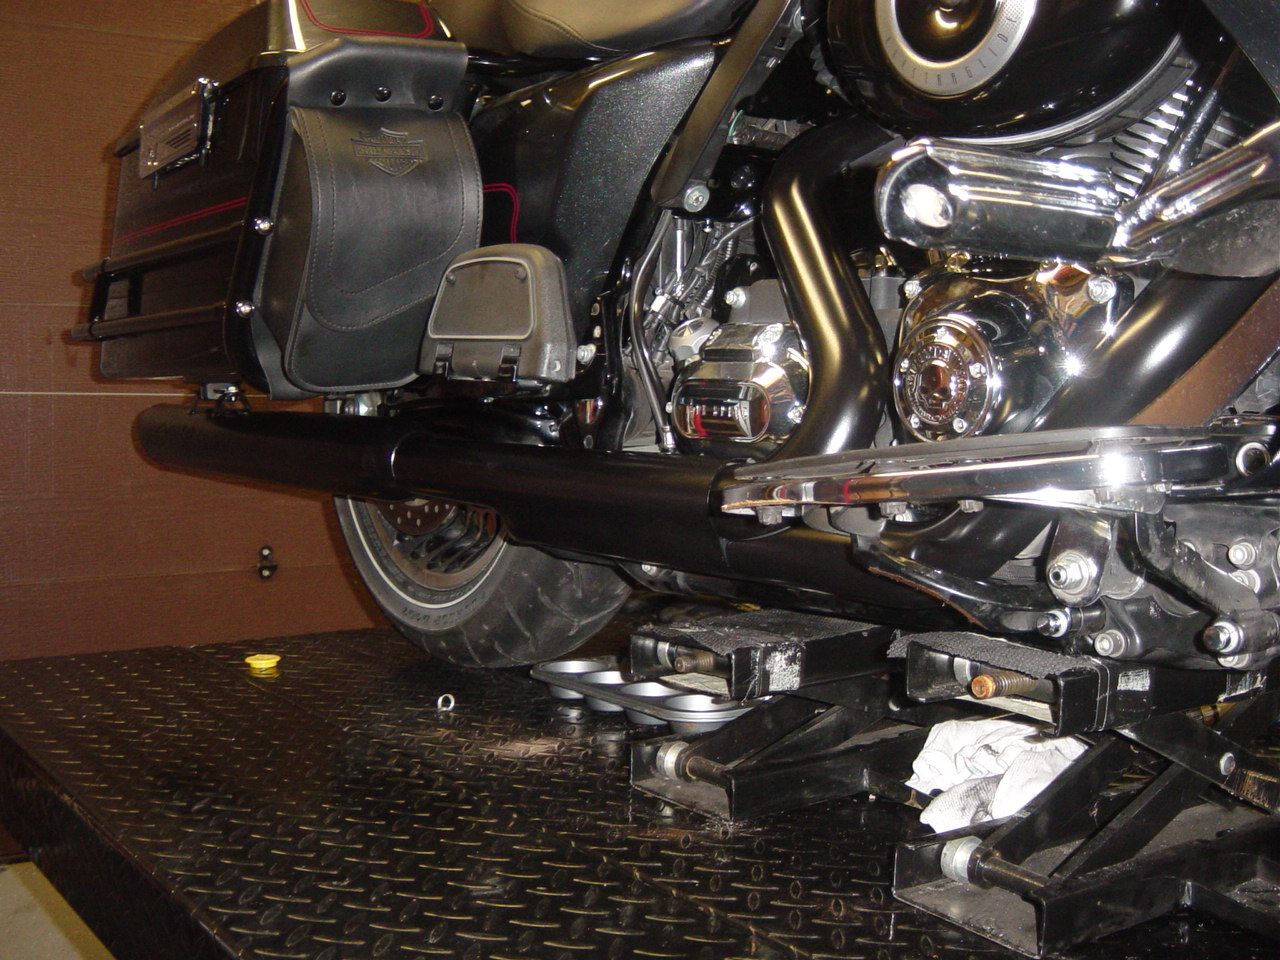 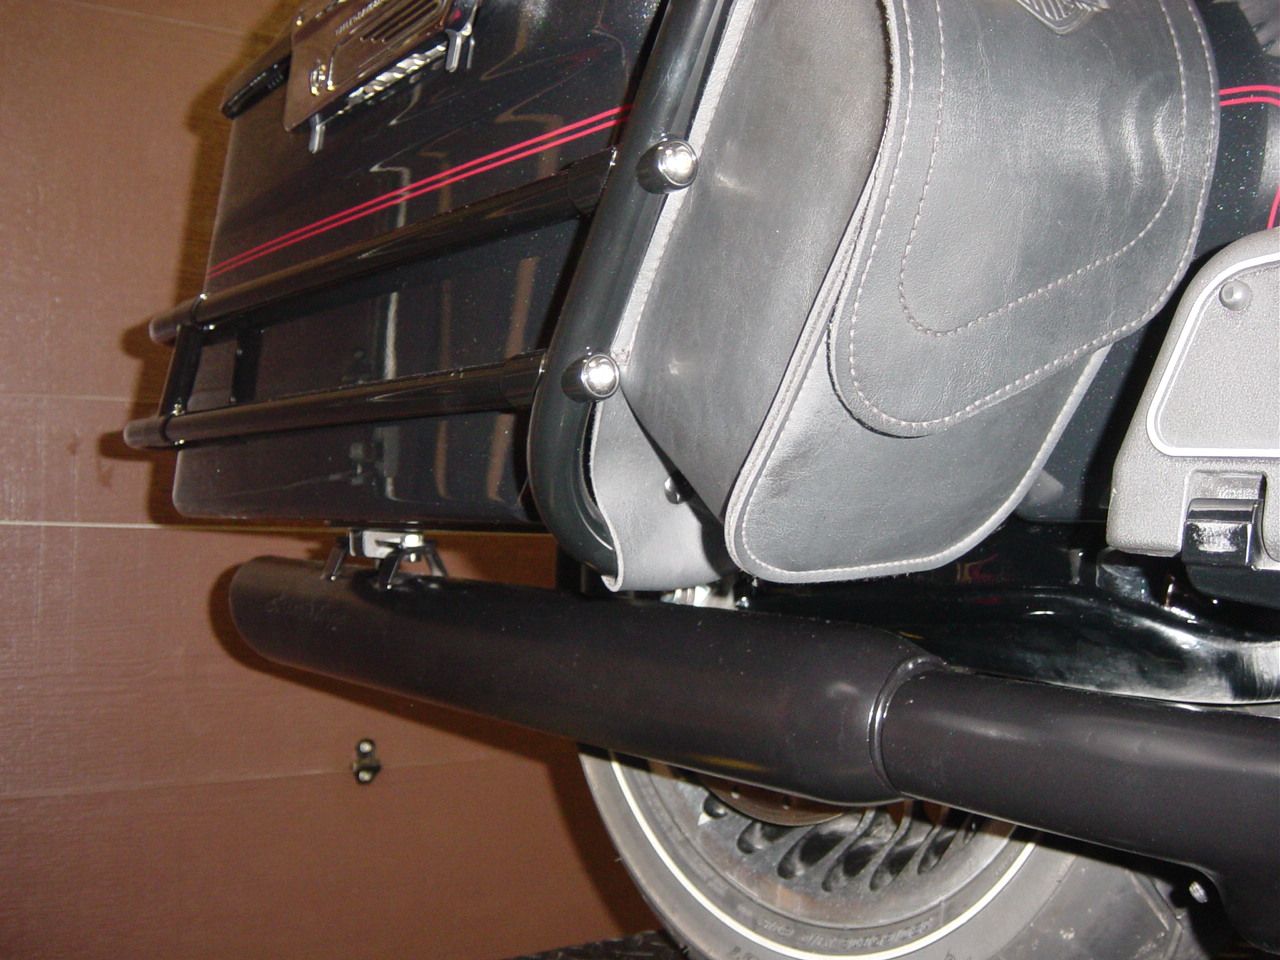 A view from the back 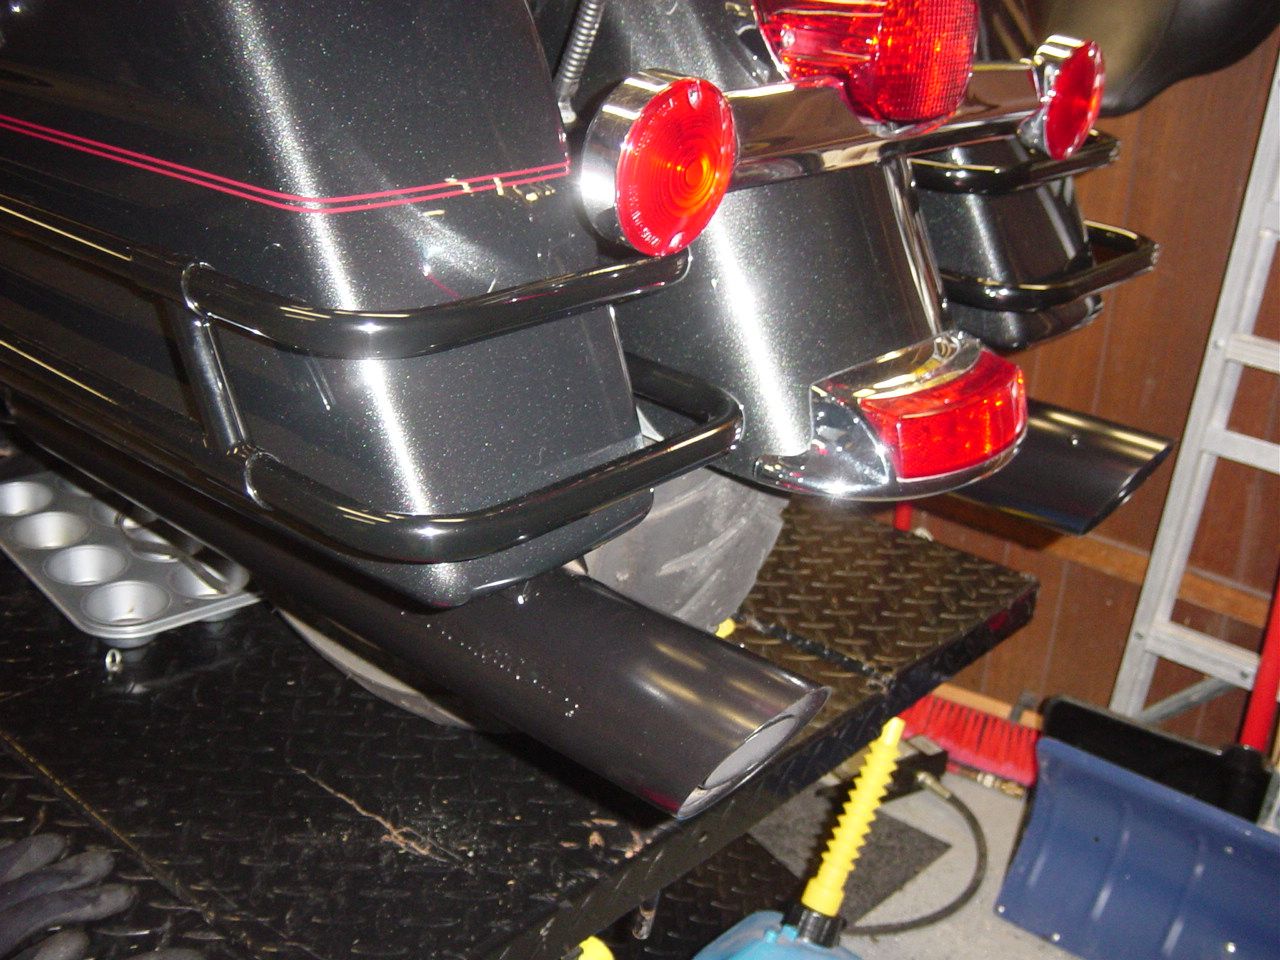 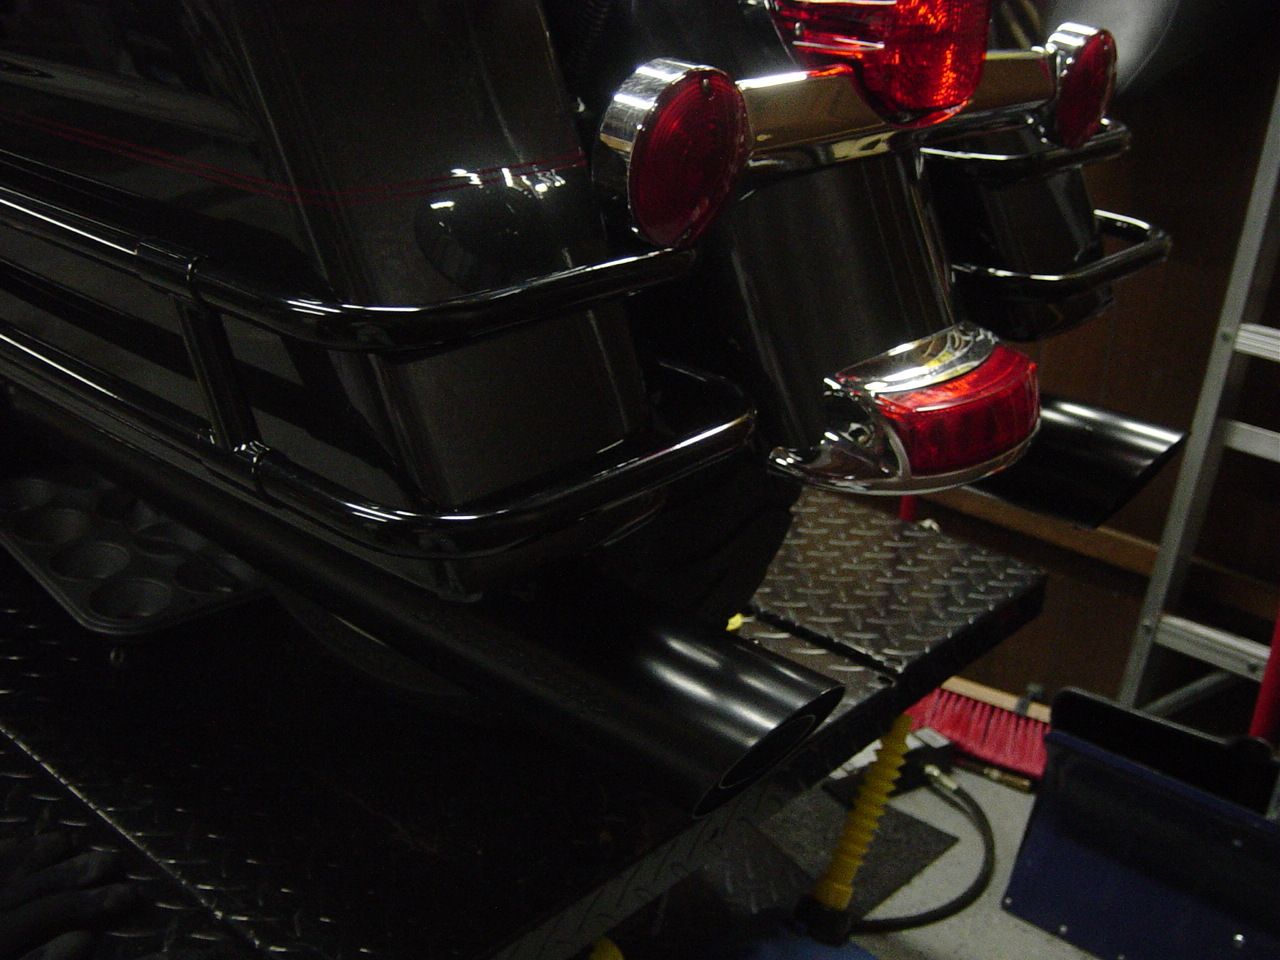 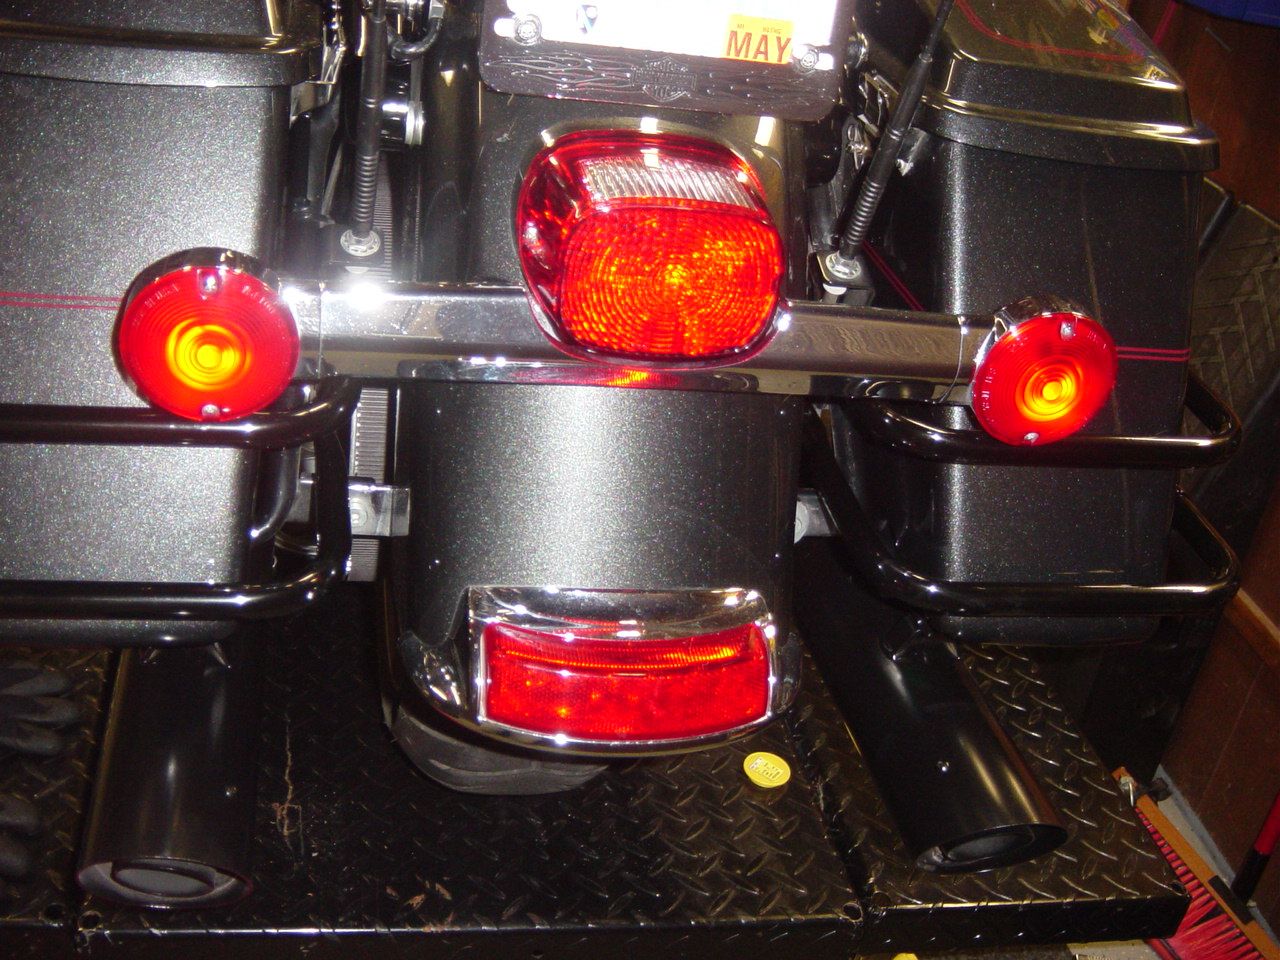 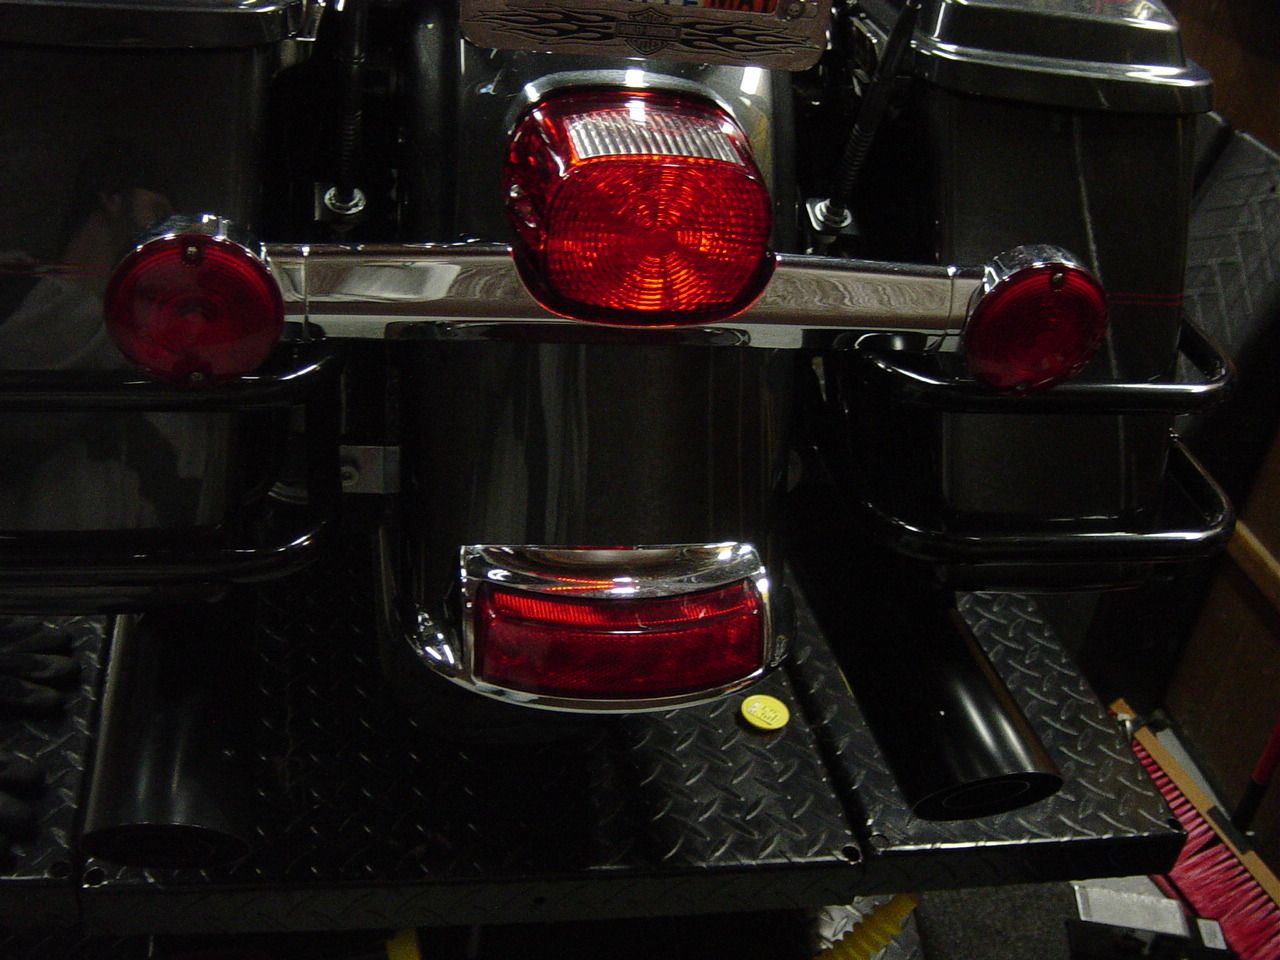 Will pick up the front fairing bib, and light bar Monday. The 3 light rings, "out-gassed" real bad when heated for powdering, so my powder guy , is going to get a primer that controls out gassing and re-powder them again. He won't settle for anything but perfect, which is why we get along so well. After that, I'm done with the Ultra and therefor all the winter time bike projects. |
|
|

|
|
|
#16 | |
|
DefenderOfTheBuelliverse
 Join Date: Feb 2008
Location: Parts Unknown
Moto: Buell XB12R
Posts: 18,585
|
Sinister.
__________________
 Quote:
|
|
|
|

|
|
|
#17 |
|
Follower
Join Date: Nov 2008
Posts: 5,549
|
Gas,
When you roll the bike out for it's first ride of the season do me a favor: Take a pic of the entire bike as it is now (front and profile preferred) and post them up with the same (or similar) pics from when it was new. You've done so much and so many of the pics are up close I want to see a whole bike side by side before and after. 
__________________
Racing For Smiles |
|
|

|
|
|
#18 | |
|
Ride Like an Asshole
Join Date: Feb 2008
Moto: nothing...
Posts: 11,254
|
Quote:
|
|
|
|

|
|
|
#19 | |
|
Trip's Assistant
 Join Date: Feb 2008
Location: Imported from Detroit
Moto: 2009 HD Street Classic
Posts: 12,149
|
Quote:
But yes the list seems to be growing... I also no longer have the lower fairings, and engine bar on the bike... the bar has to get blacked... its the missing piece to tie it all in. |
|
|
|

|
|
|
#20 |
|
Trip's Assistant
 Join Date: Feb 2008
Location: Imported from Detroit
Moto: 2009 HD Street Classic
Posts: 12,149
|
Well I got to looking at my overall appearance of the bike as stated earlier... The front end still looked completely stock and didn't show the efforts I put into the fairing backwards on the bike. Again, I'm a perfectionist so I had to do something... well a few weeks ago I got the front end parts back.
Got the "fork bib" back 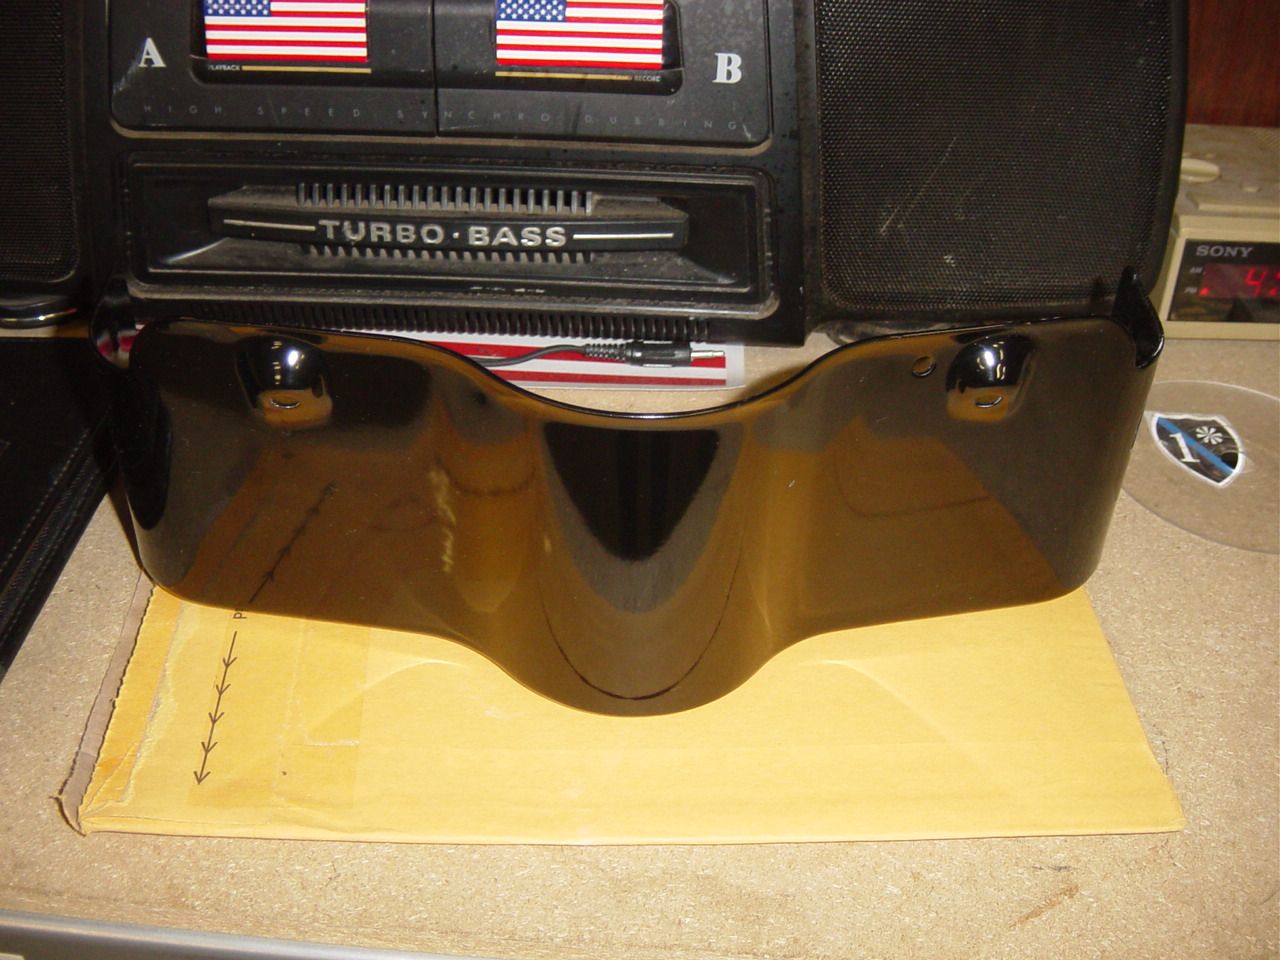  Installed 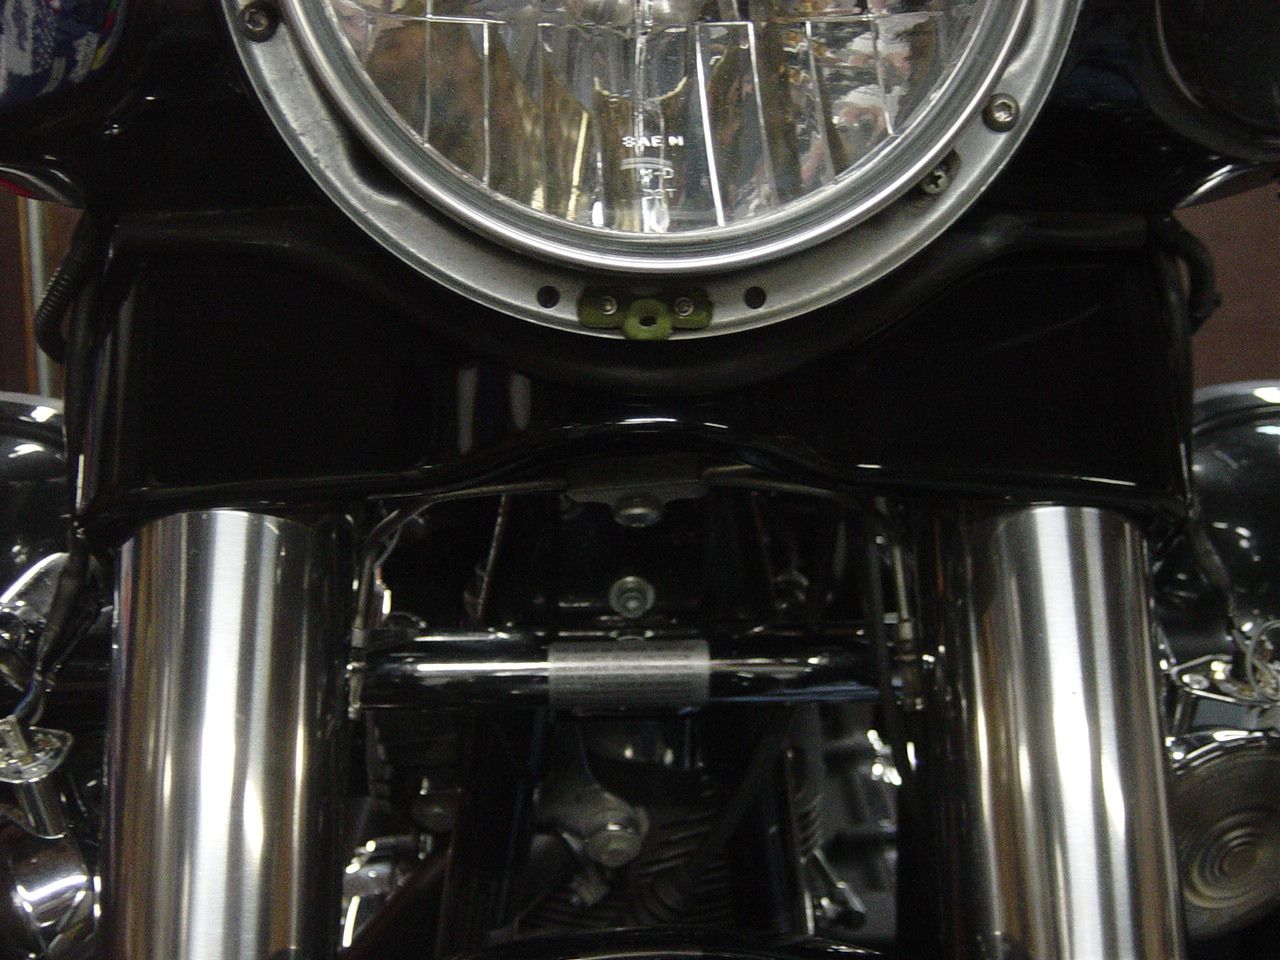 The light bar 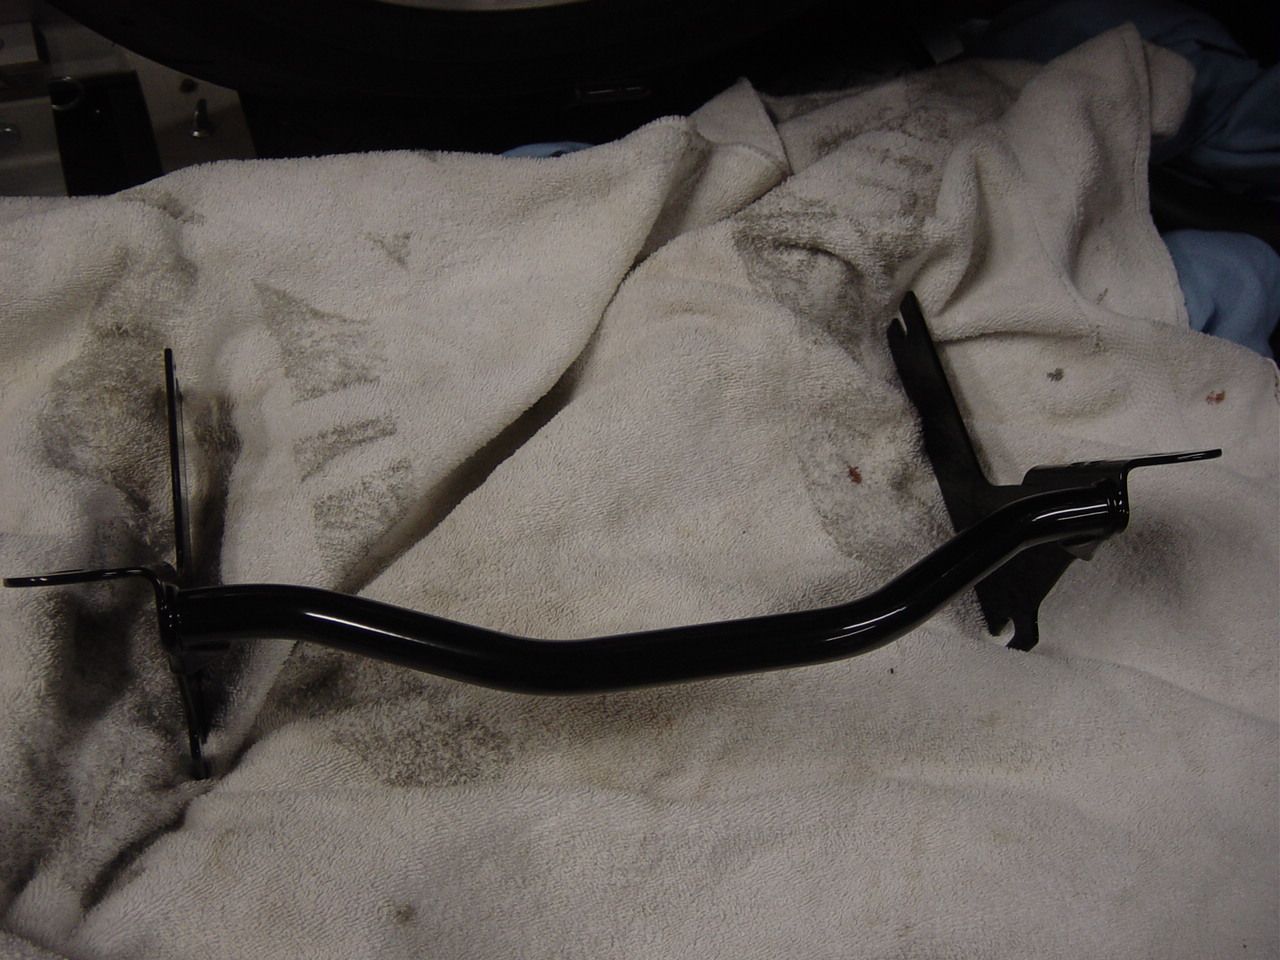 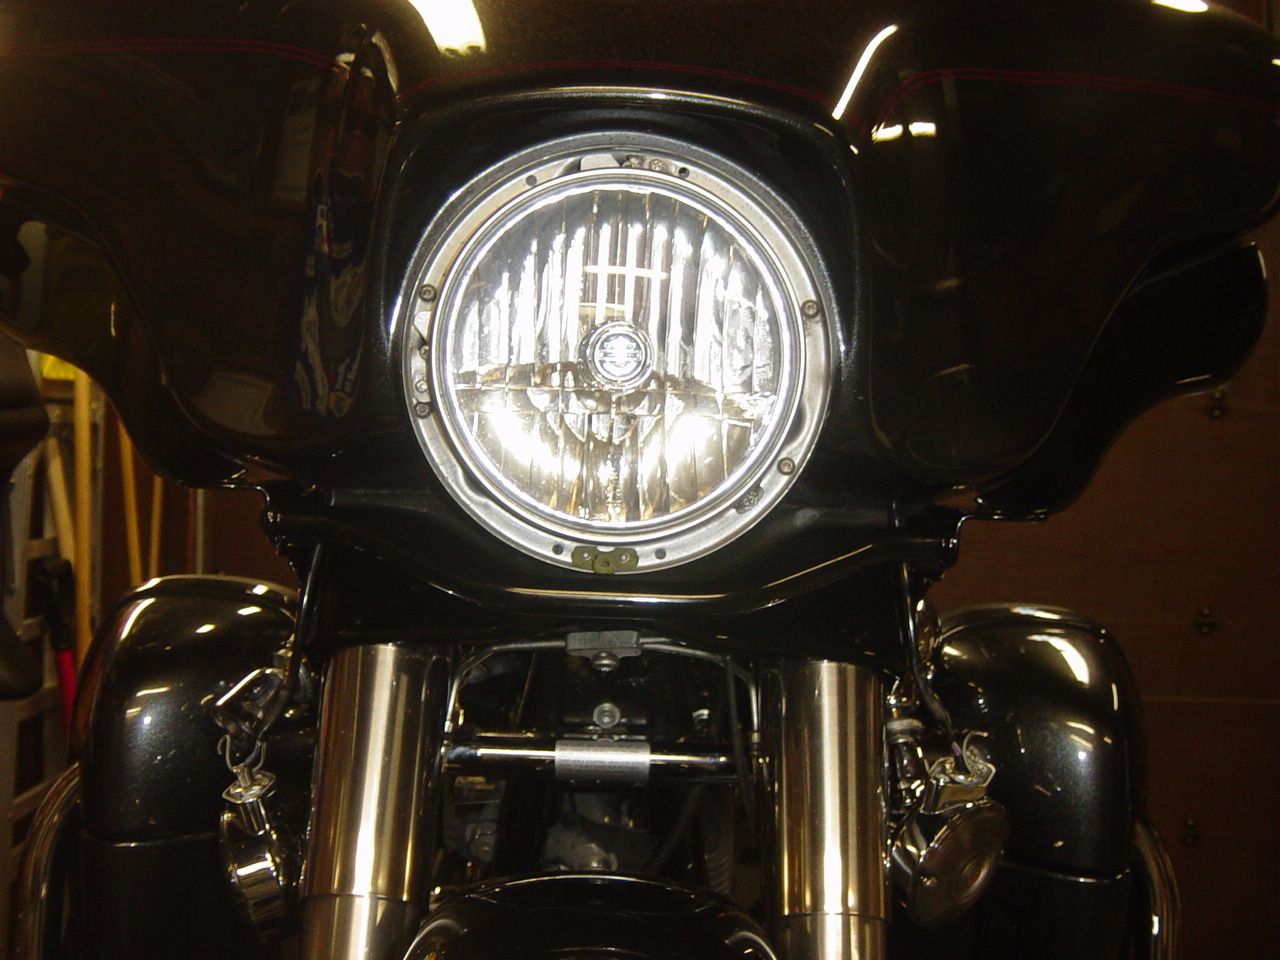 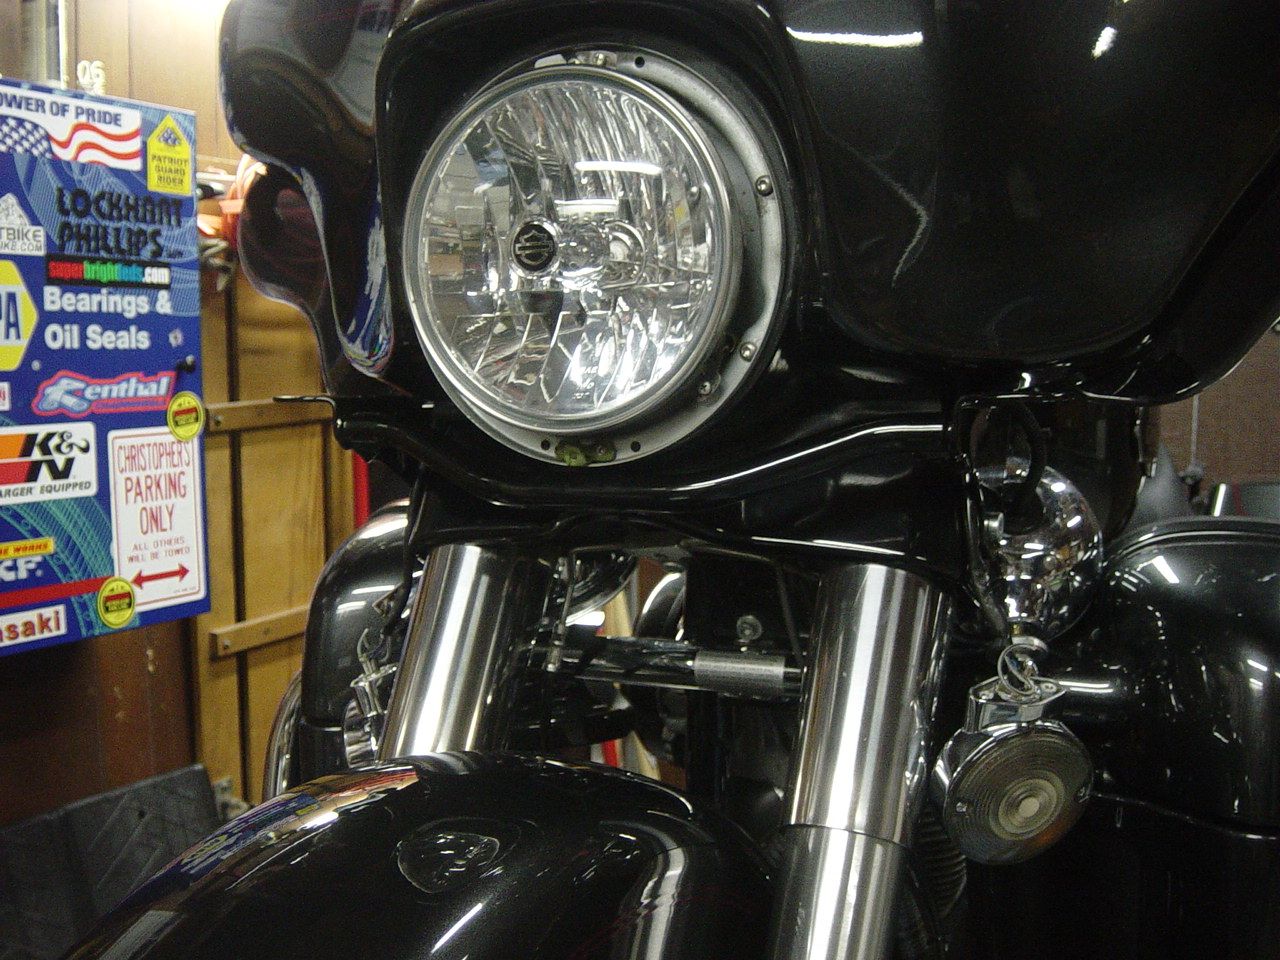 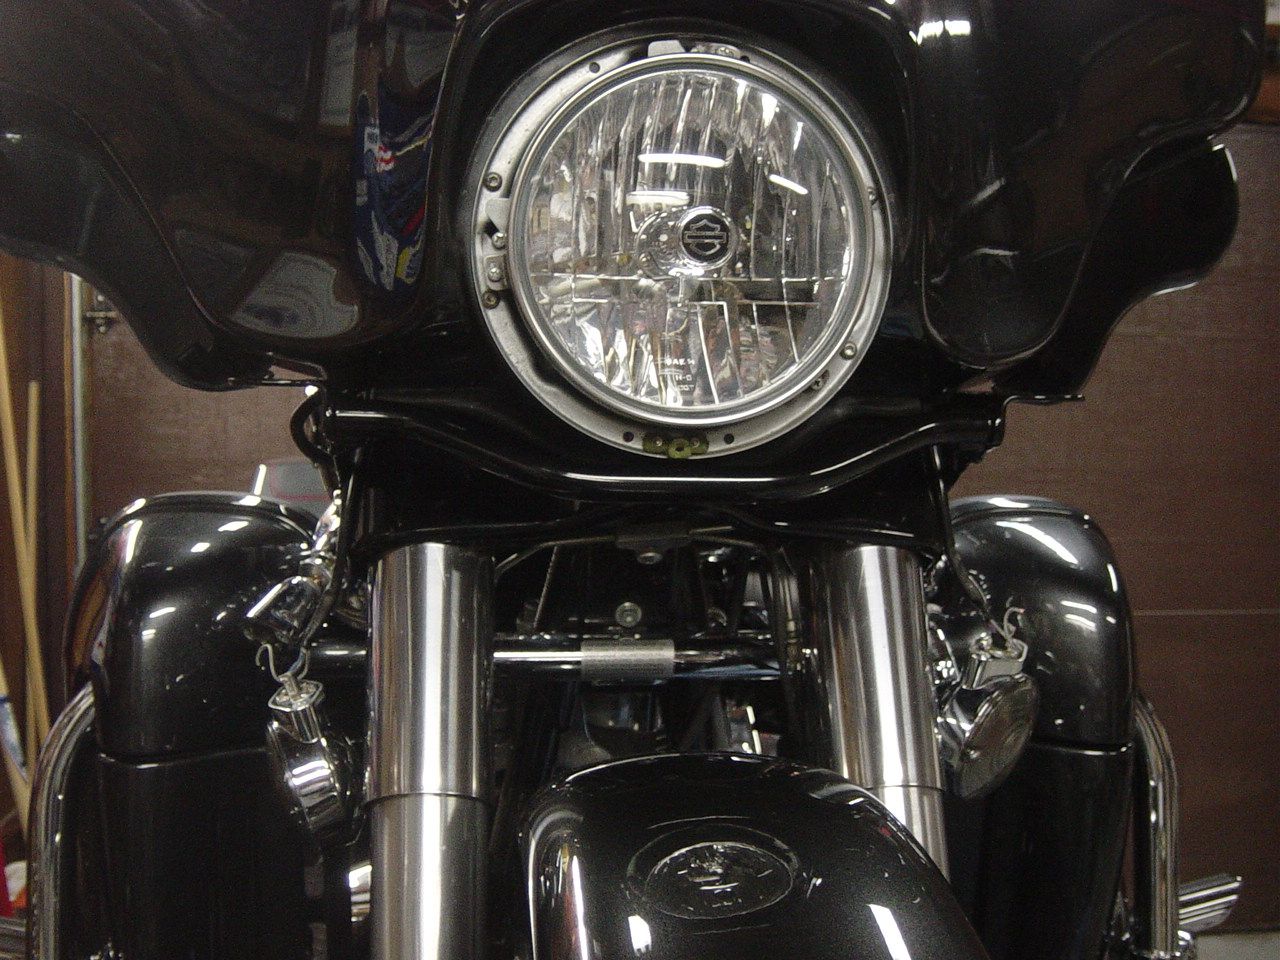 Get the blinkers and aux lights re-installed and the aux lights adjusted 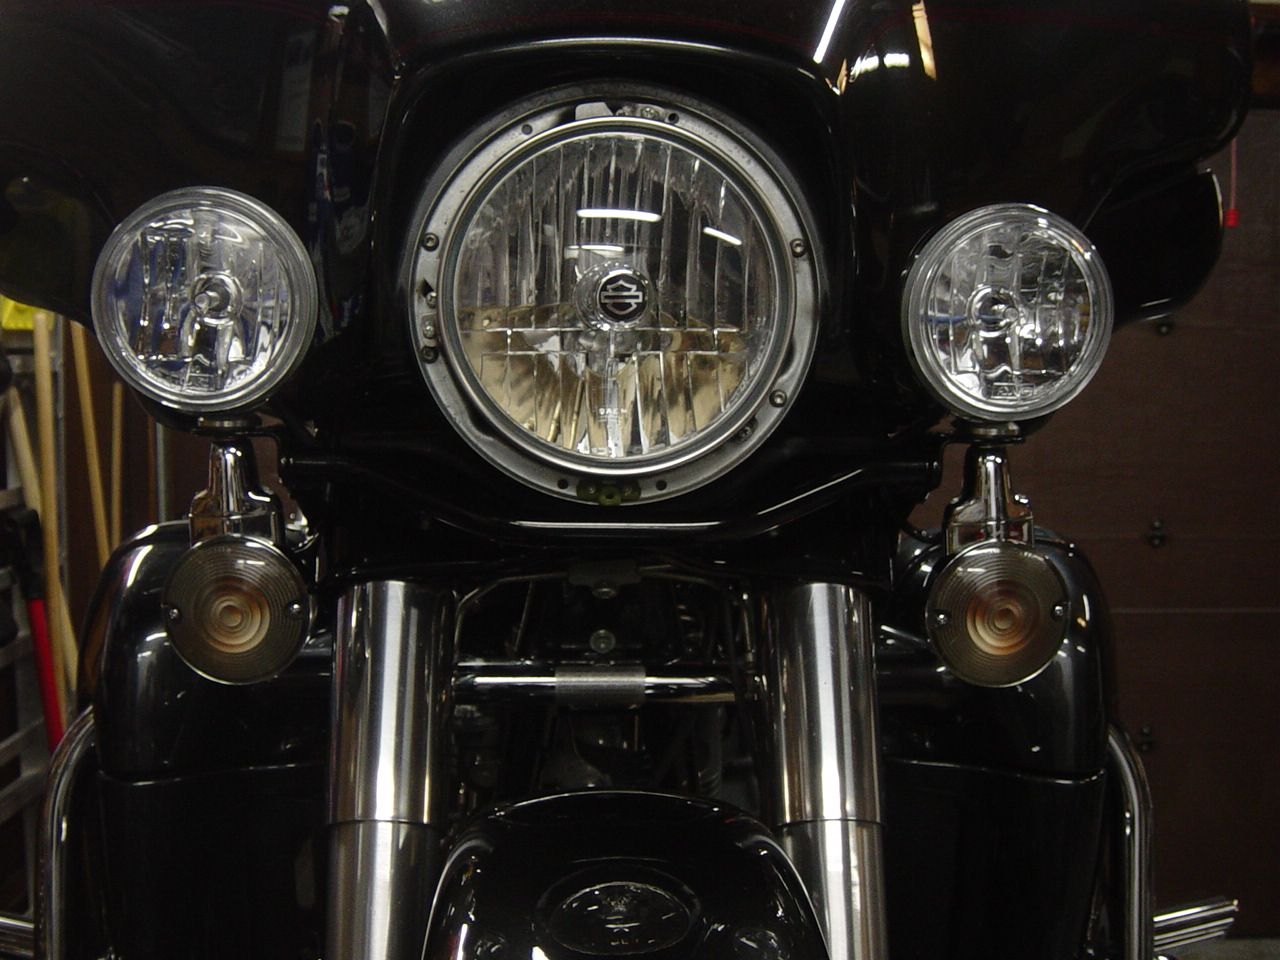 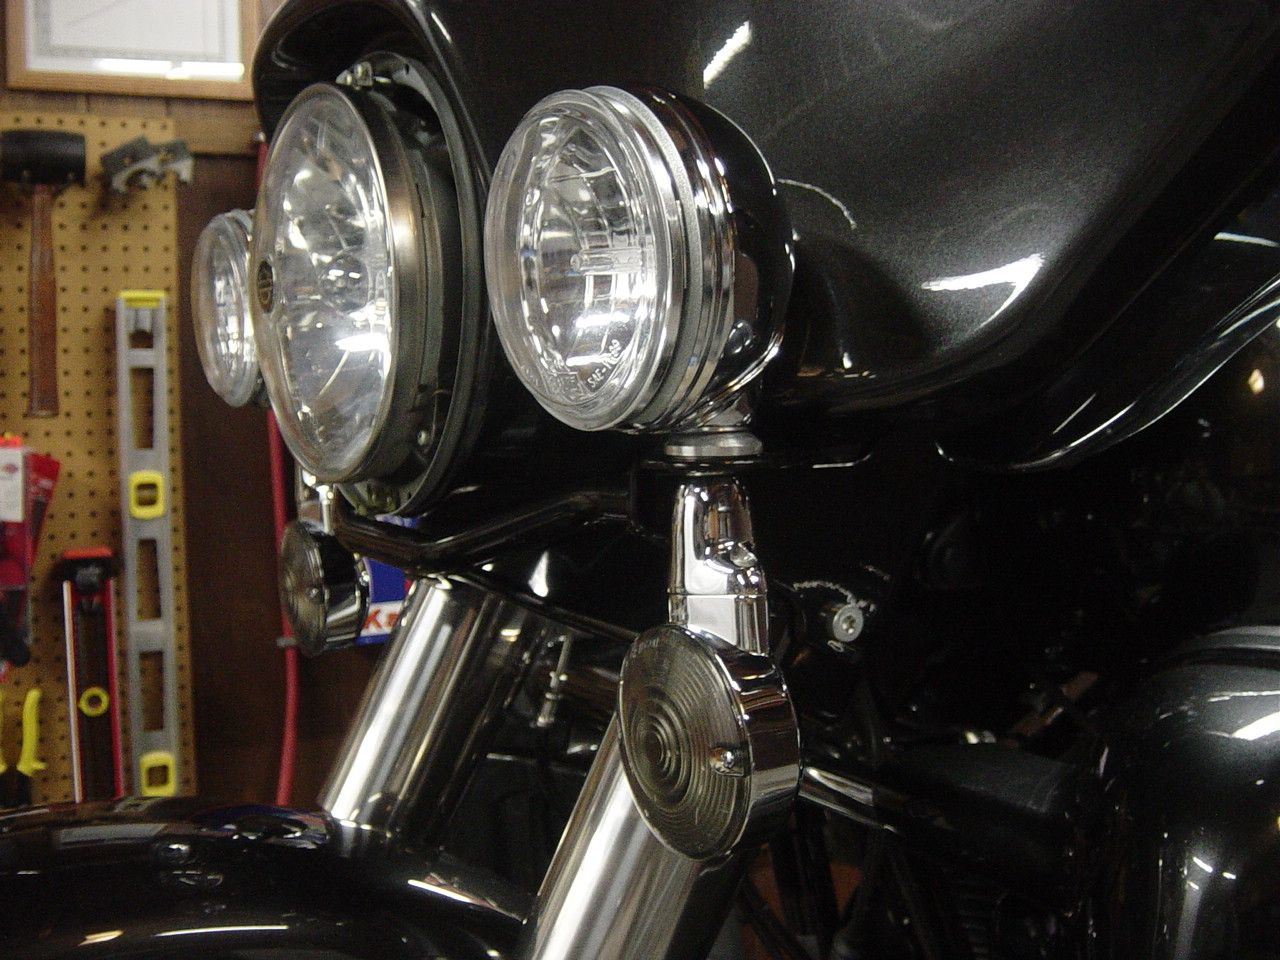 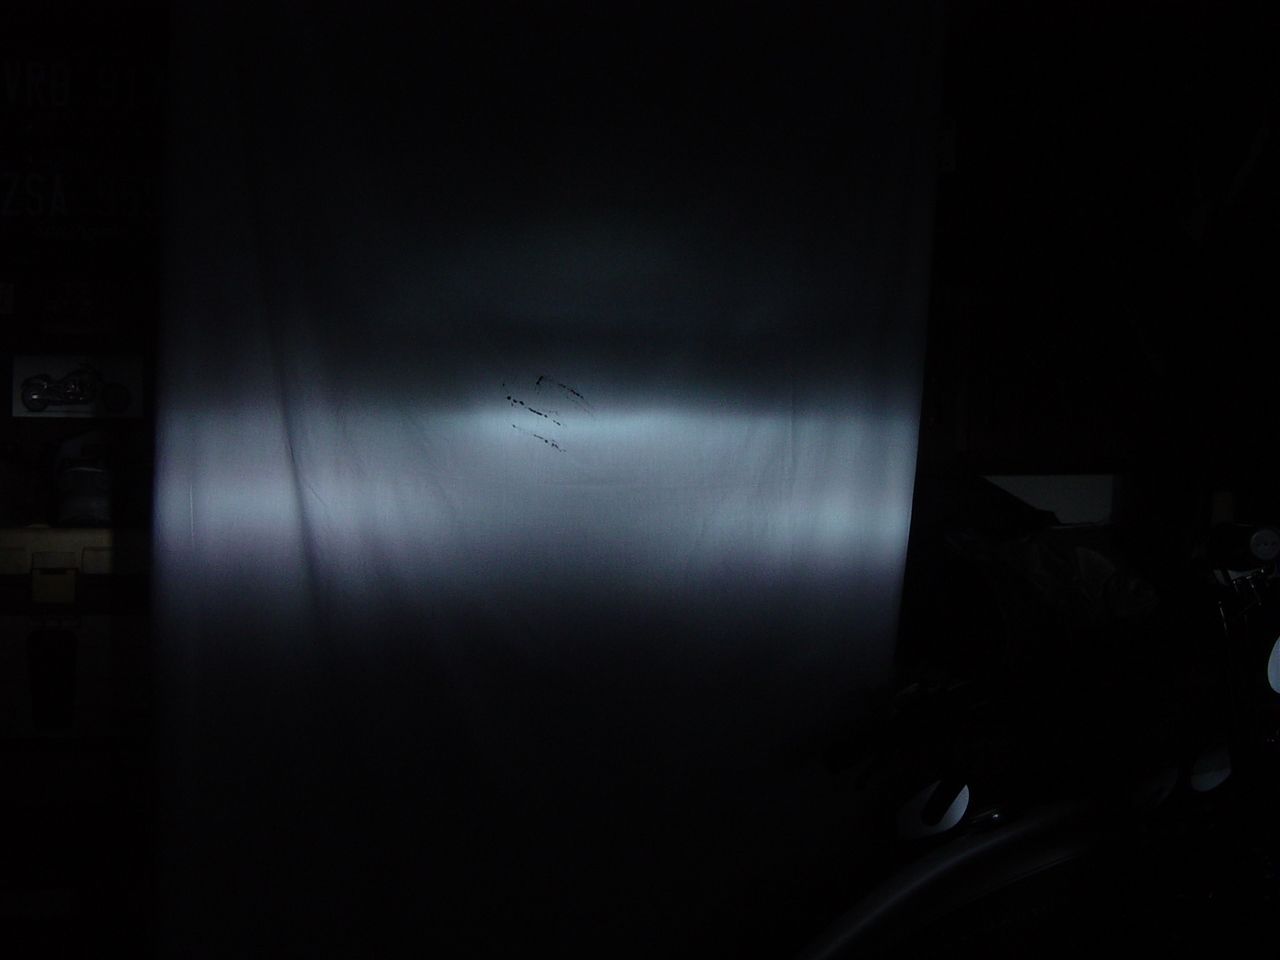 I like how the parts aren't chrome over the black inner fairing anymore 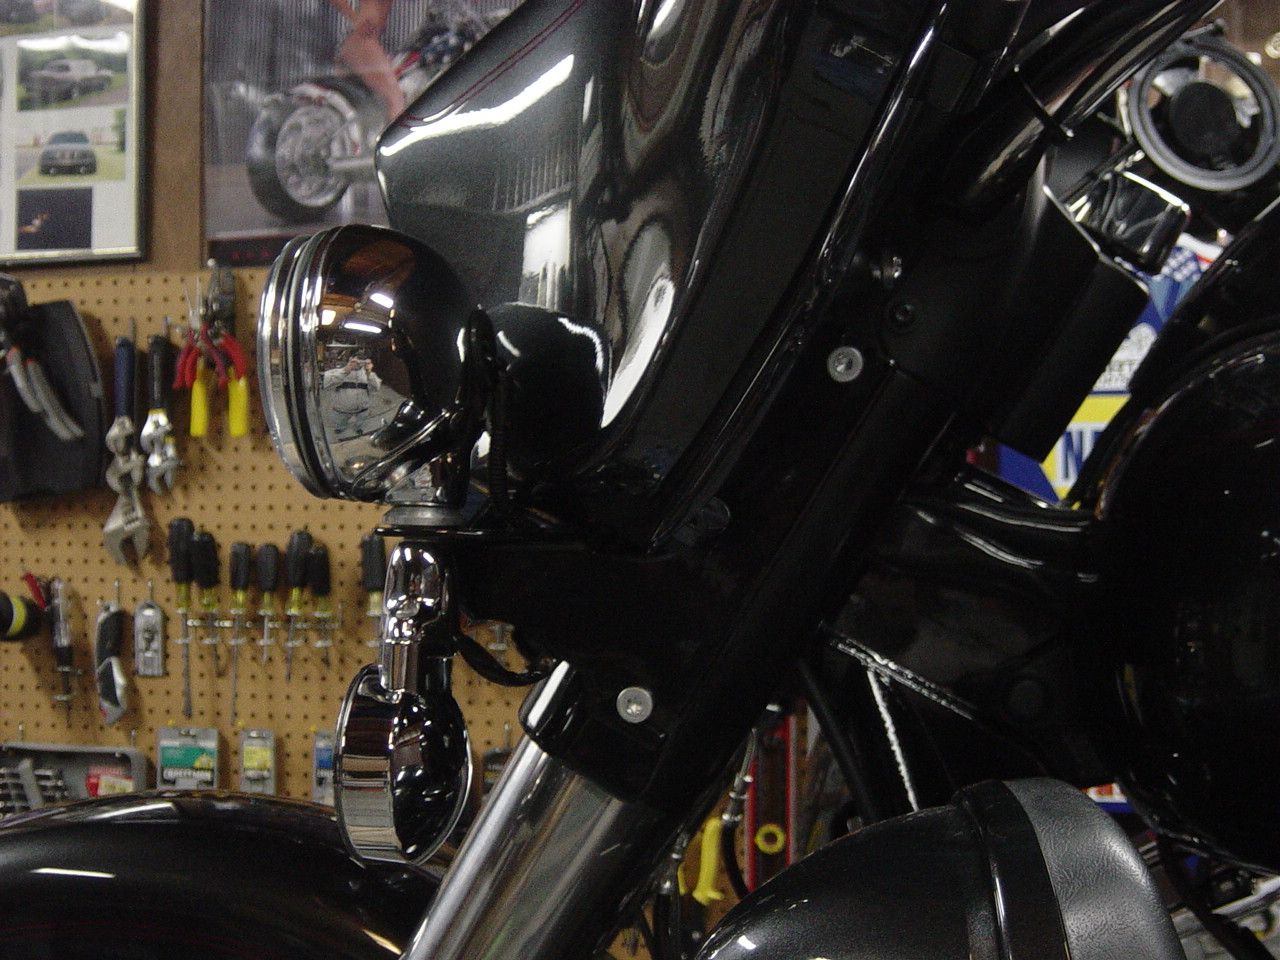 Got the rings back from powder. 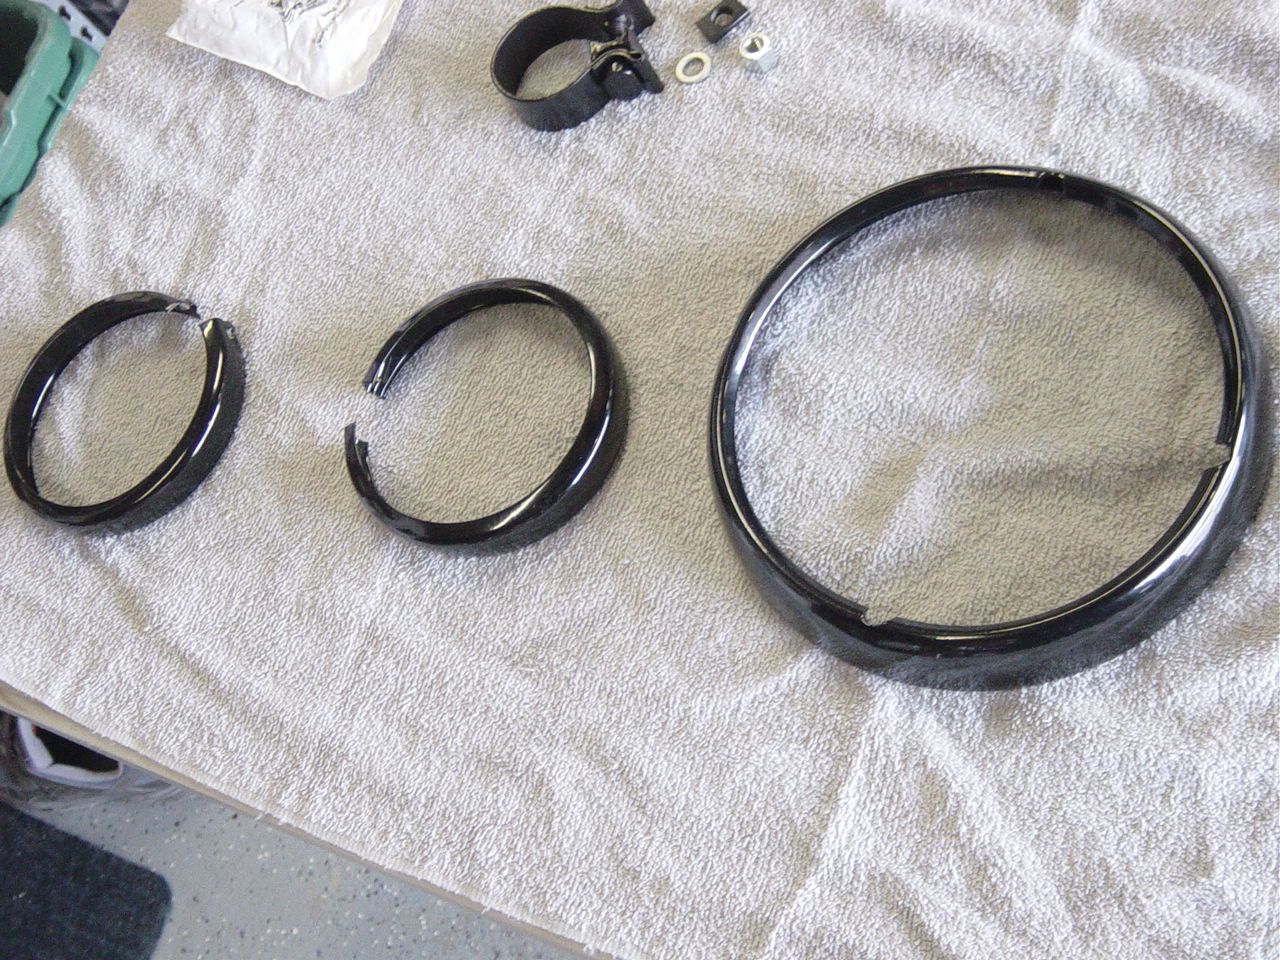 Installed 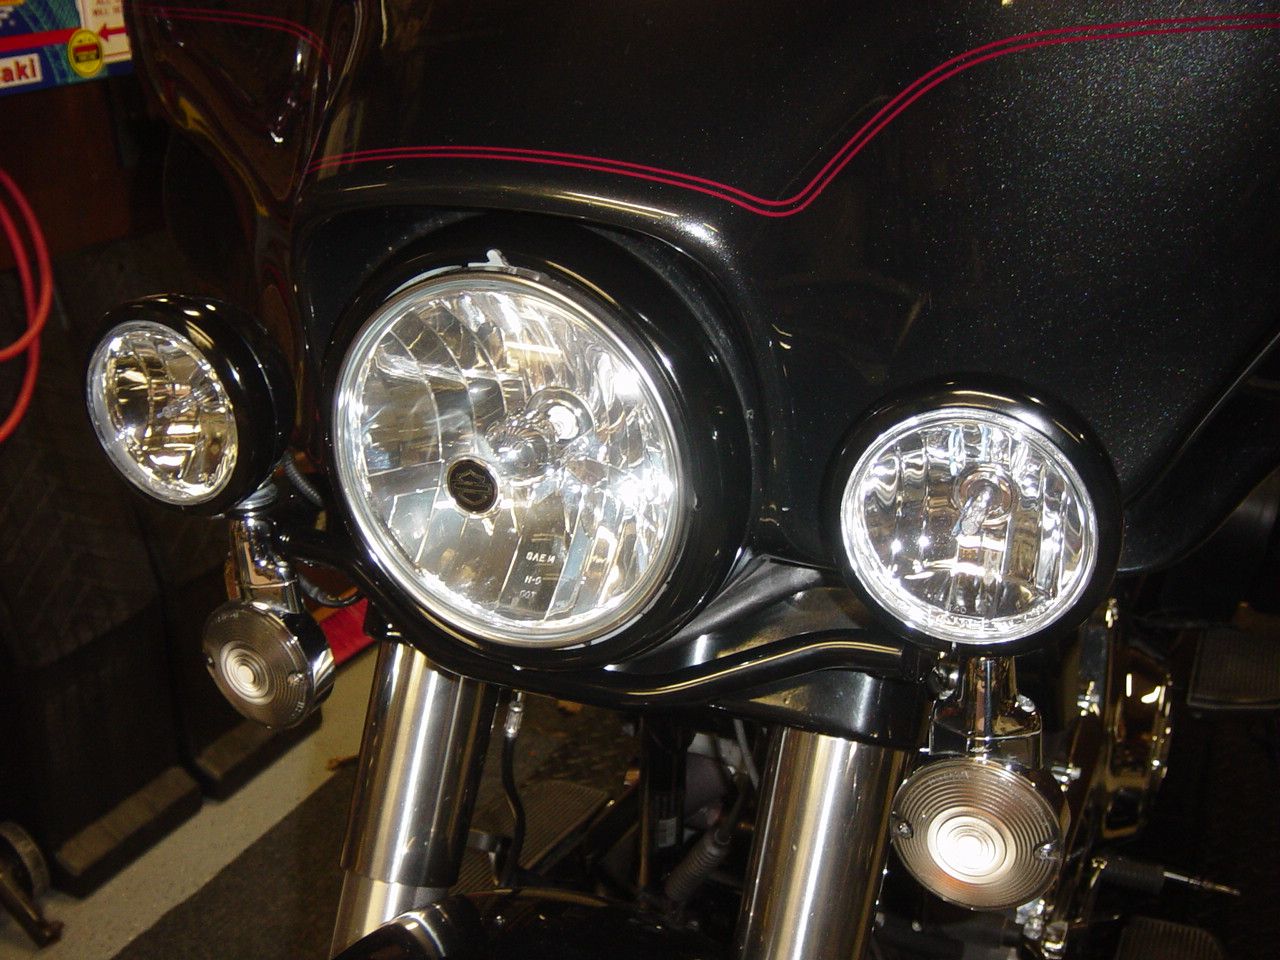 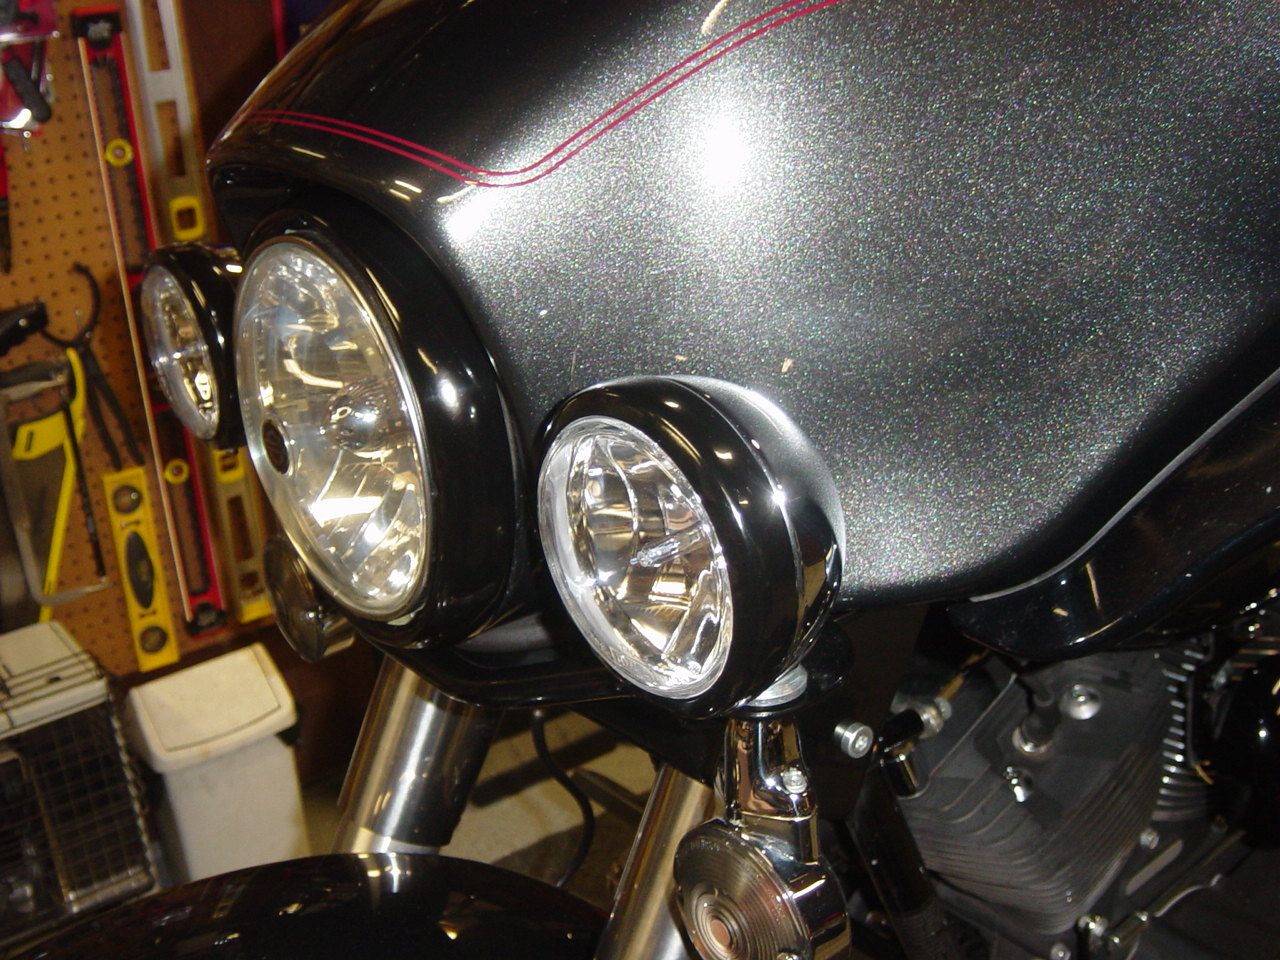 I like the black/chrome look carried here. 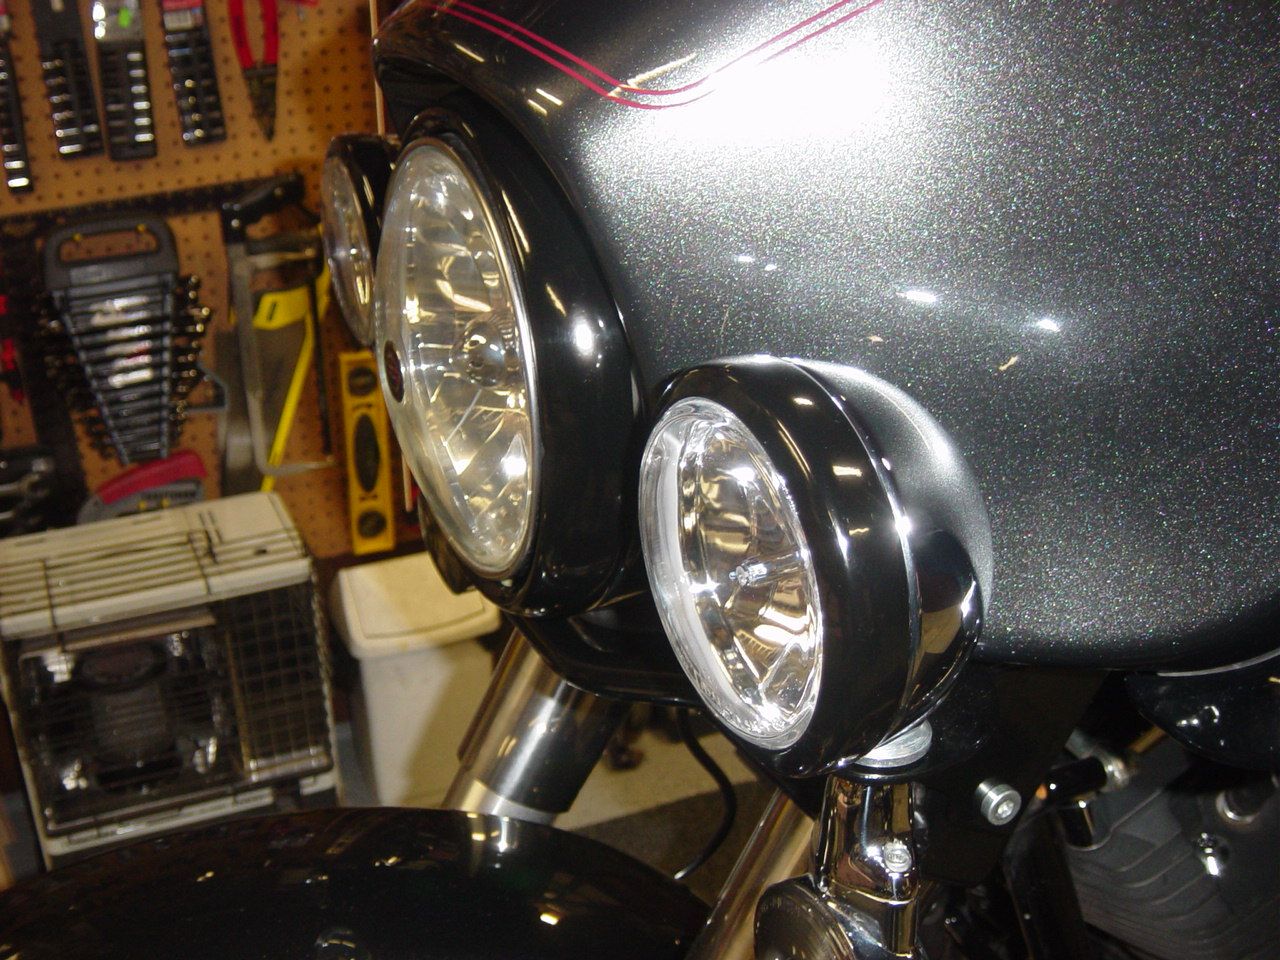 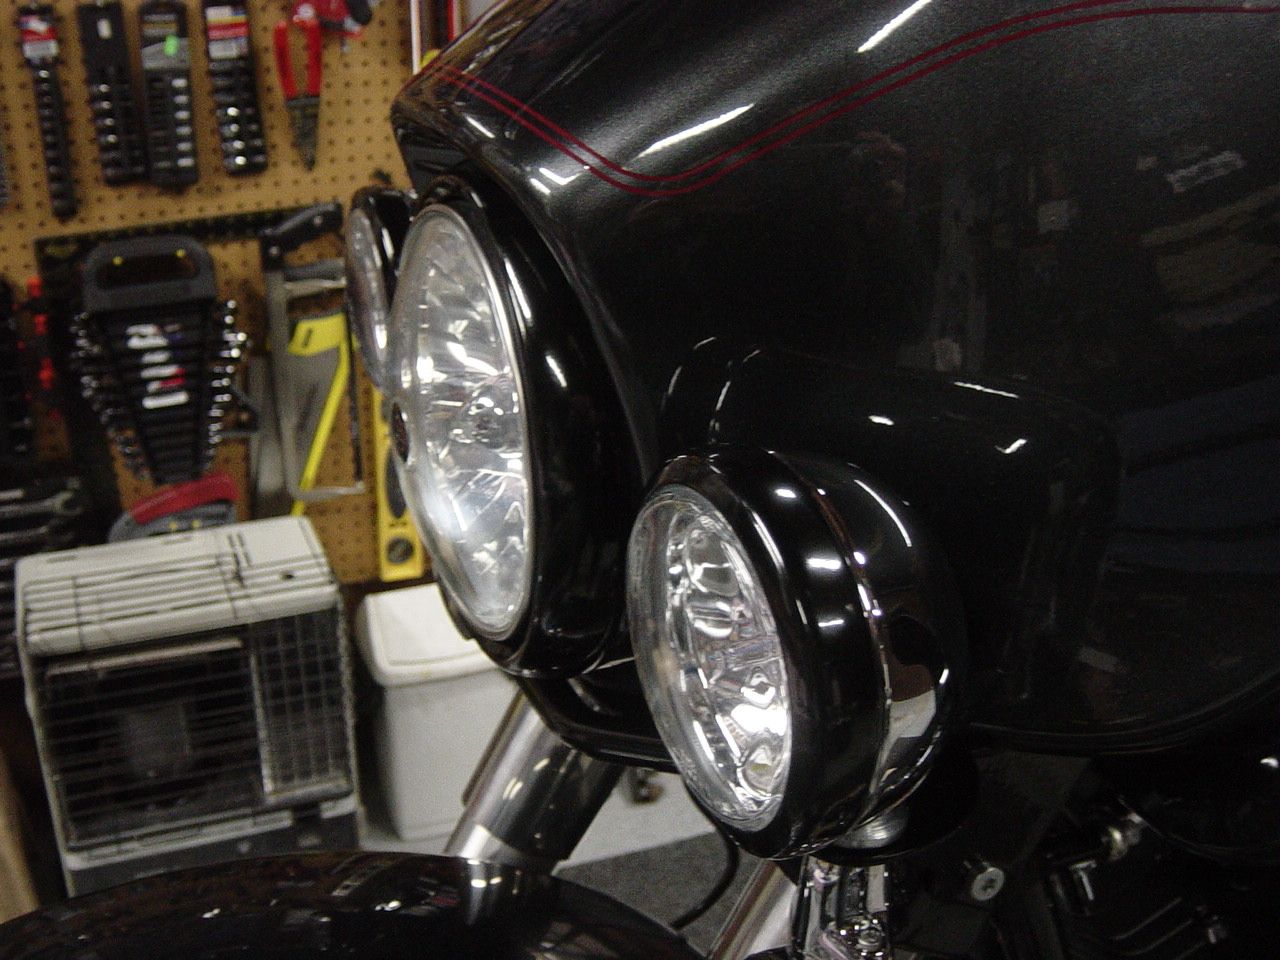
|
|
|

|
 |
| Bookmarks |
|
|